Quick-Start Guide
You can try our application free for 16 days. In that time, you have access to everything except the channel manager, and your account comes pre-built with a series of test data to help you get started. It’s a lot to take in, so we put this ‘Quick Start’ guide to help you navigate the Front Desk and Booking Engine to get the most out your trial period.
I. Explore the Test Bookings
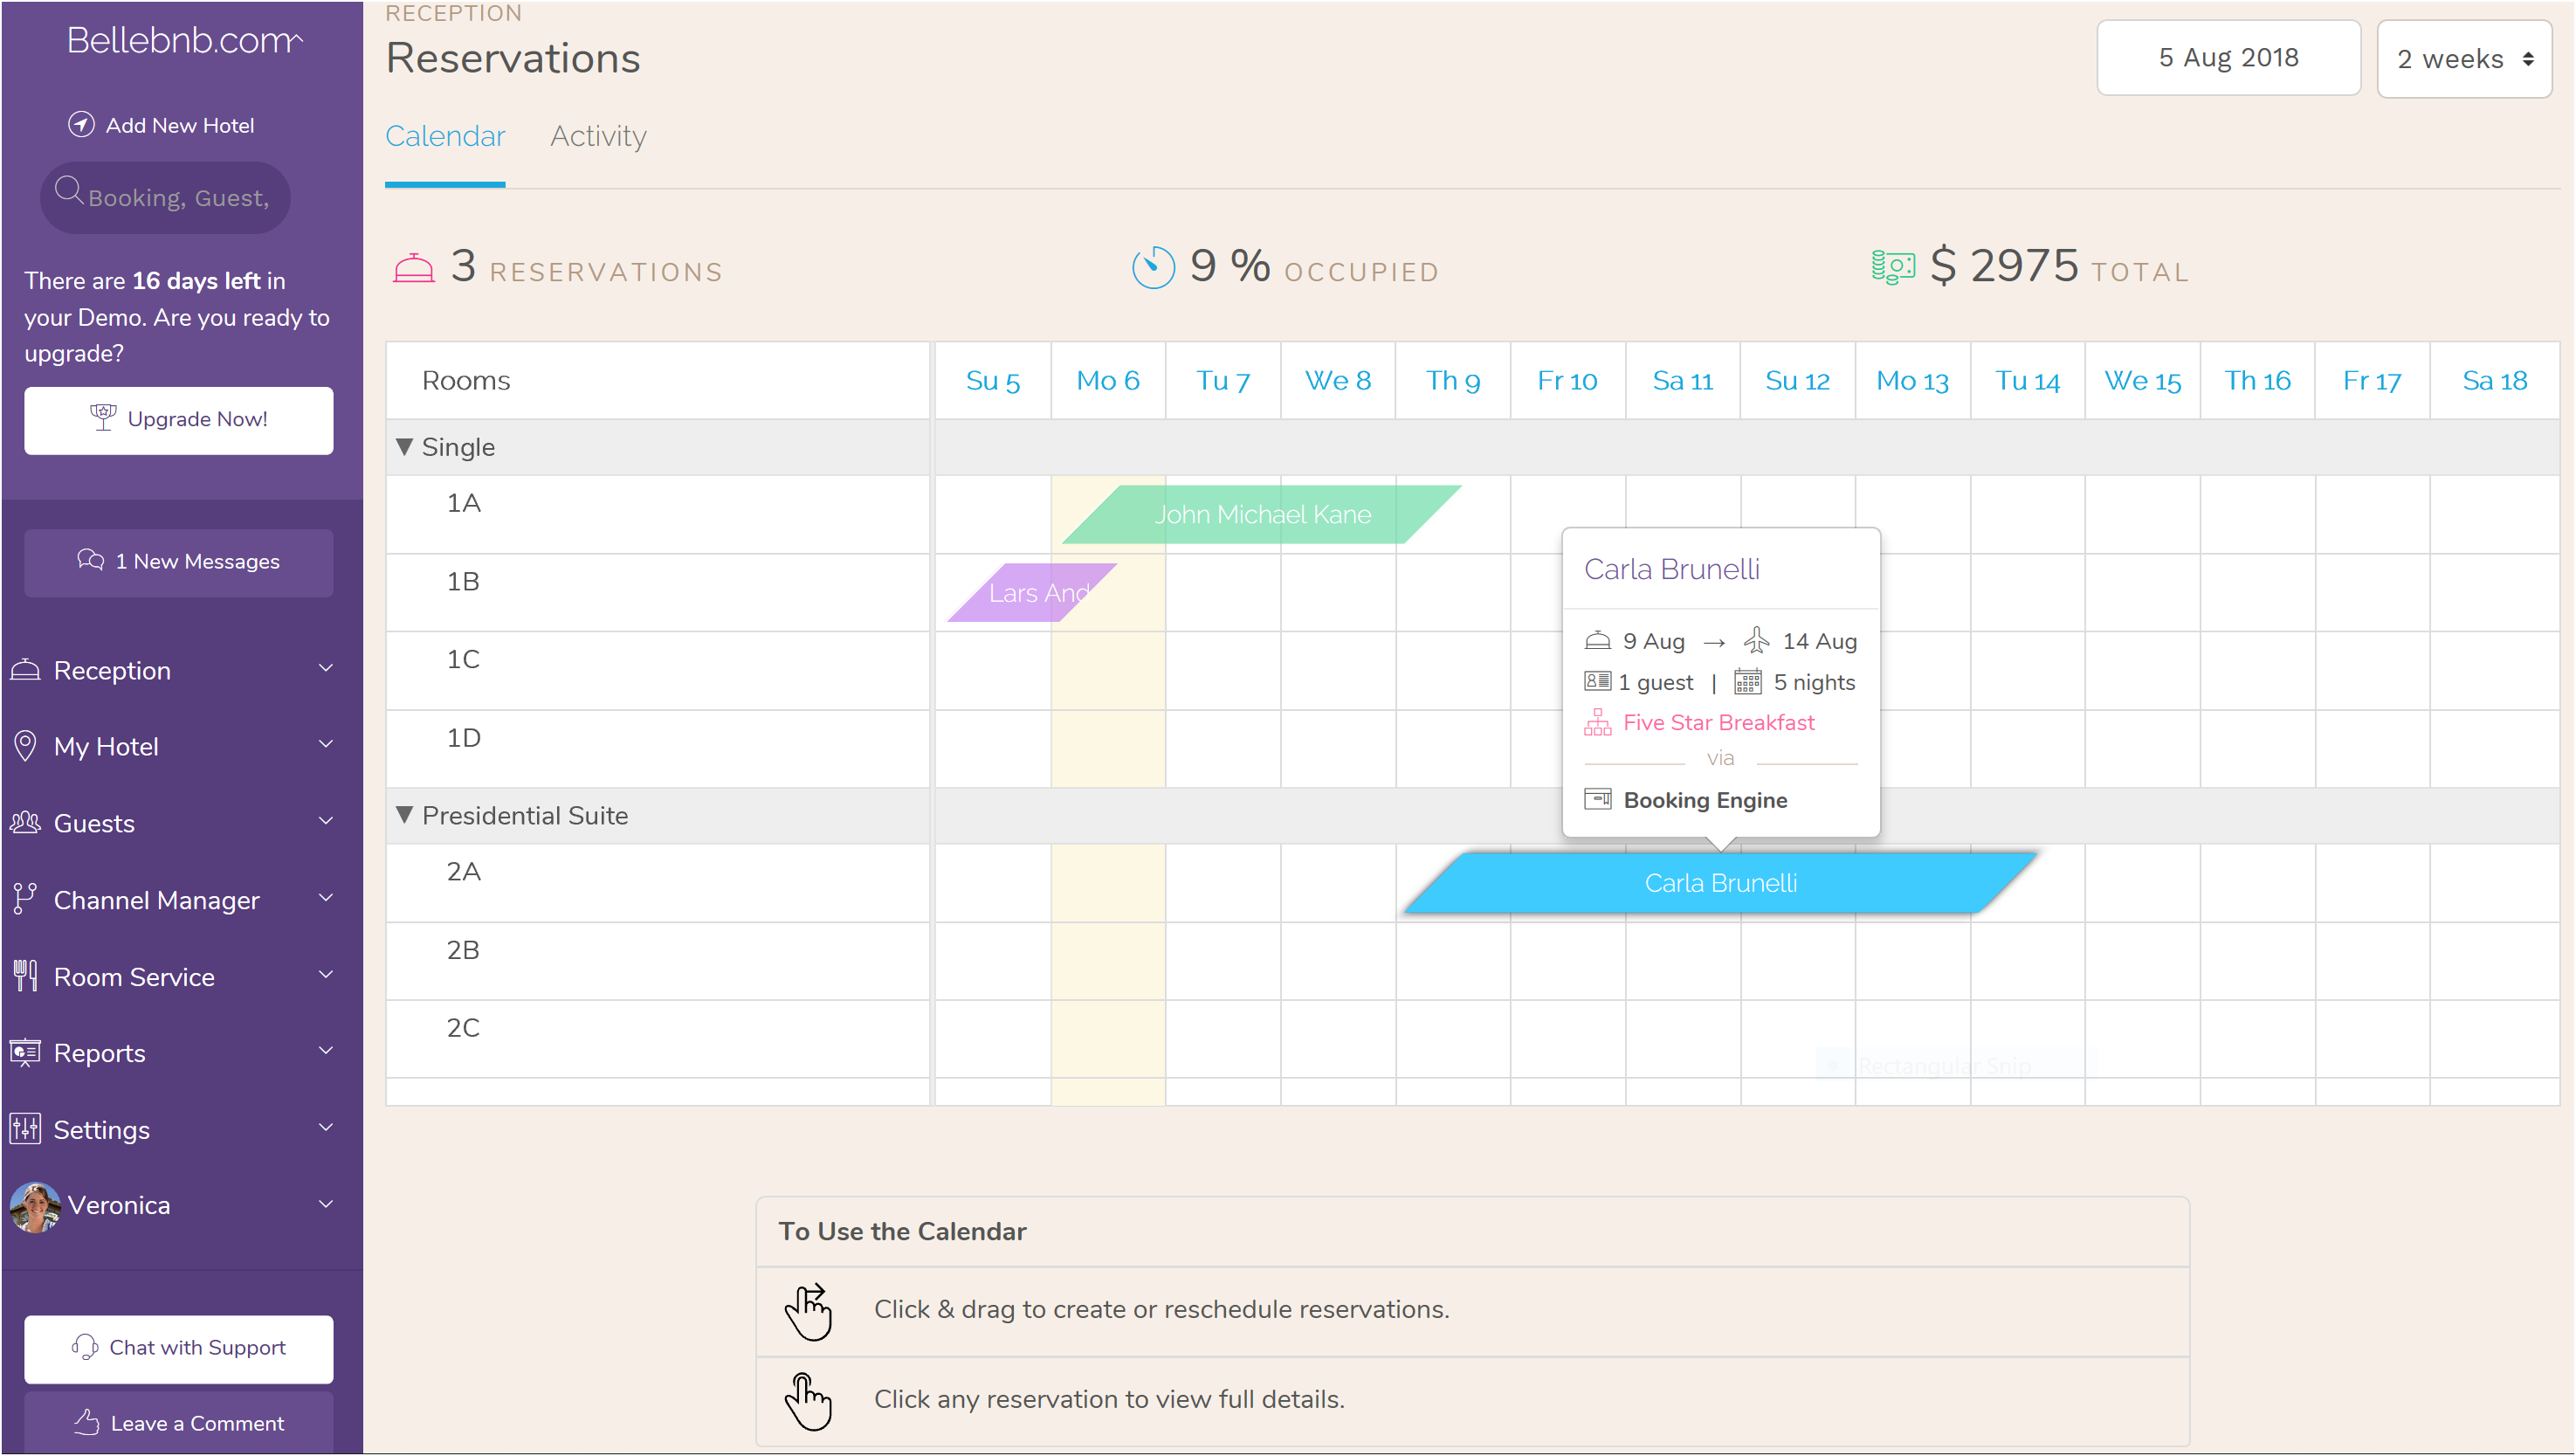
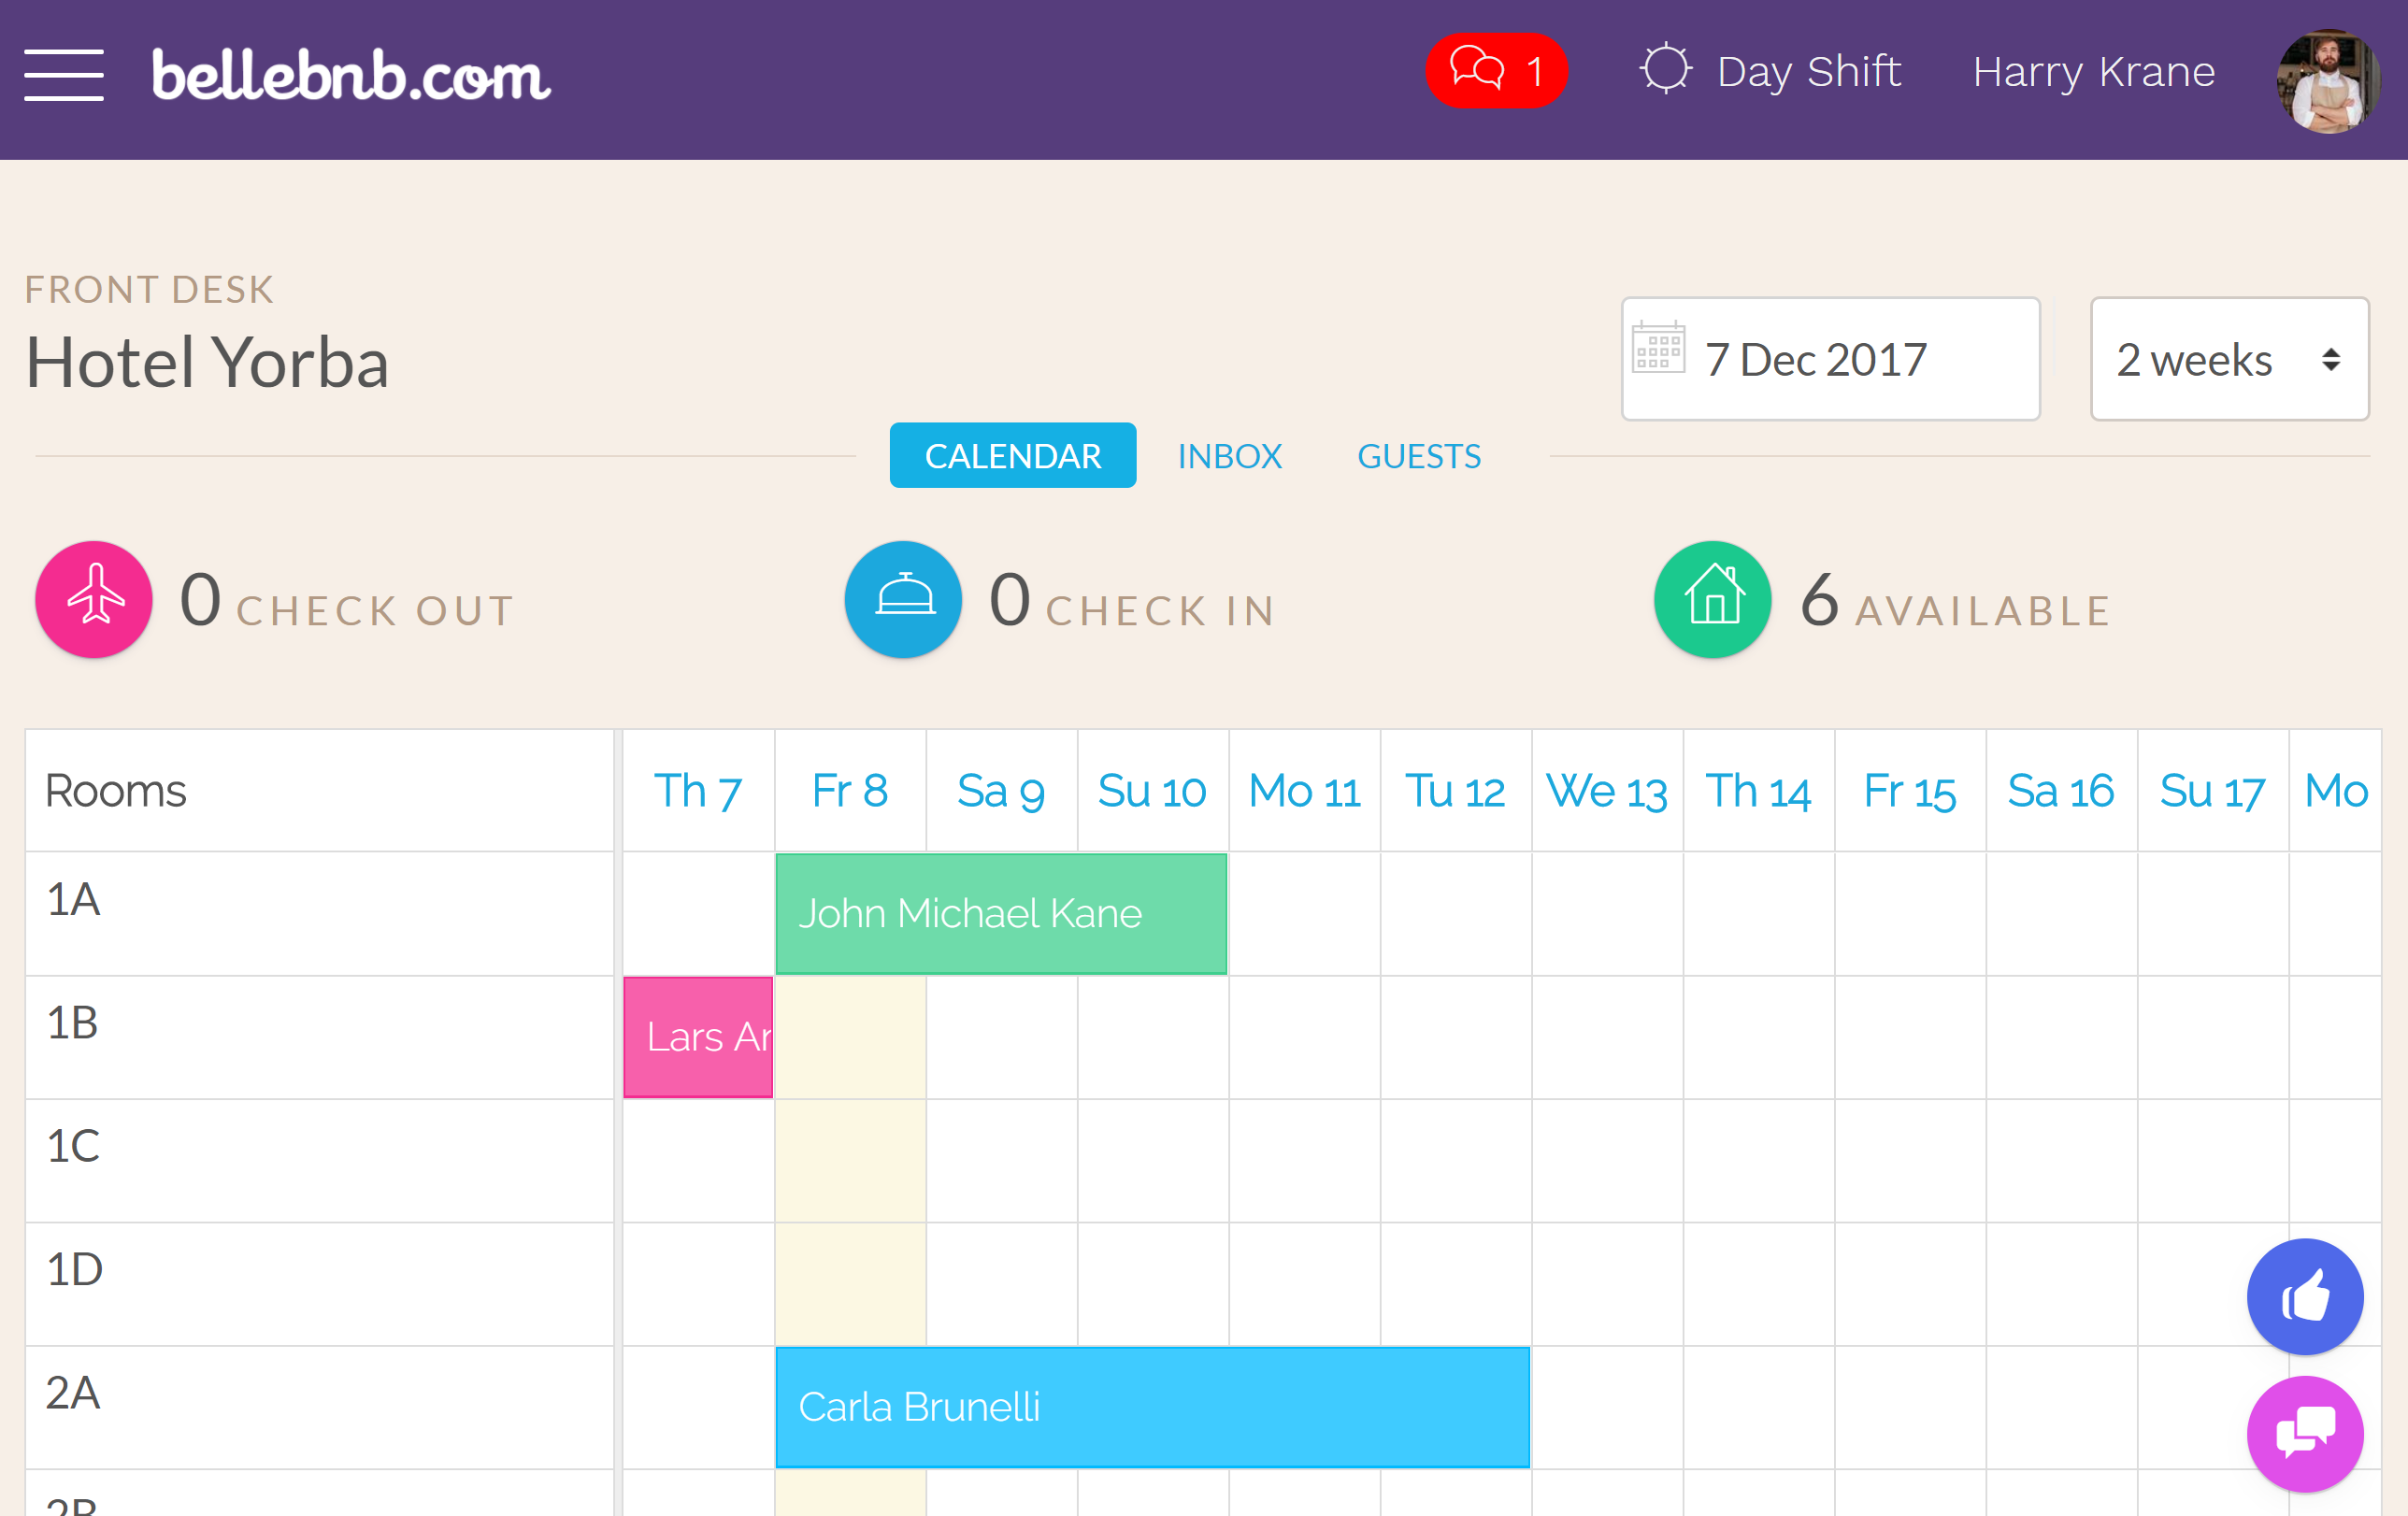
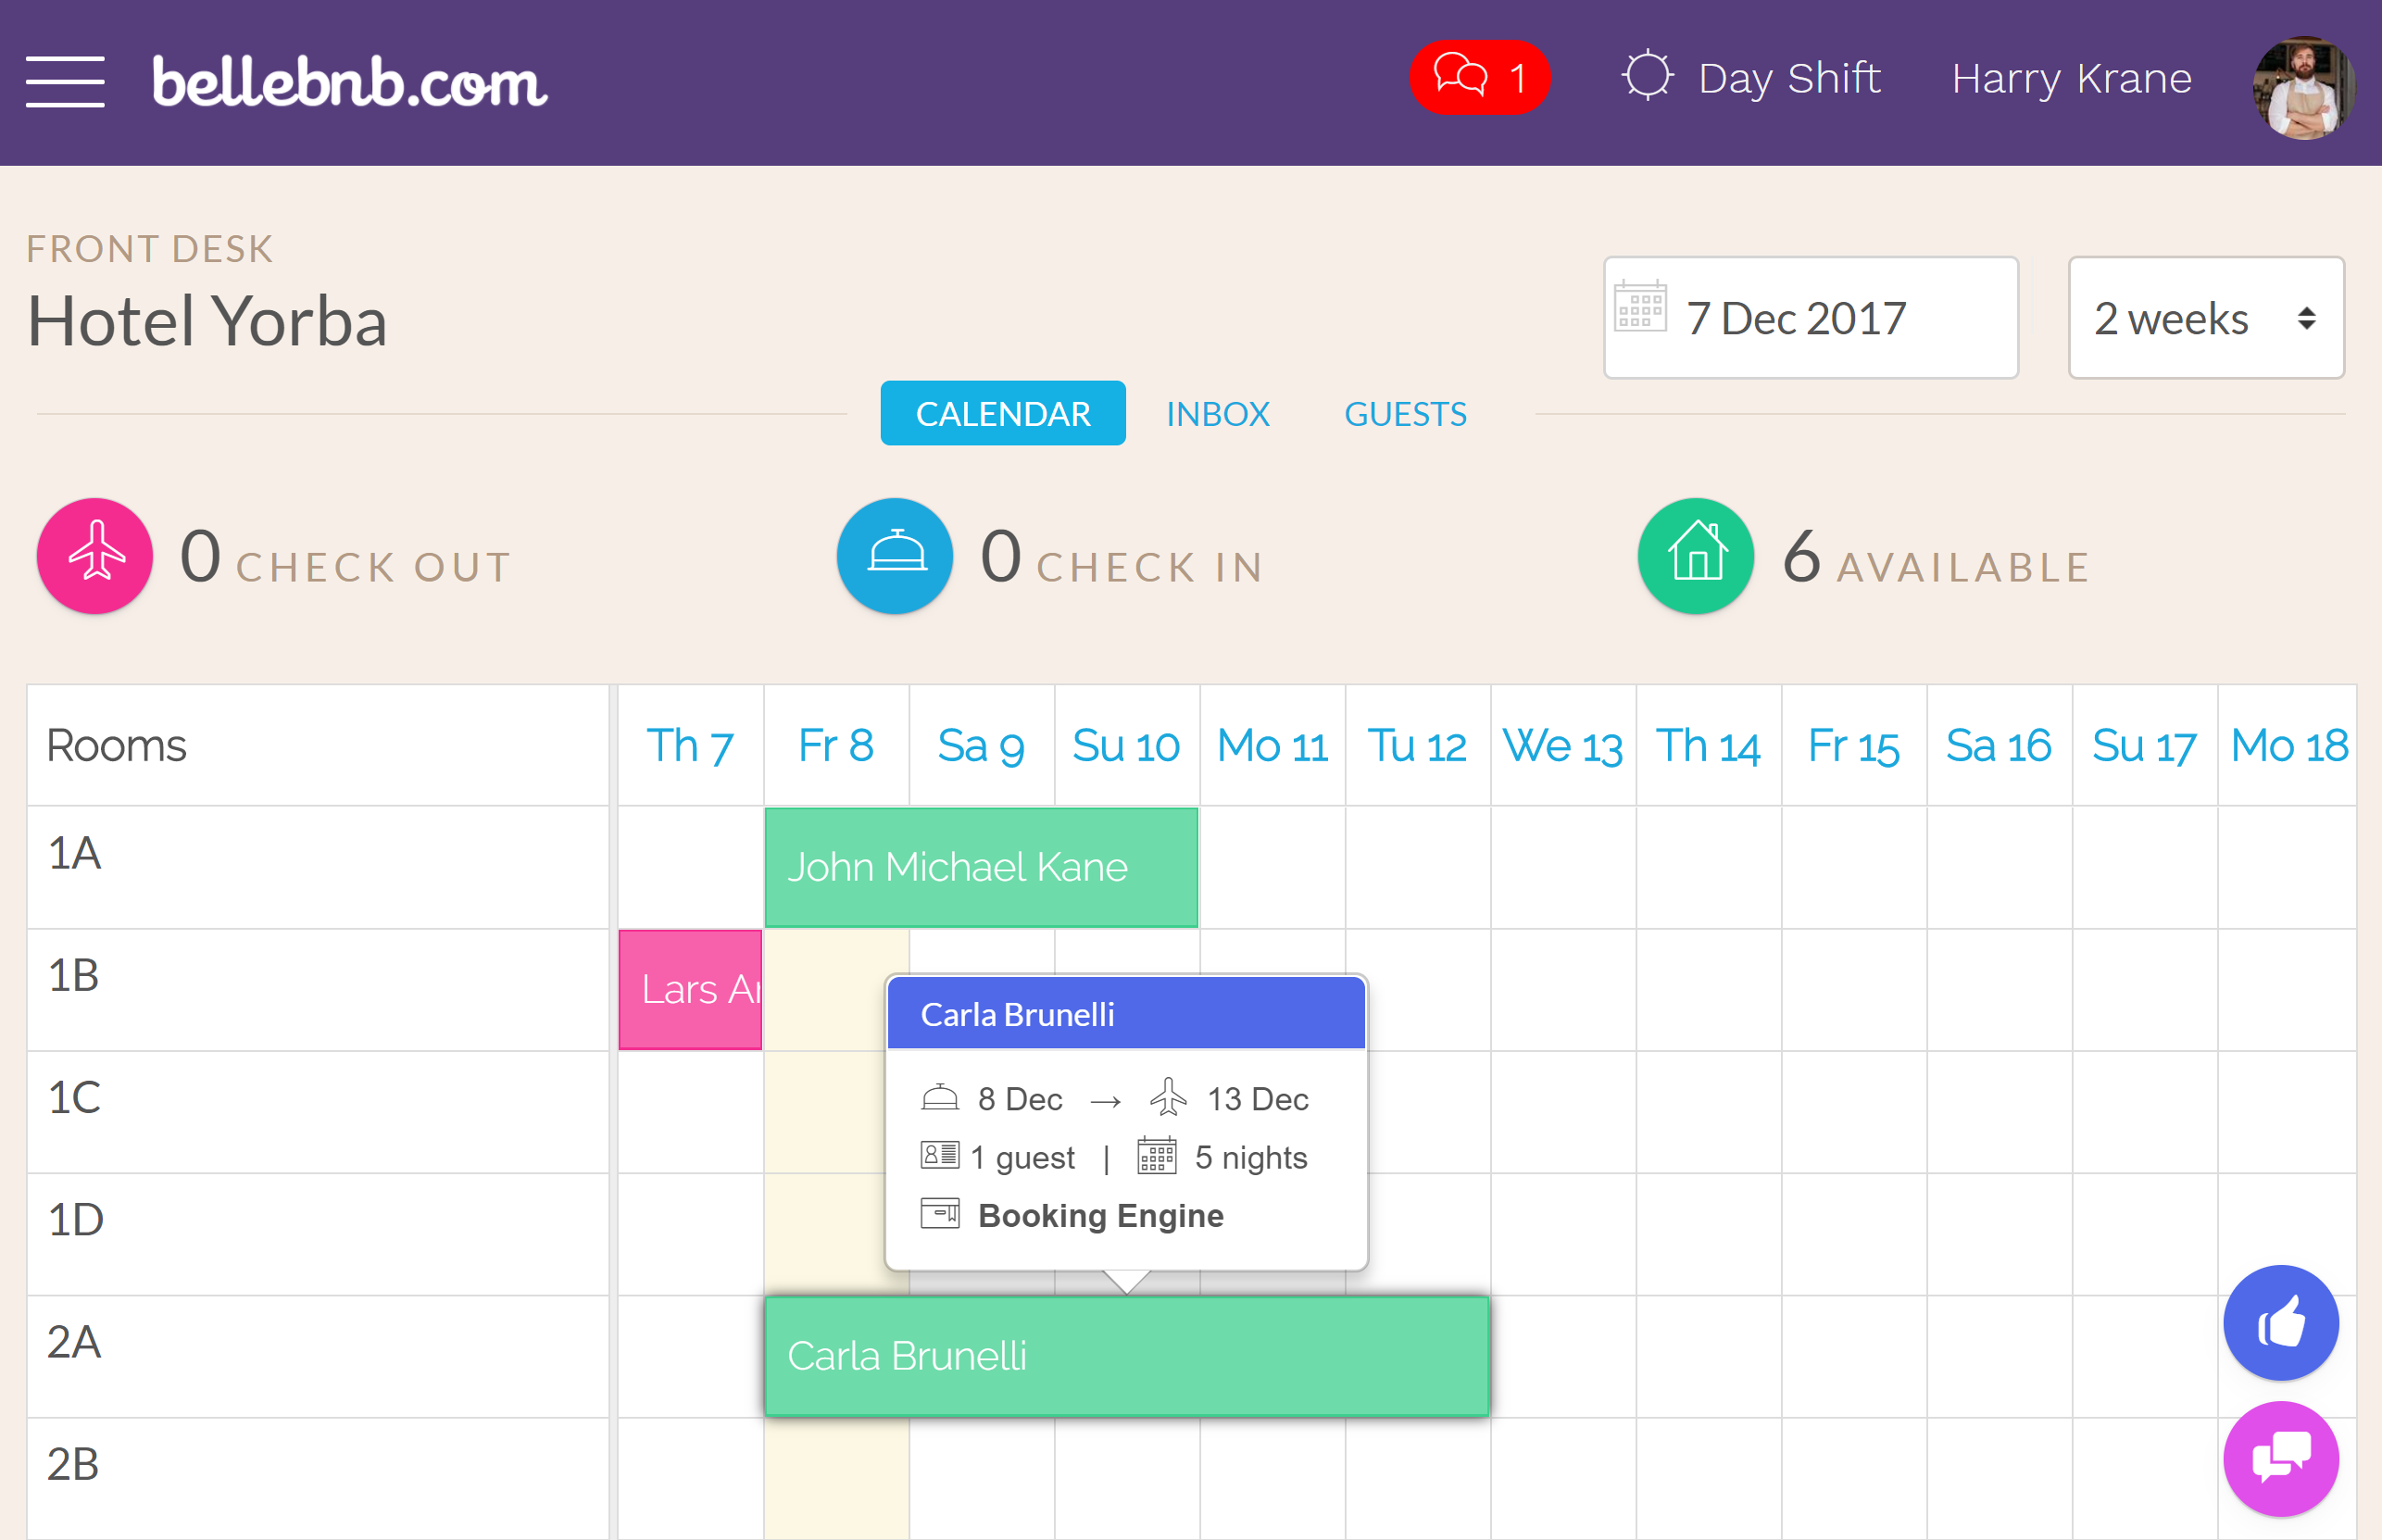
After entering your hotel info, you are taken to the central part of the application: your booking calendar. Here you will find three test bookings, one arriving today, one checked in to the hotel, and one already checked out.
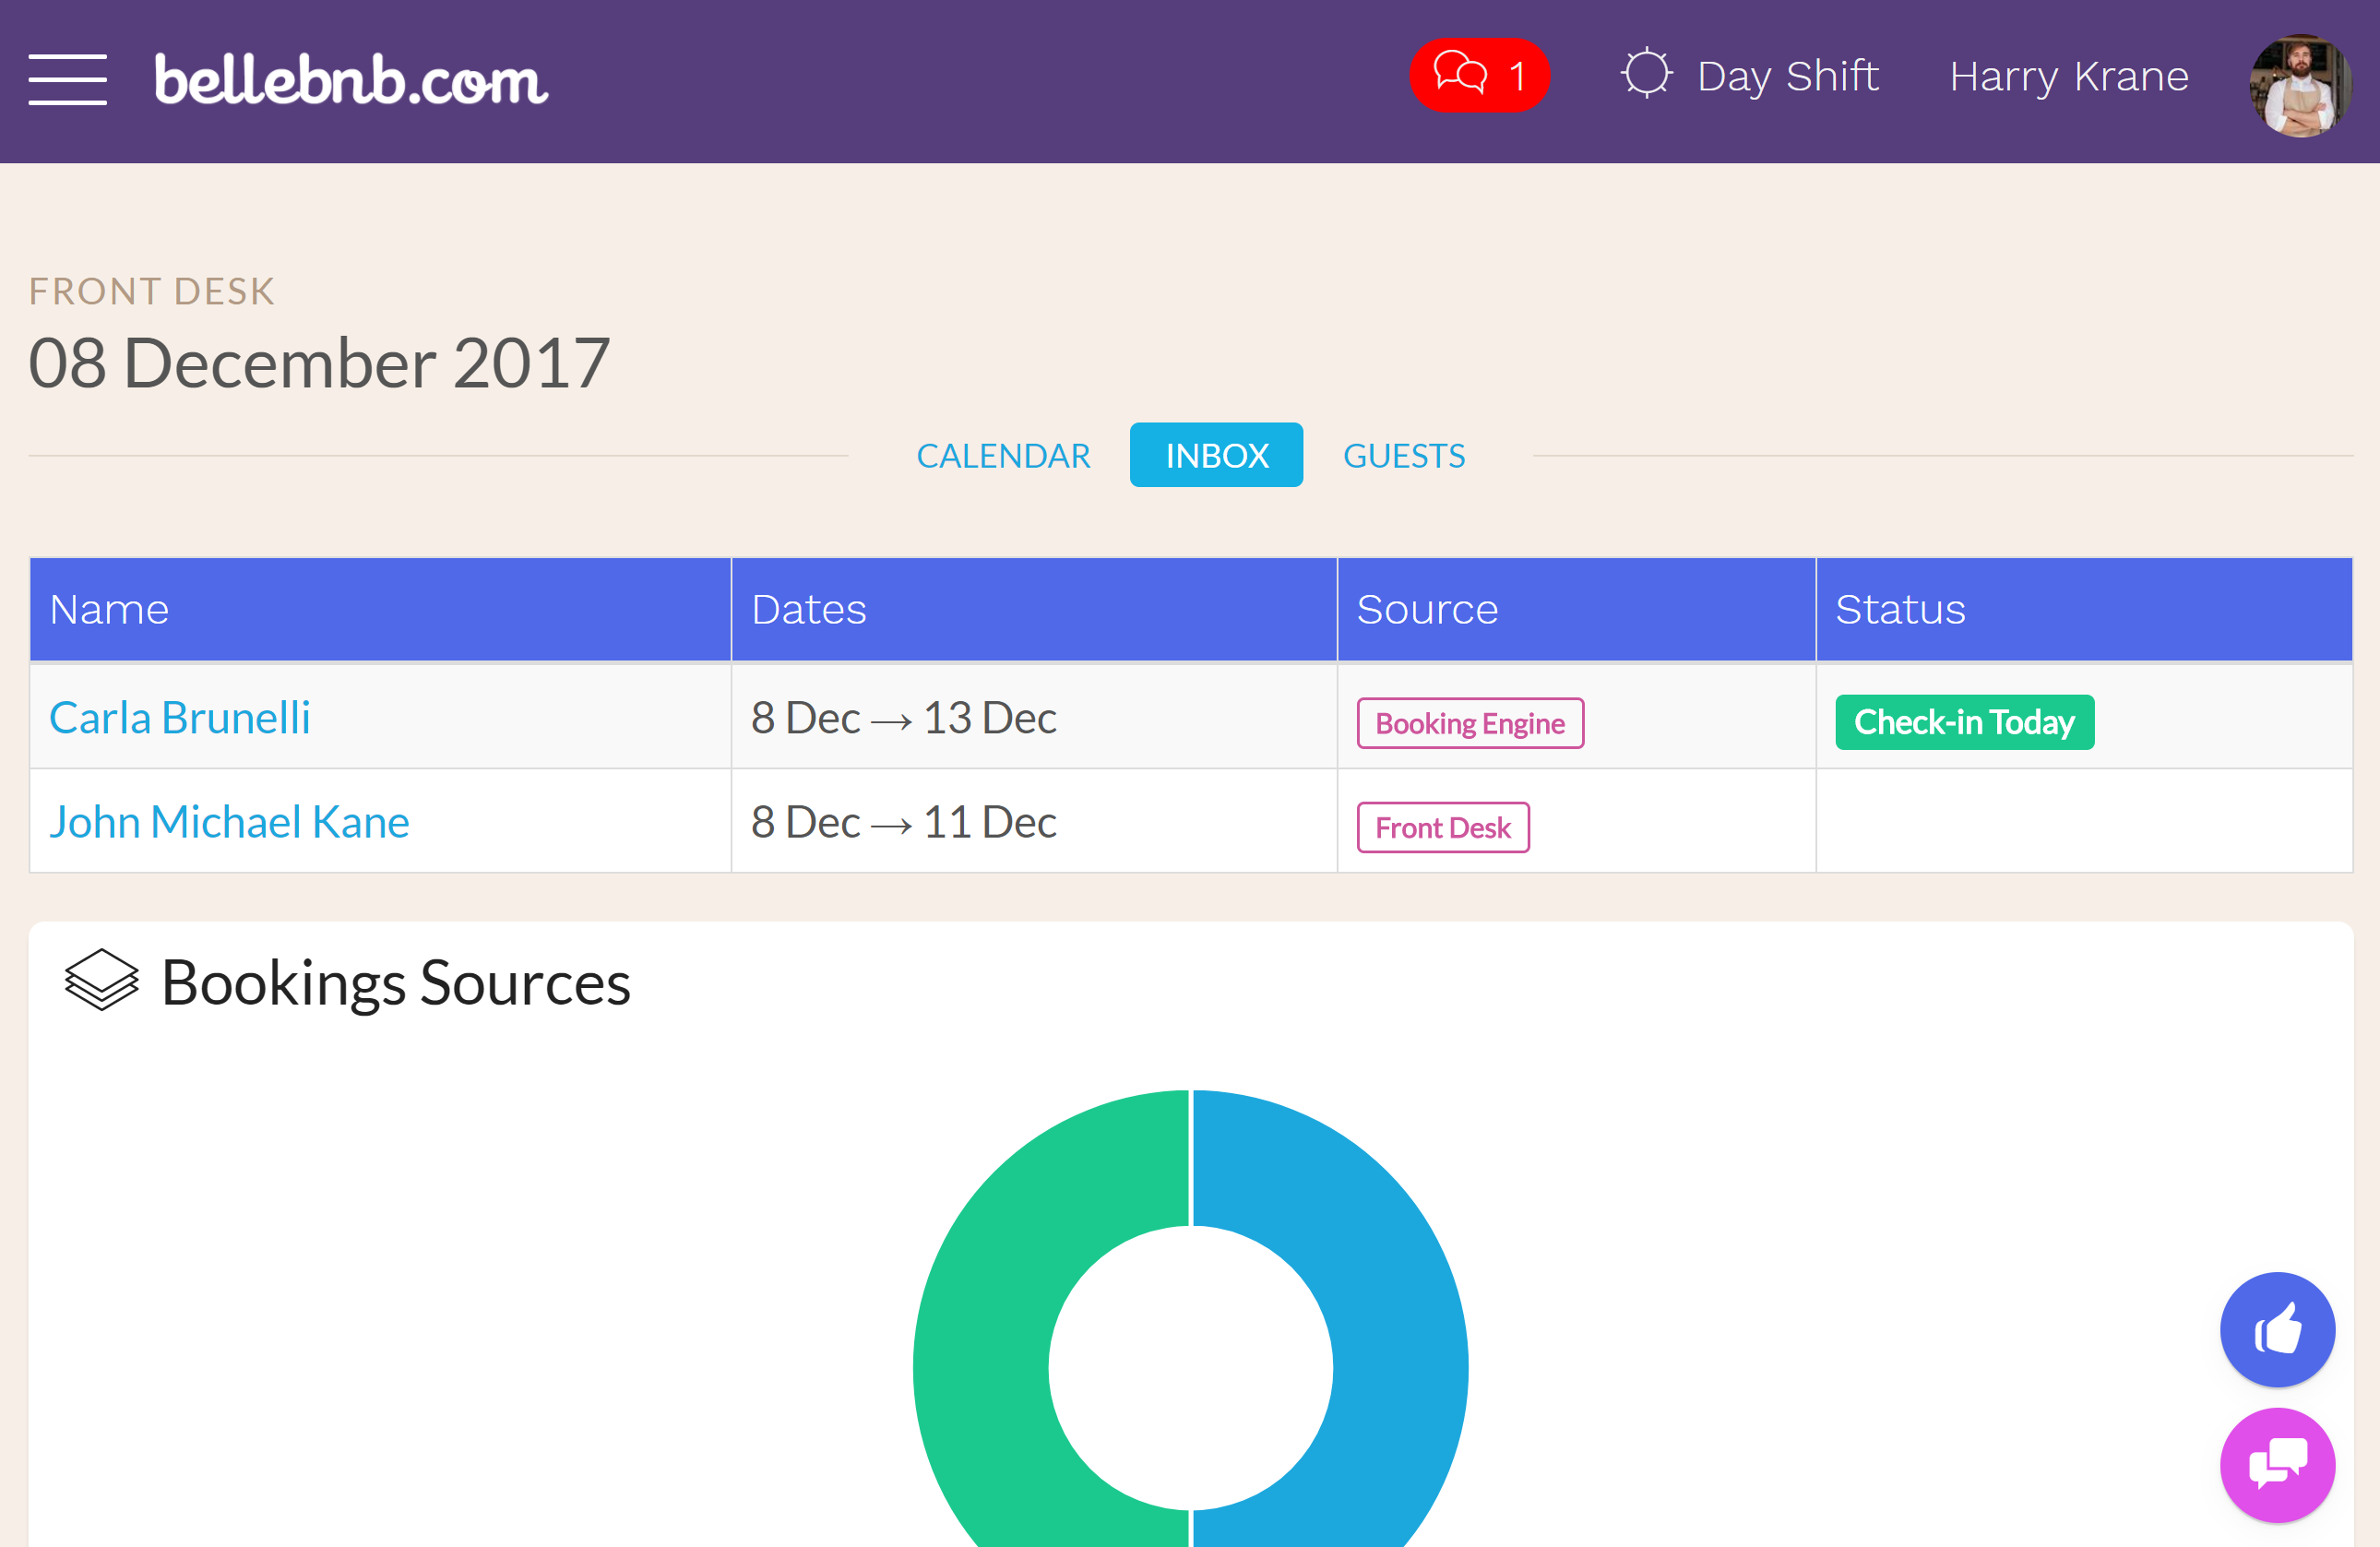
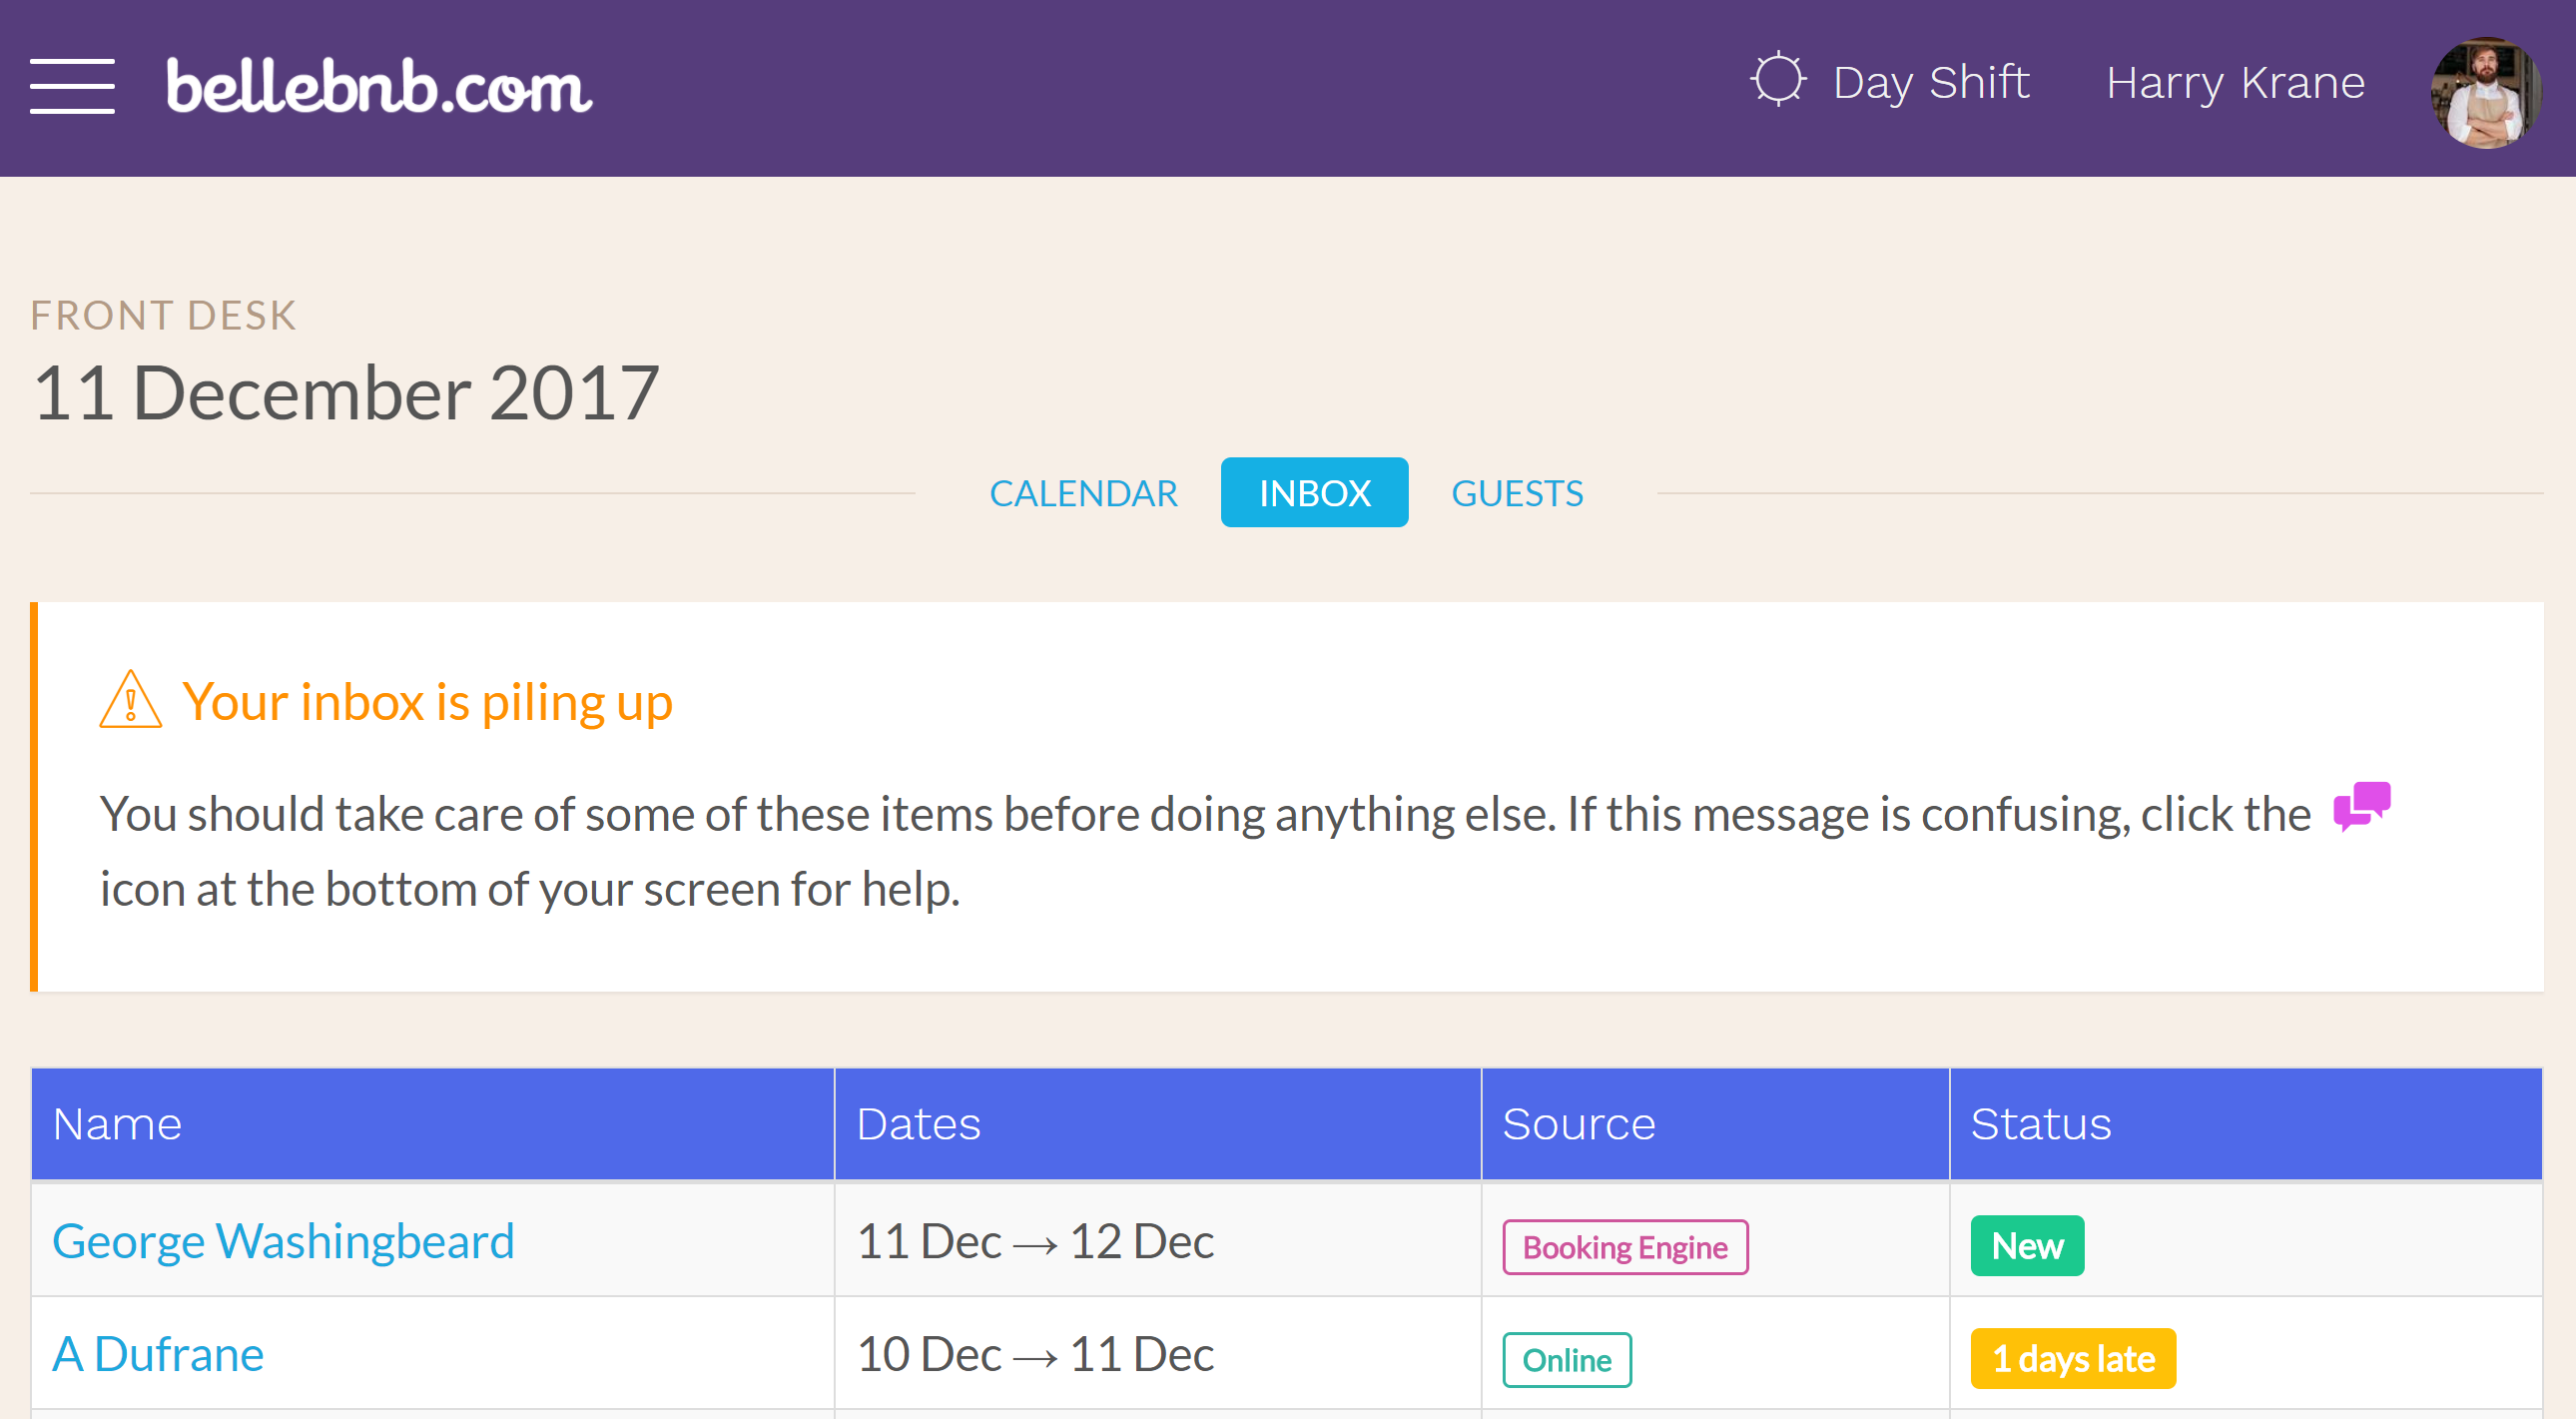
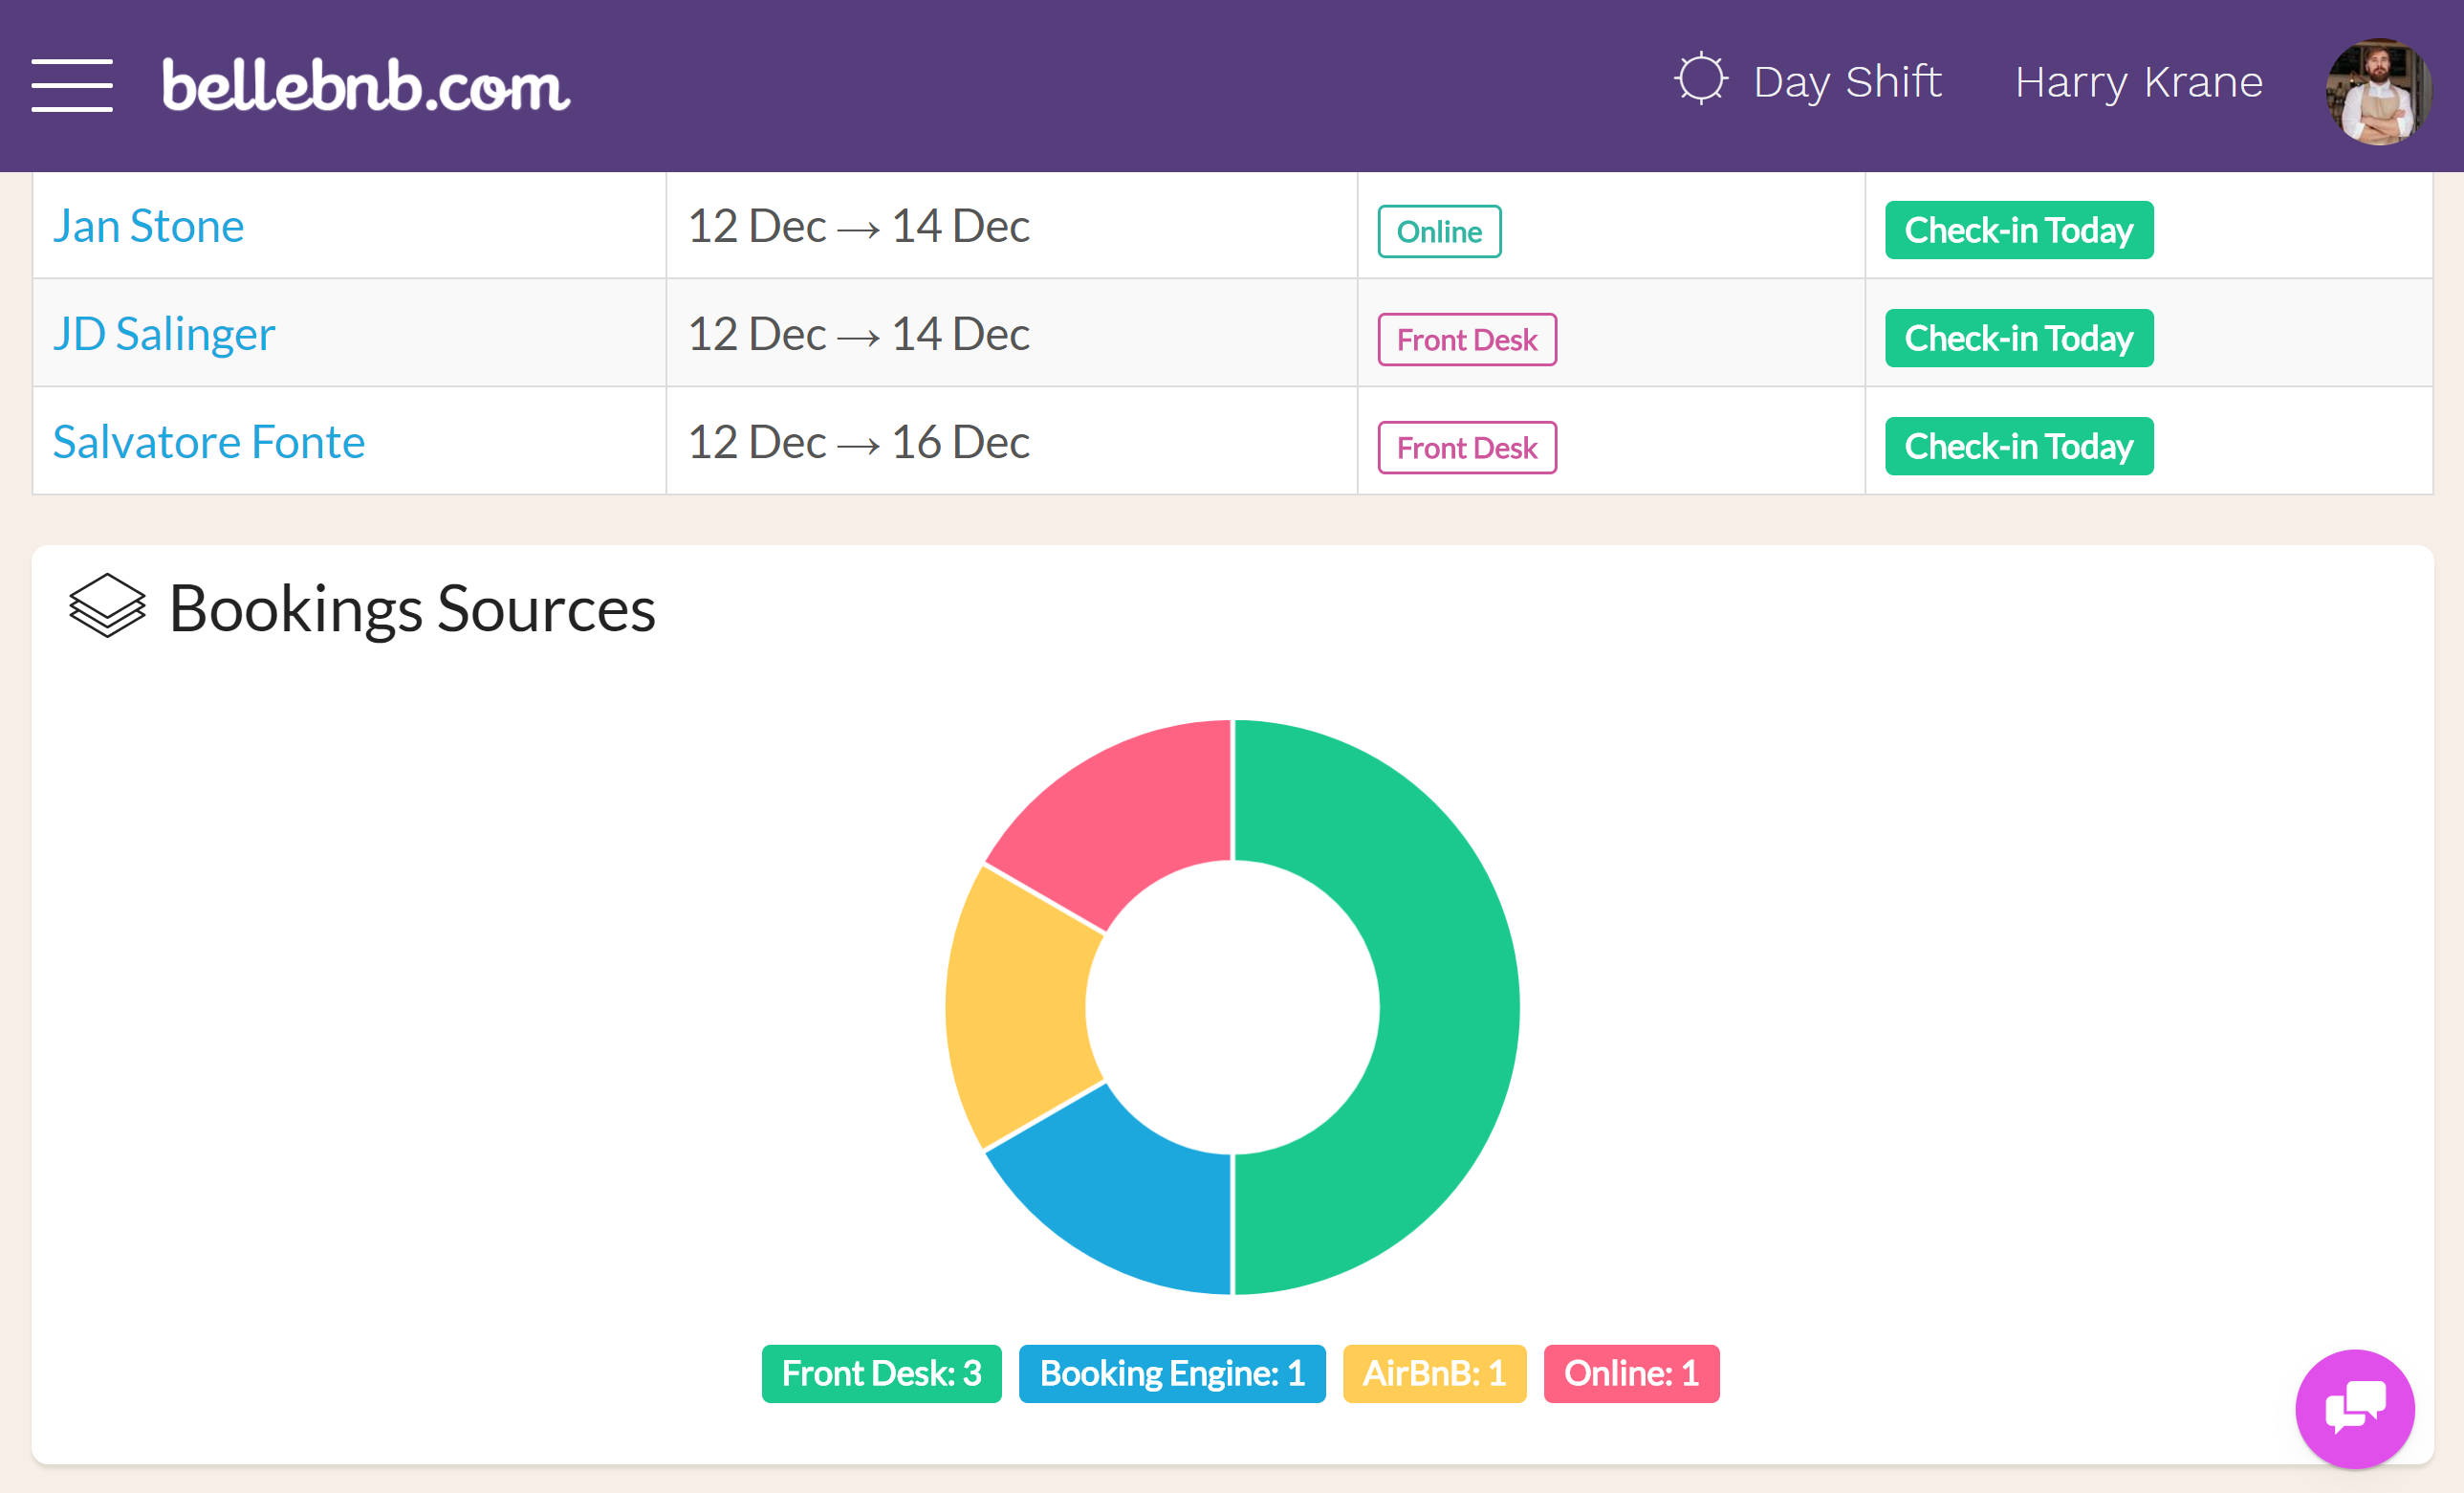
Click the ‘Inbox’ tab or go to ‘Front Desk > Hotel Activity’ in the main menu (click hamburger button on left of navigation bar). This is an overview of the active reservations in your hotel. You even have a breakdown of where your bookings were generated.
Click on the reservation for ‘Carla Brunelli’. You will see this reservation has not yet been checked in to the hotel.
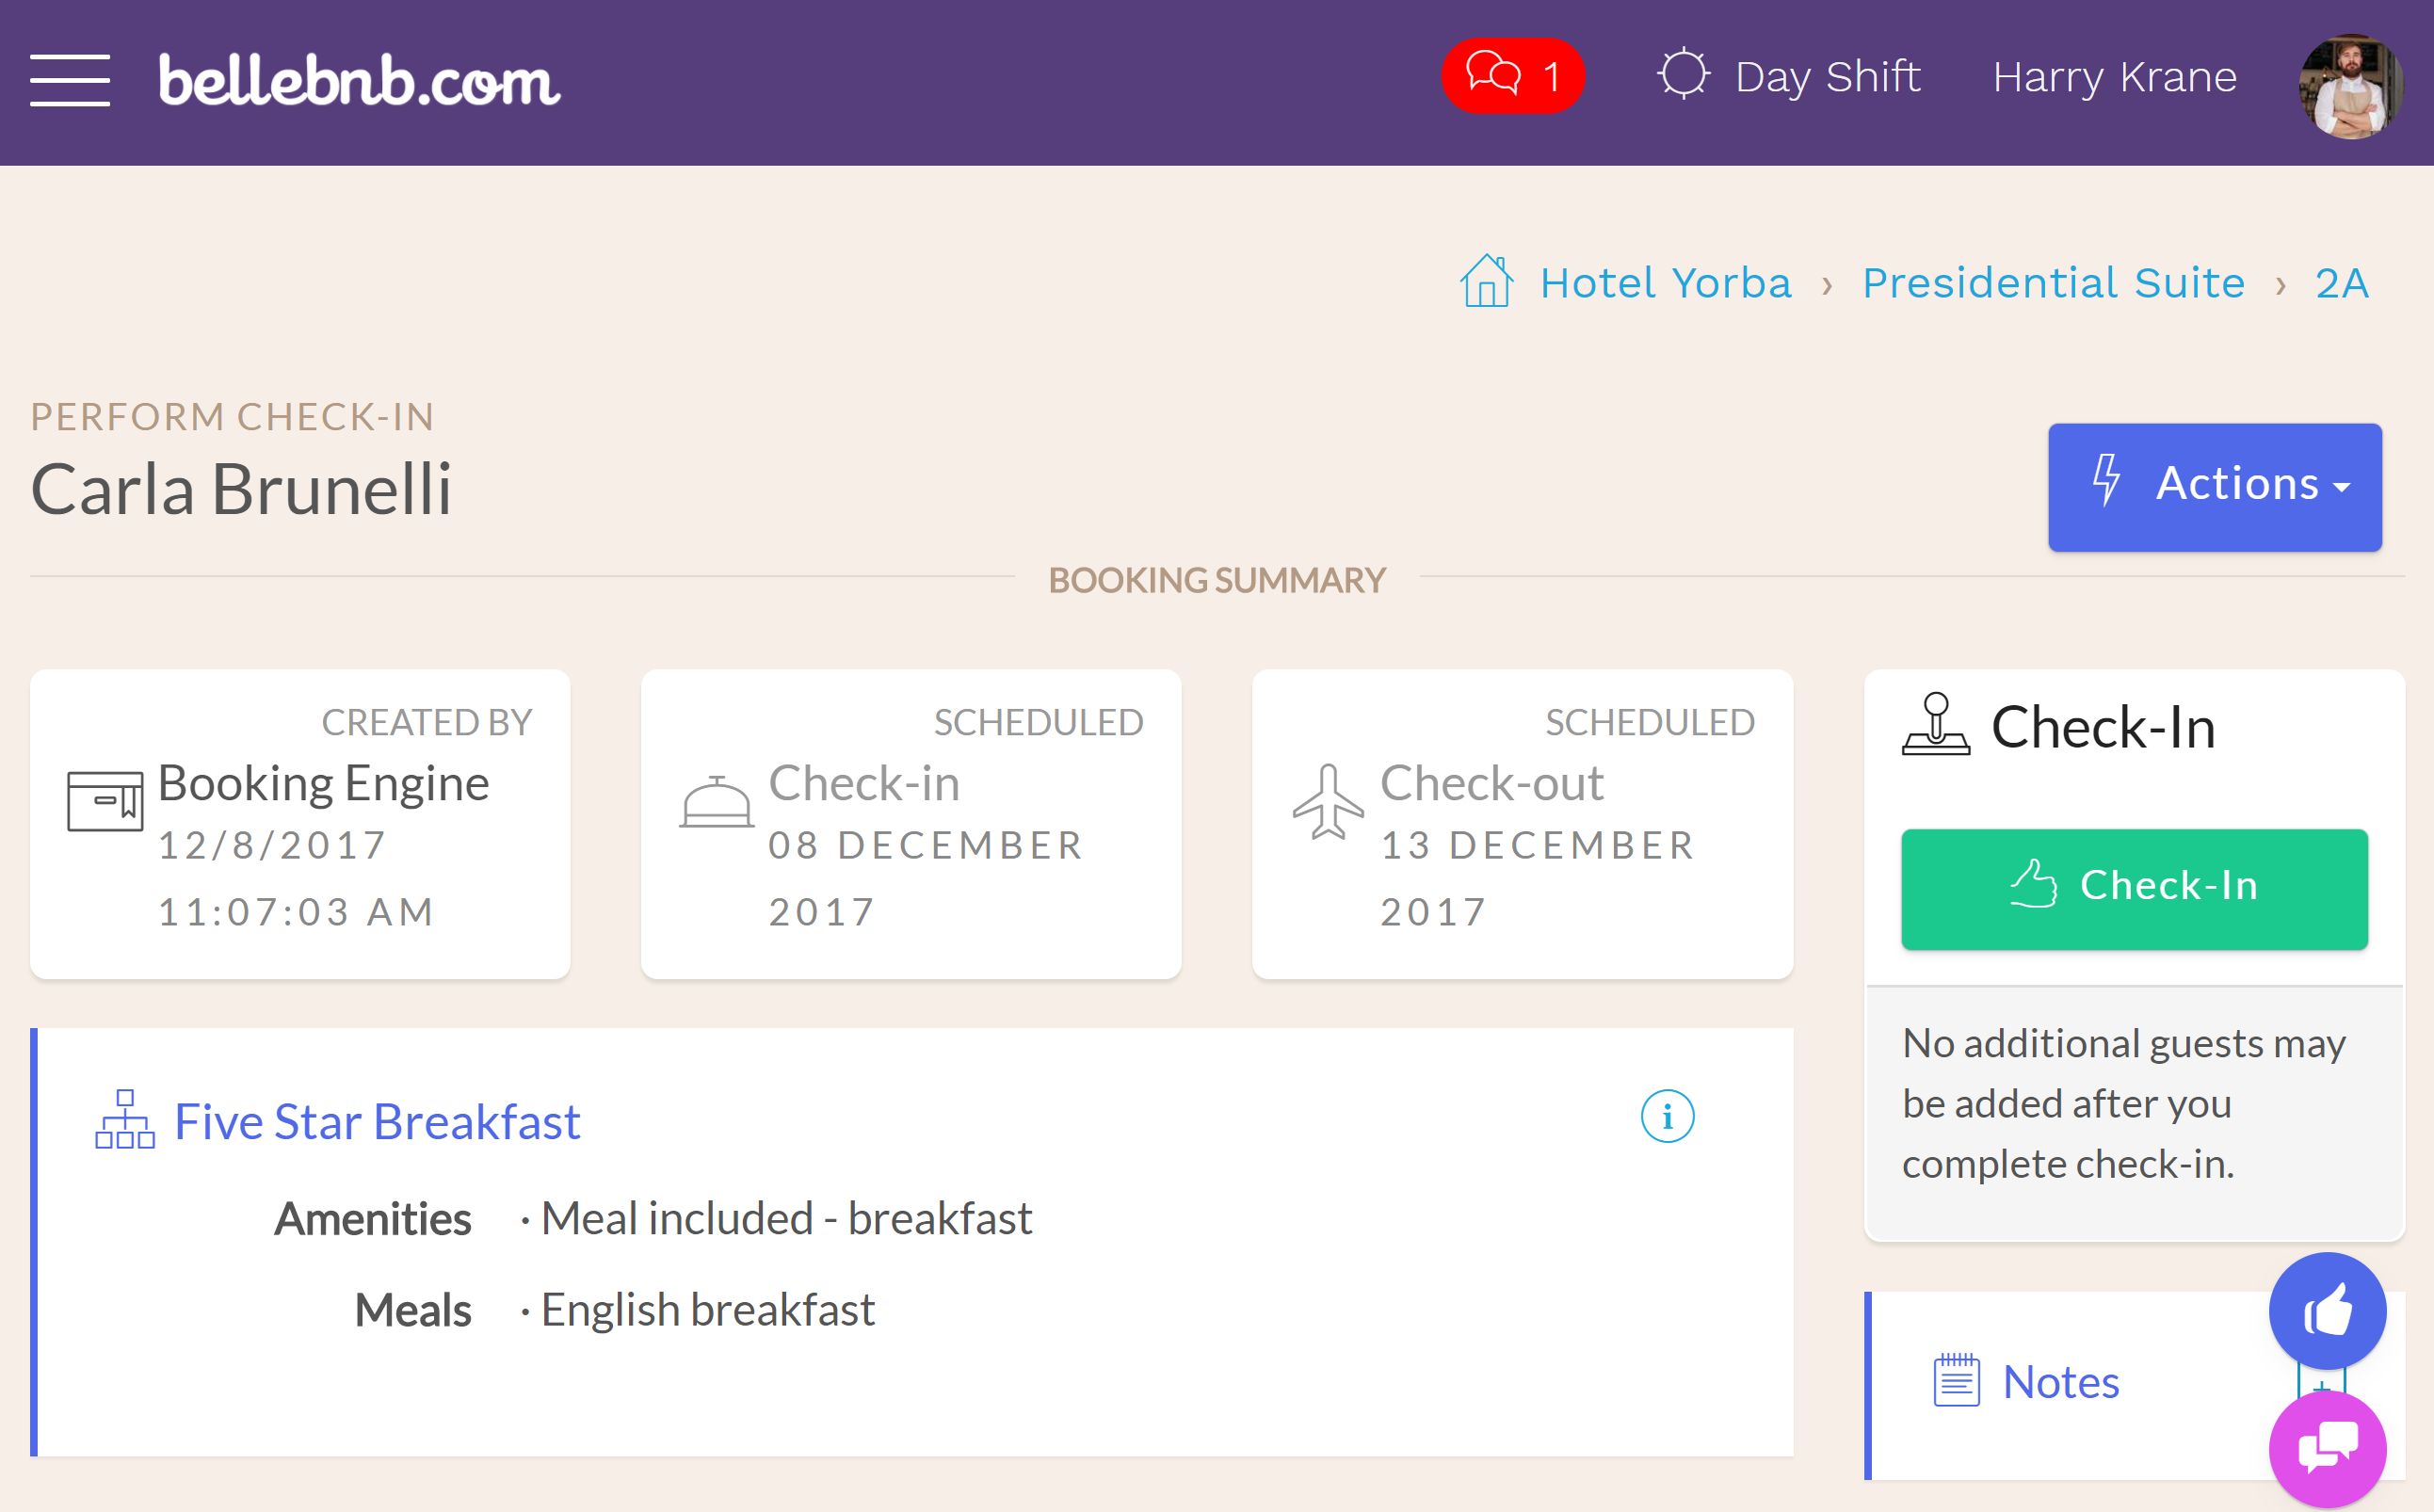
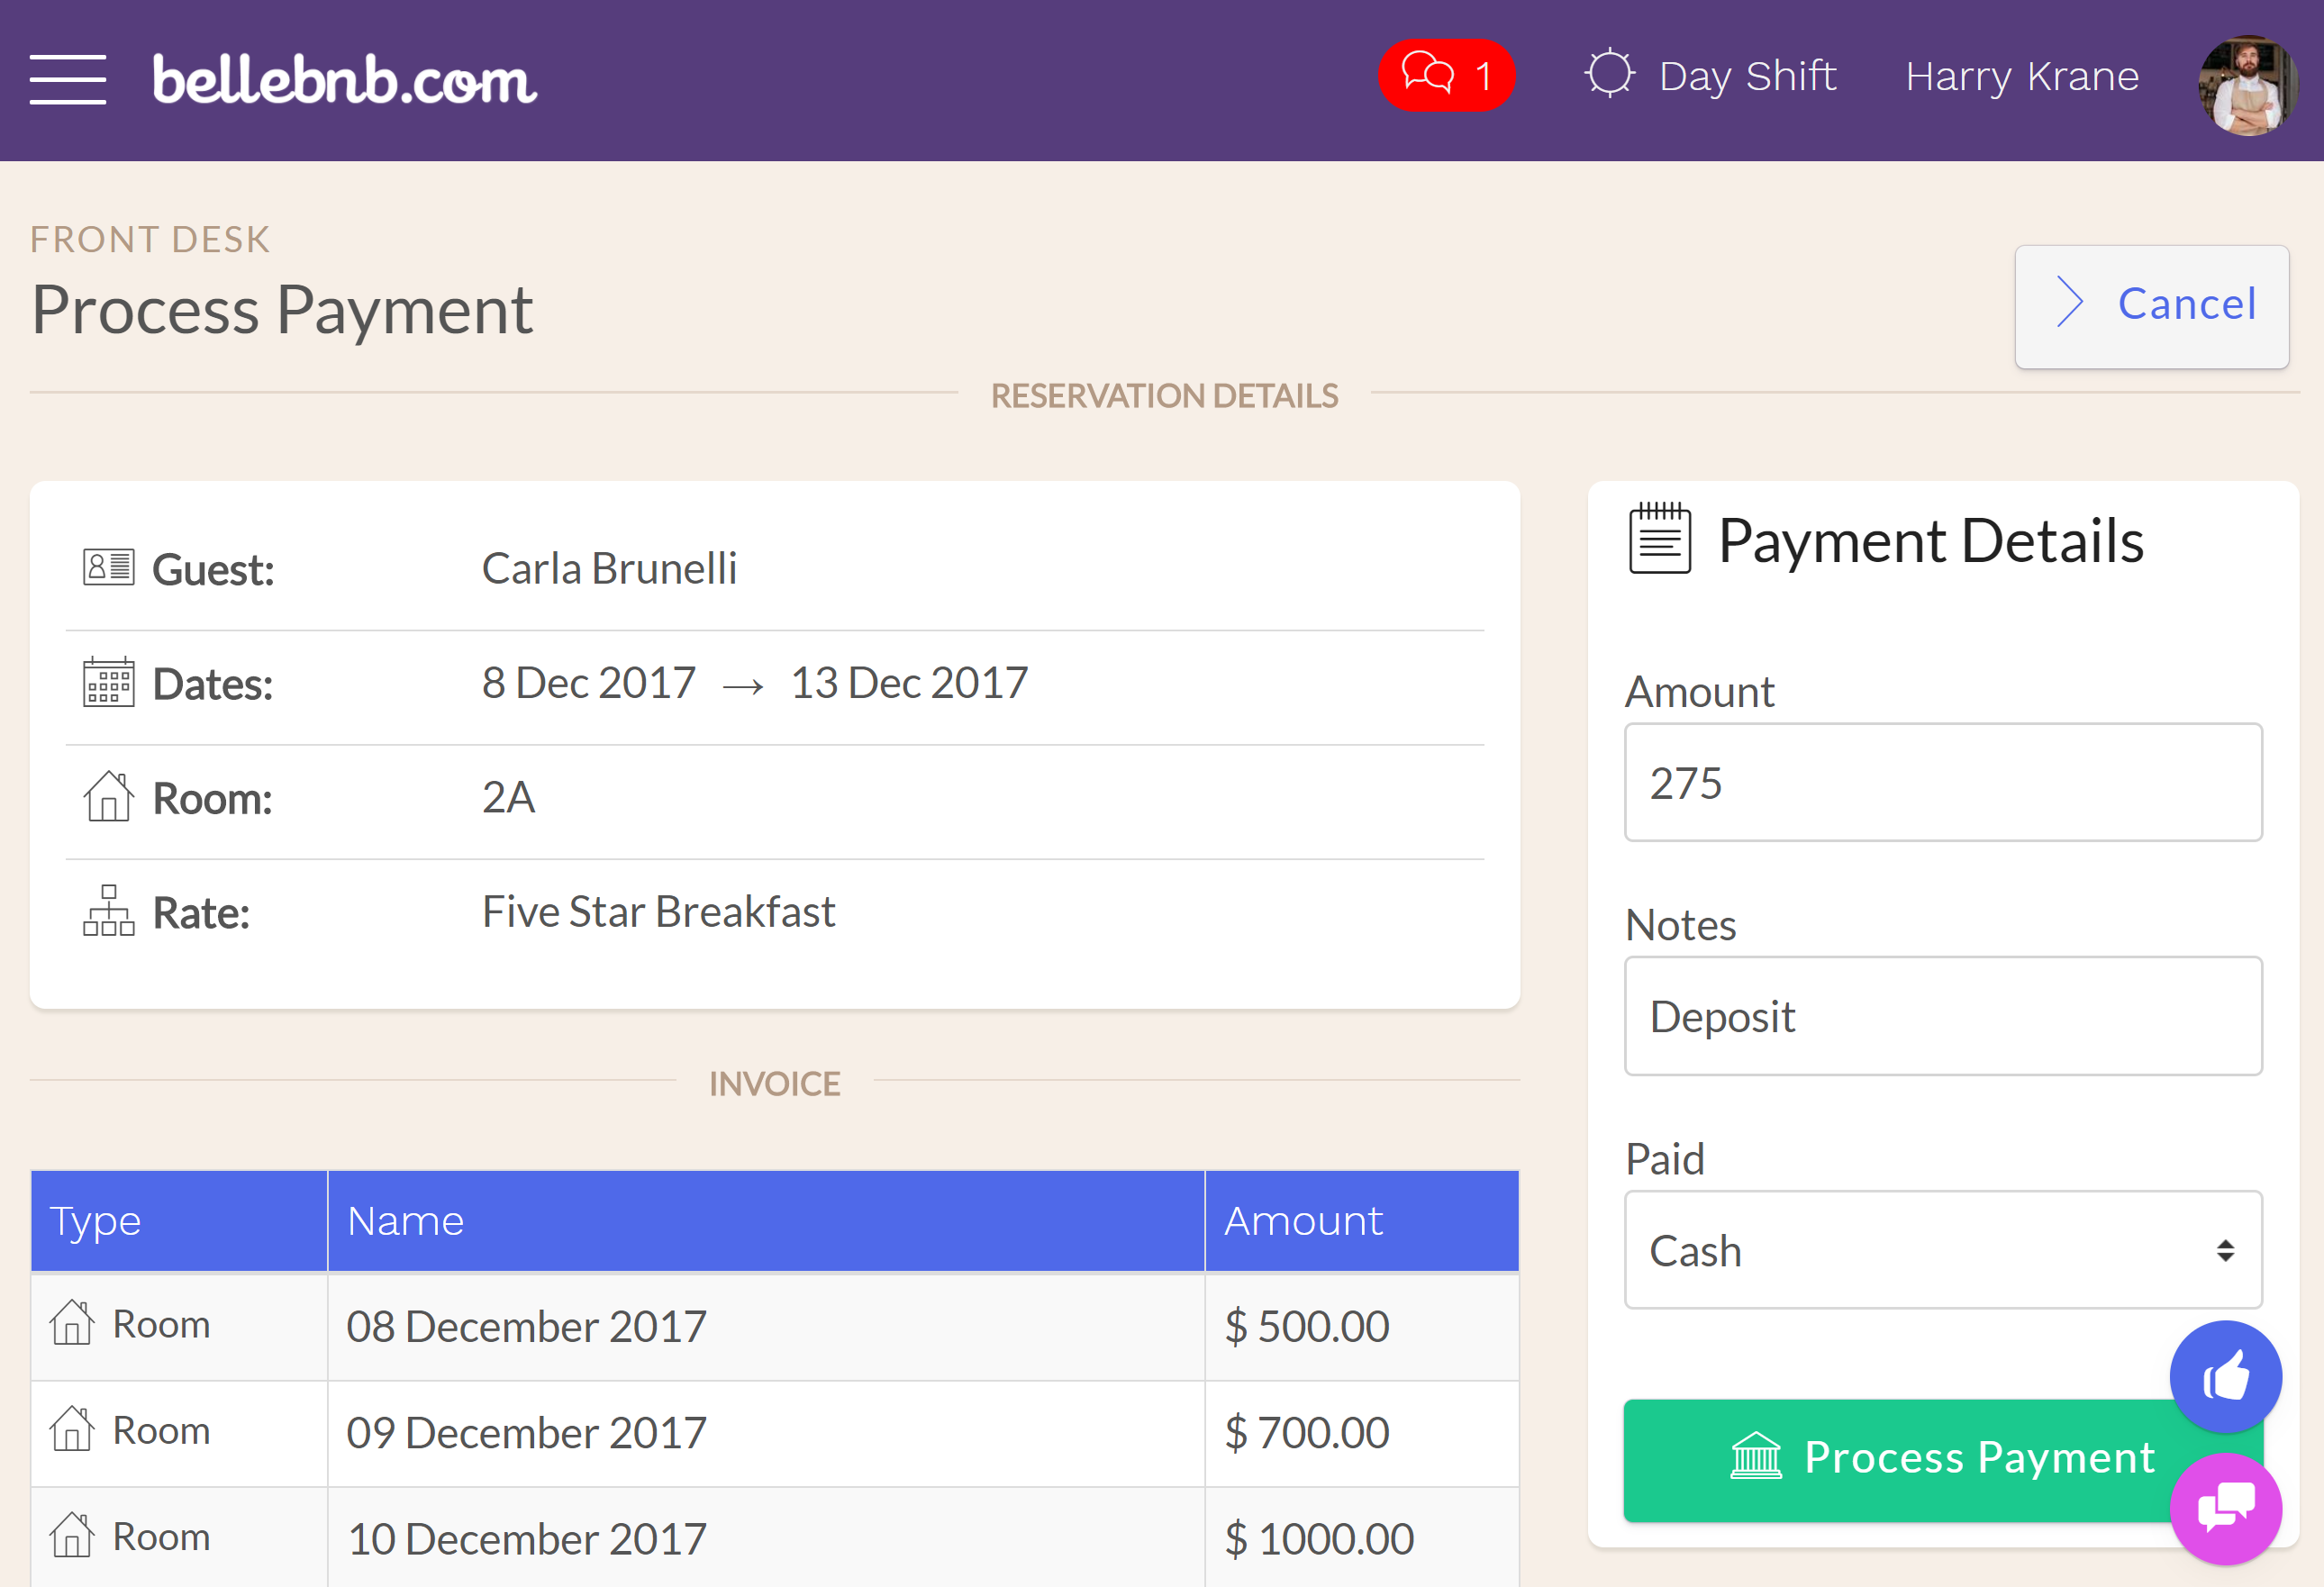
Before you check in this guest, let’s process a payment. Click ‘Actions > Process a Payment,’ then enter an amount for a deposit (no more than the total) and click to process the payment.
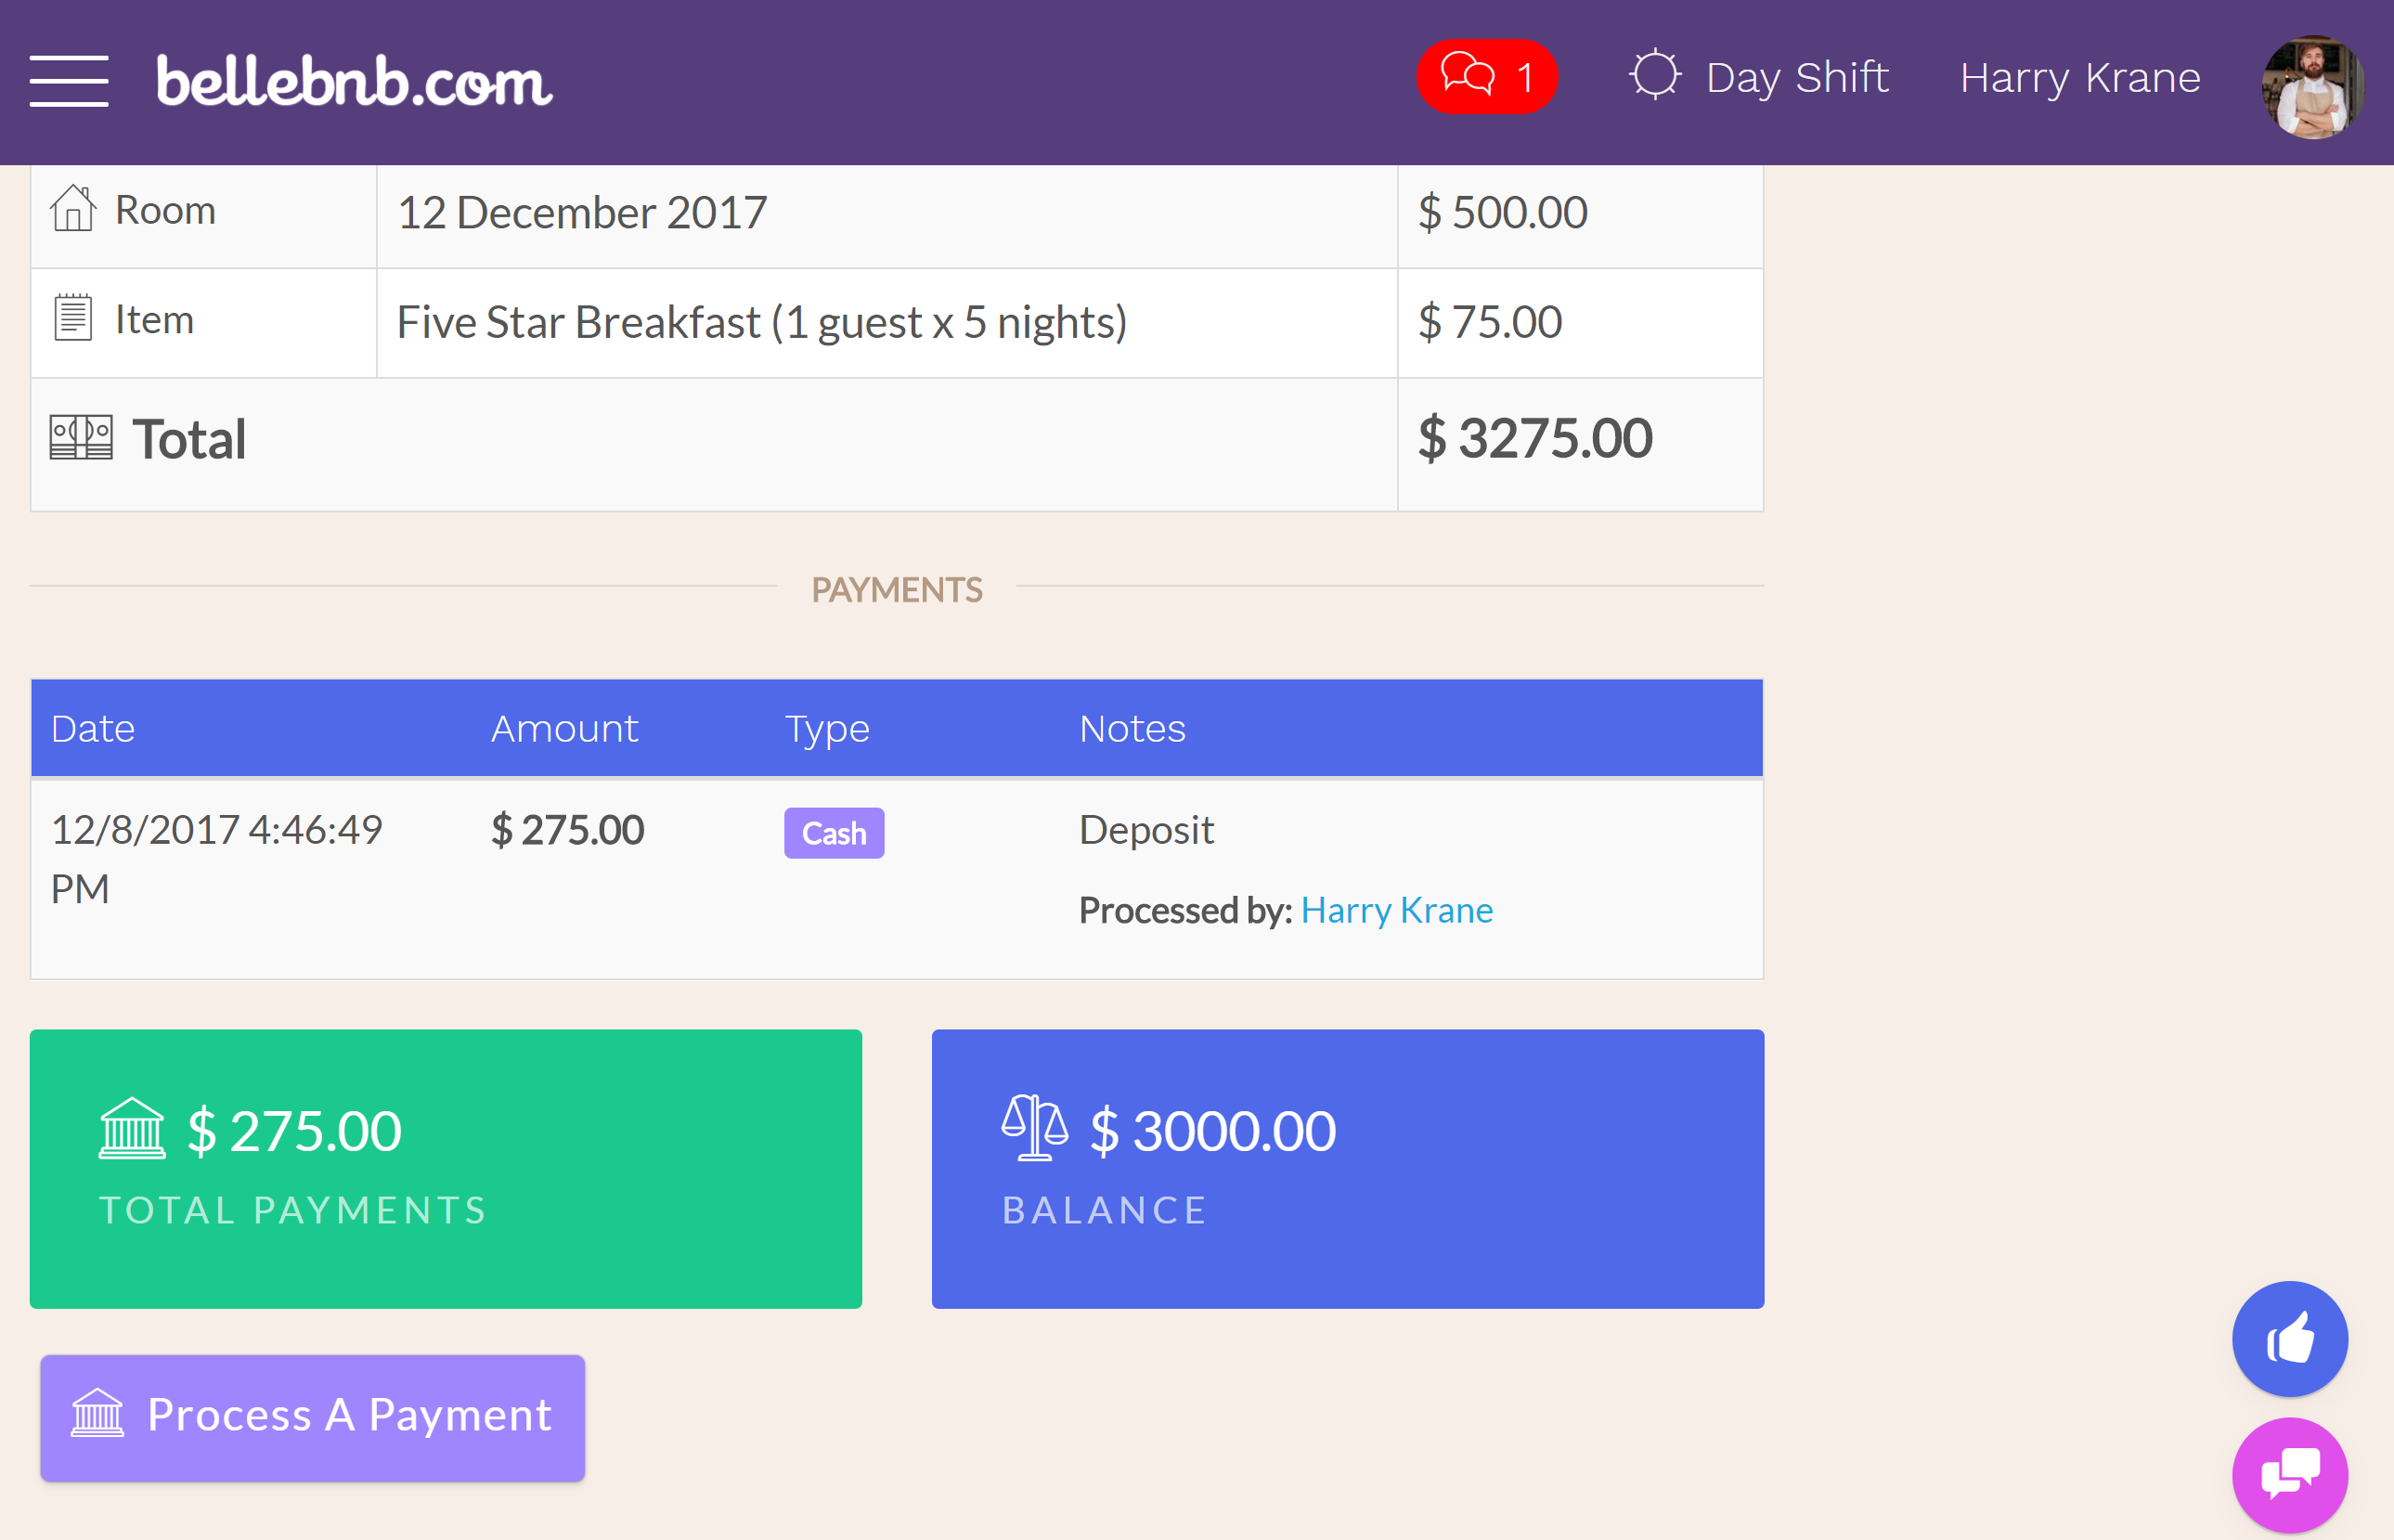
After you process the payment, you will see the new record under the ‘Payments’ section, along with the total payments and balance for this reservation.
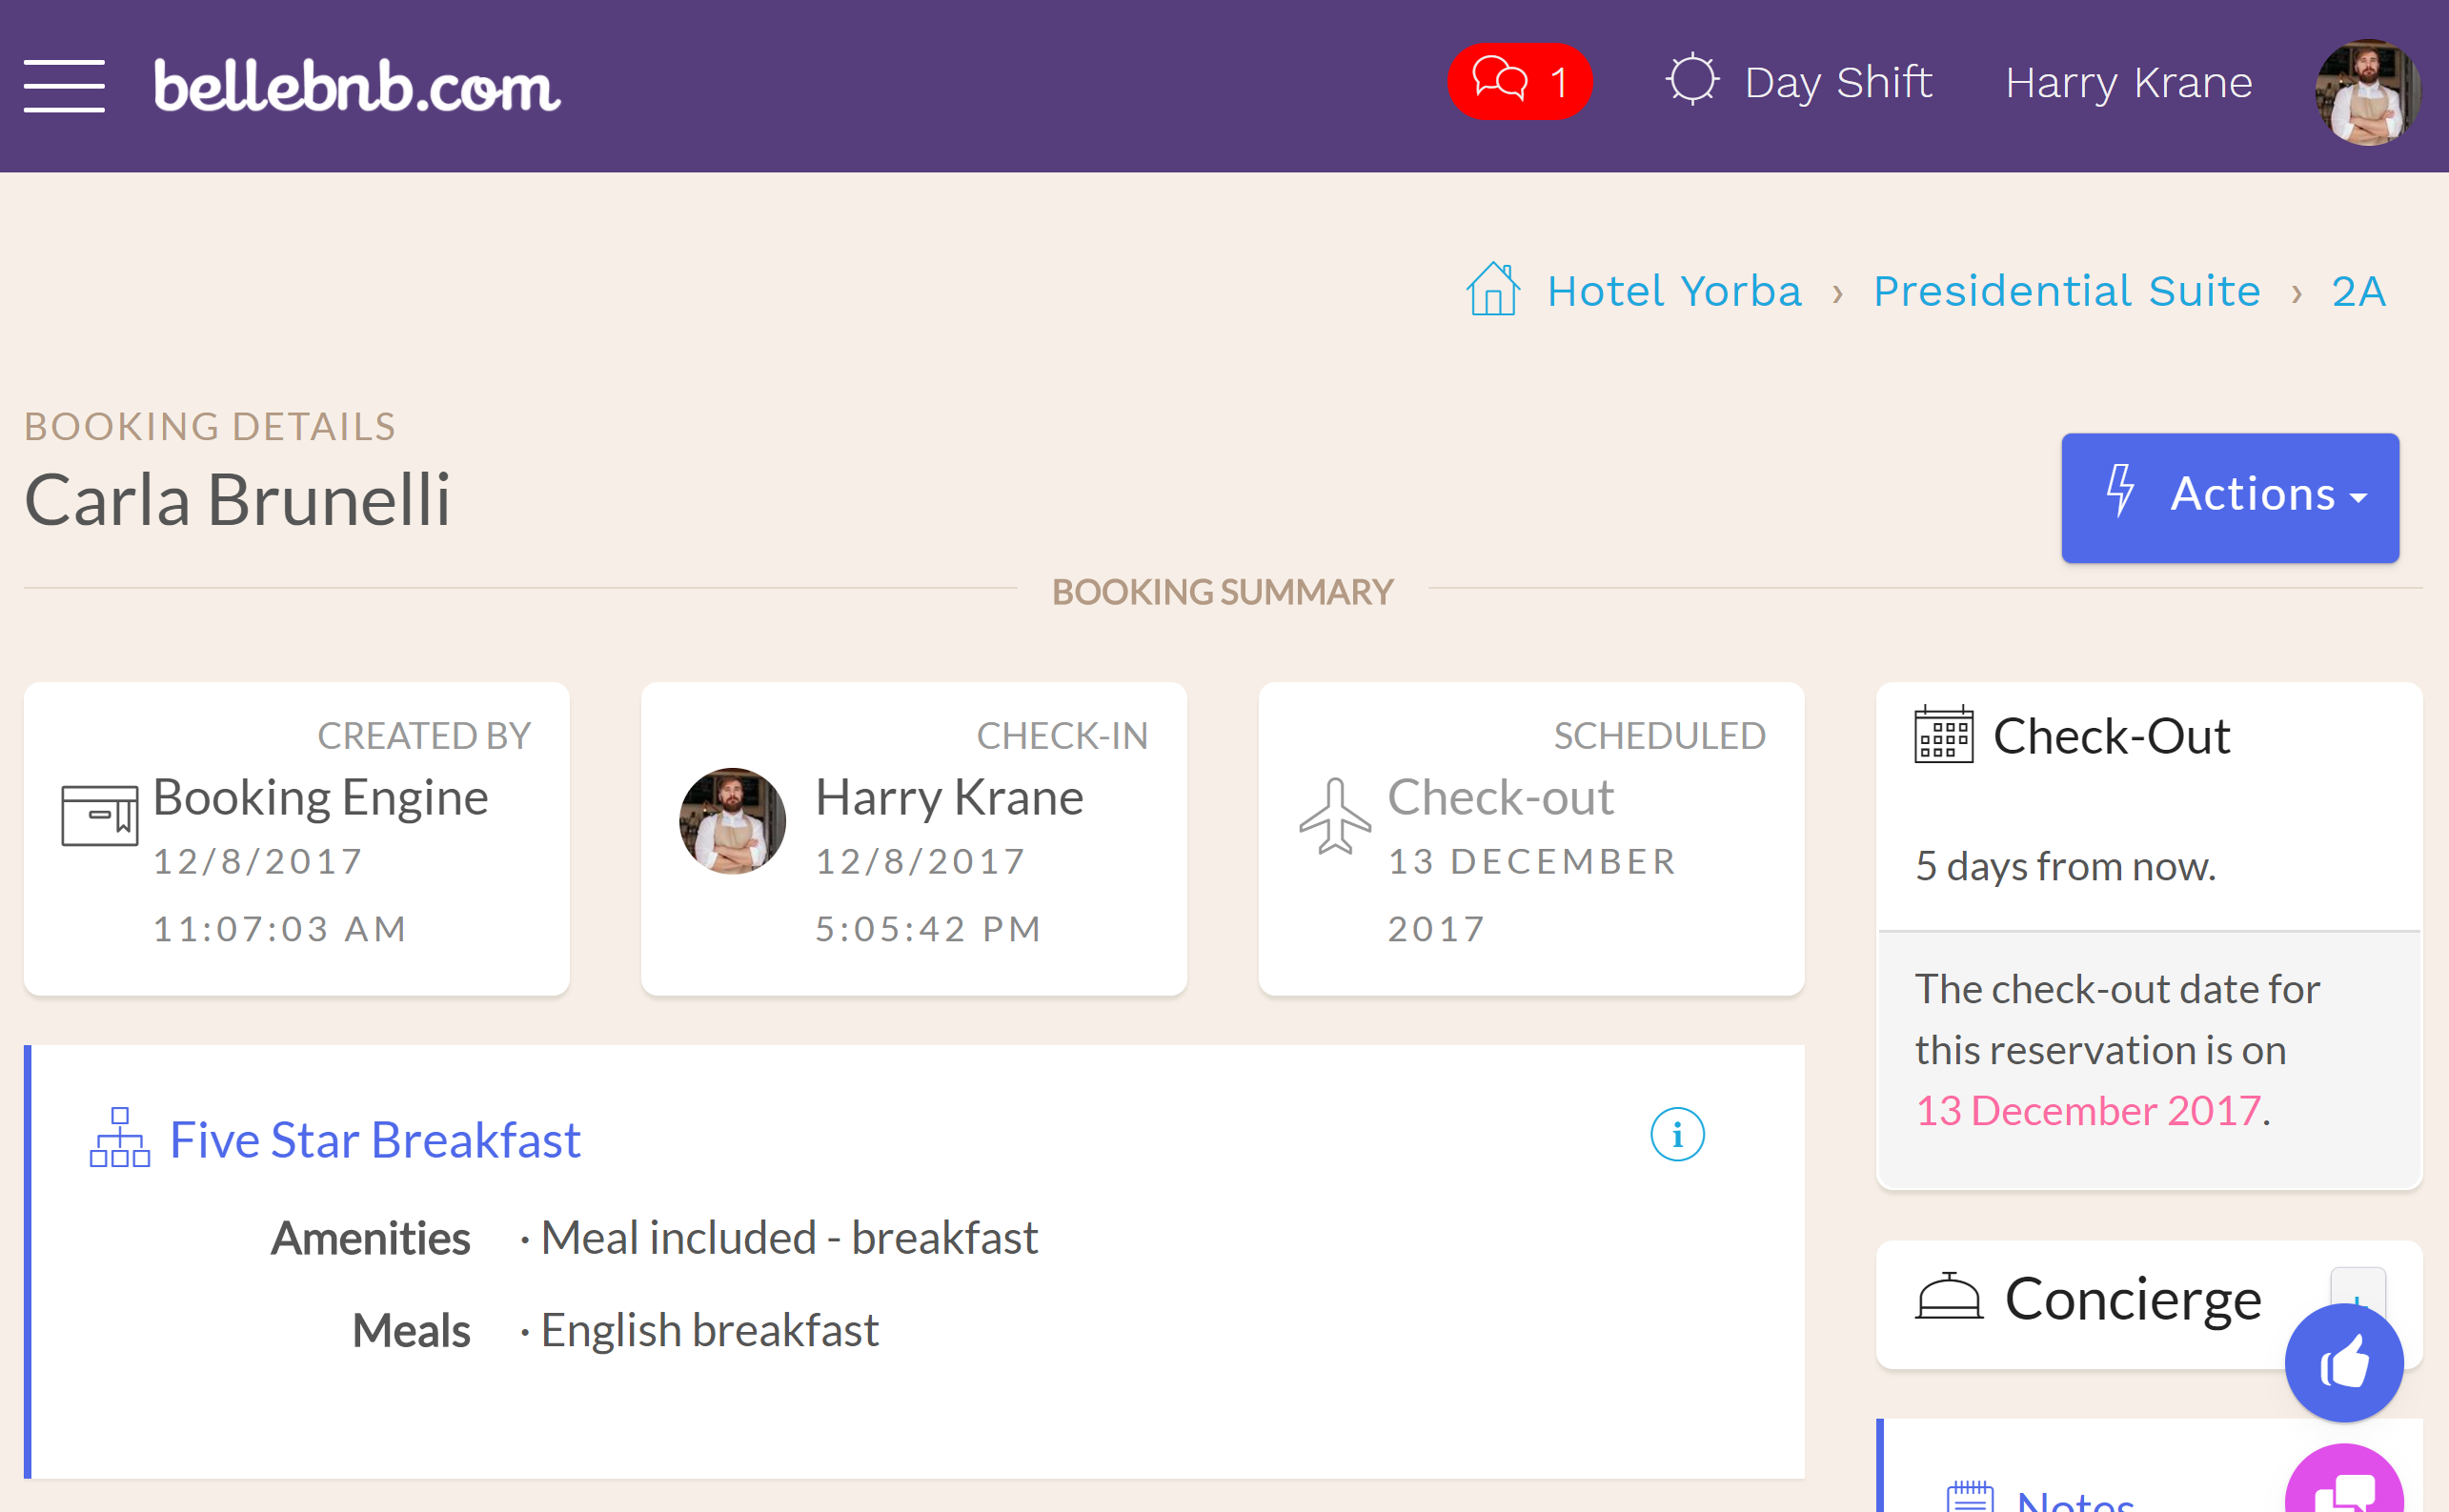
Next, click ‘Check-in’ (or ‘Actions > Check In’) to complete check-in. You will see the reservation has turned green in your calendar to indicate it has been checked in, and it’s no longer listed as ‘Check-in Today’ in your Inbox.
II. Make Your Own Booking
After you have explored the test bookings created with your account, you should go ahead and create a couple of new bookings yourself. To create a new booking directly from your calendar, click and drag across the days to include for the room you wish to reserve.
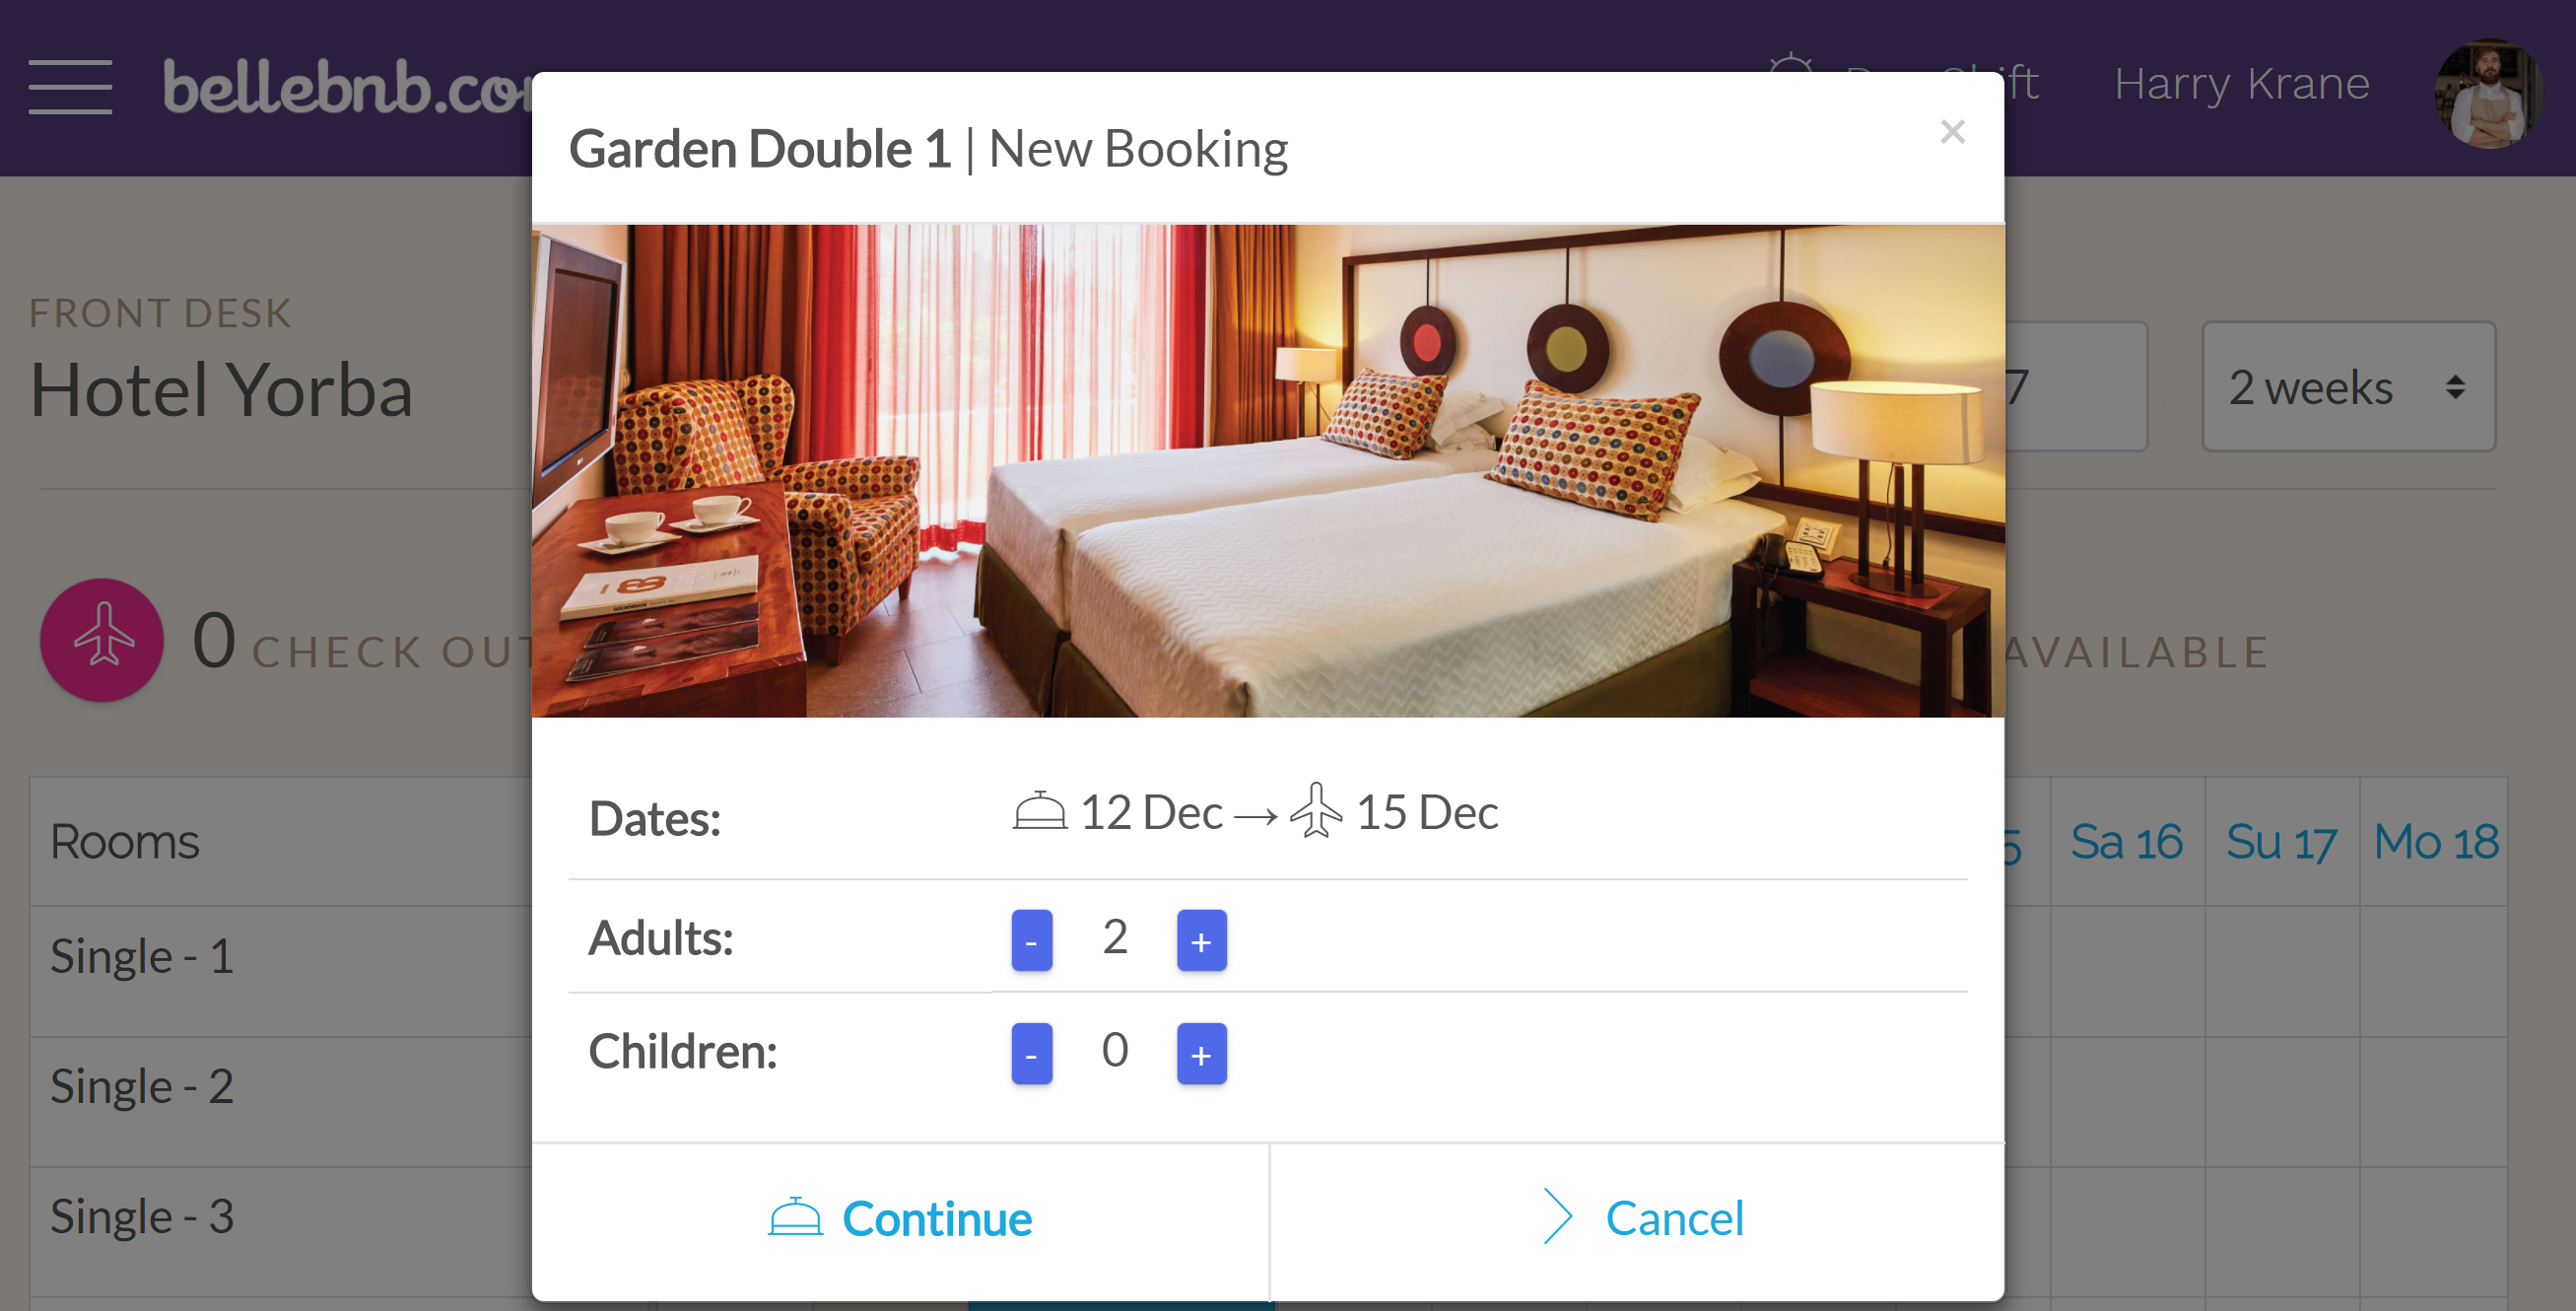
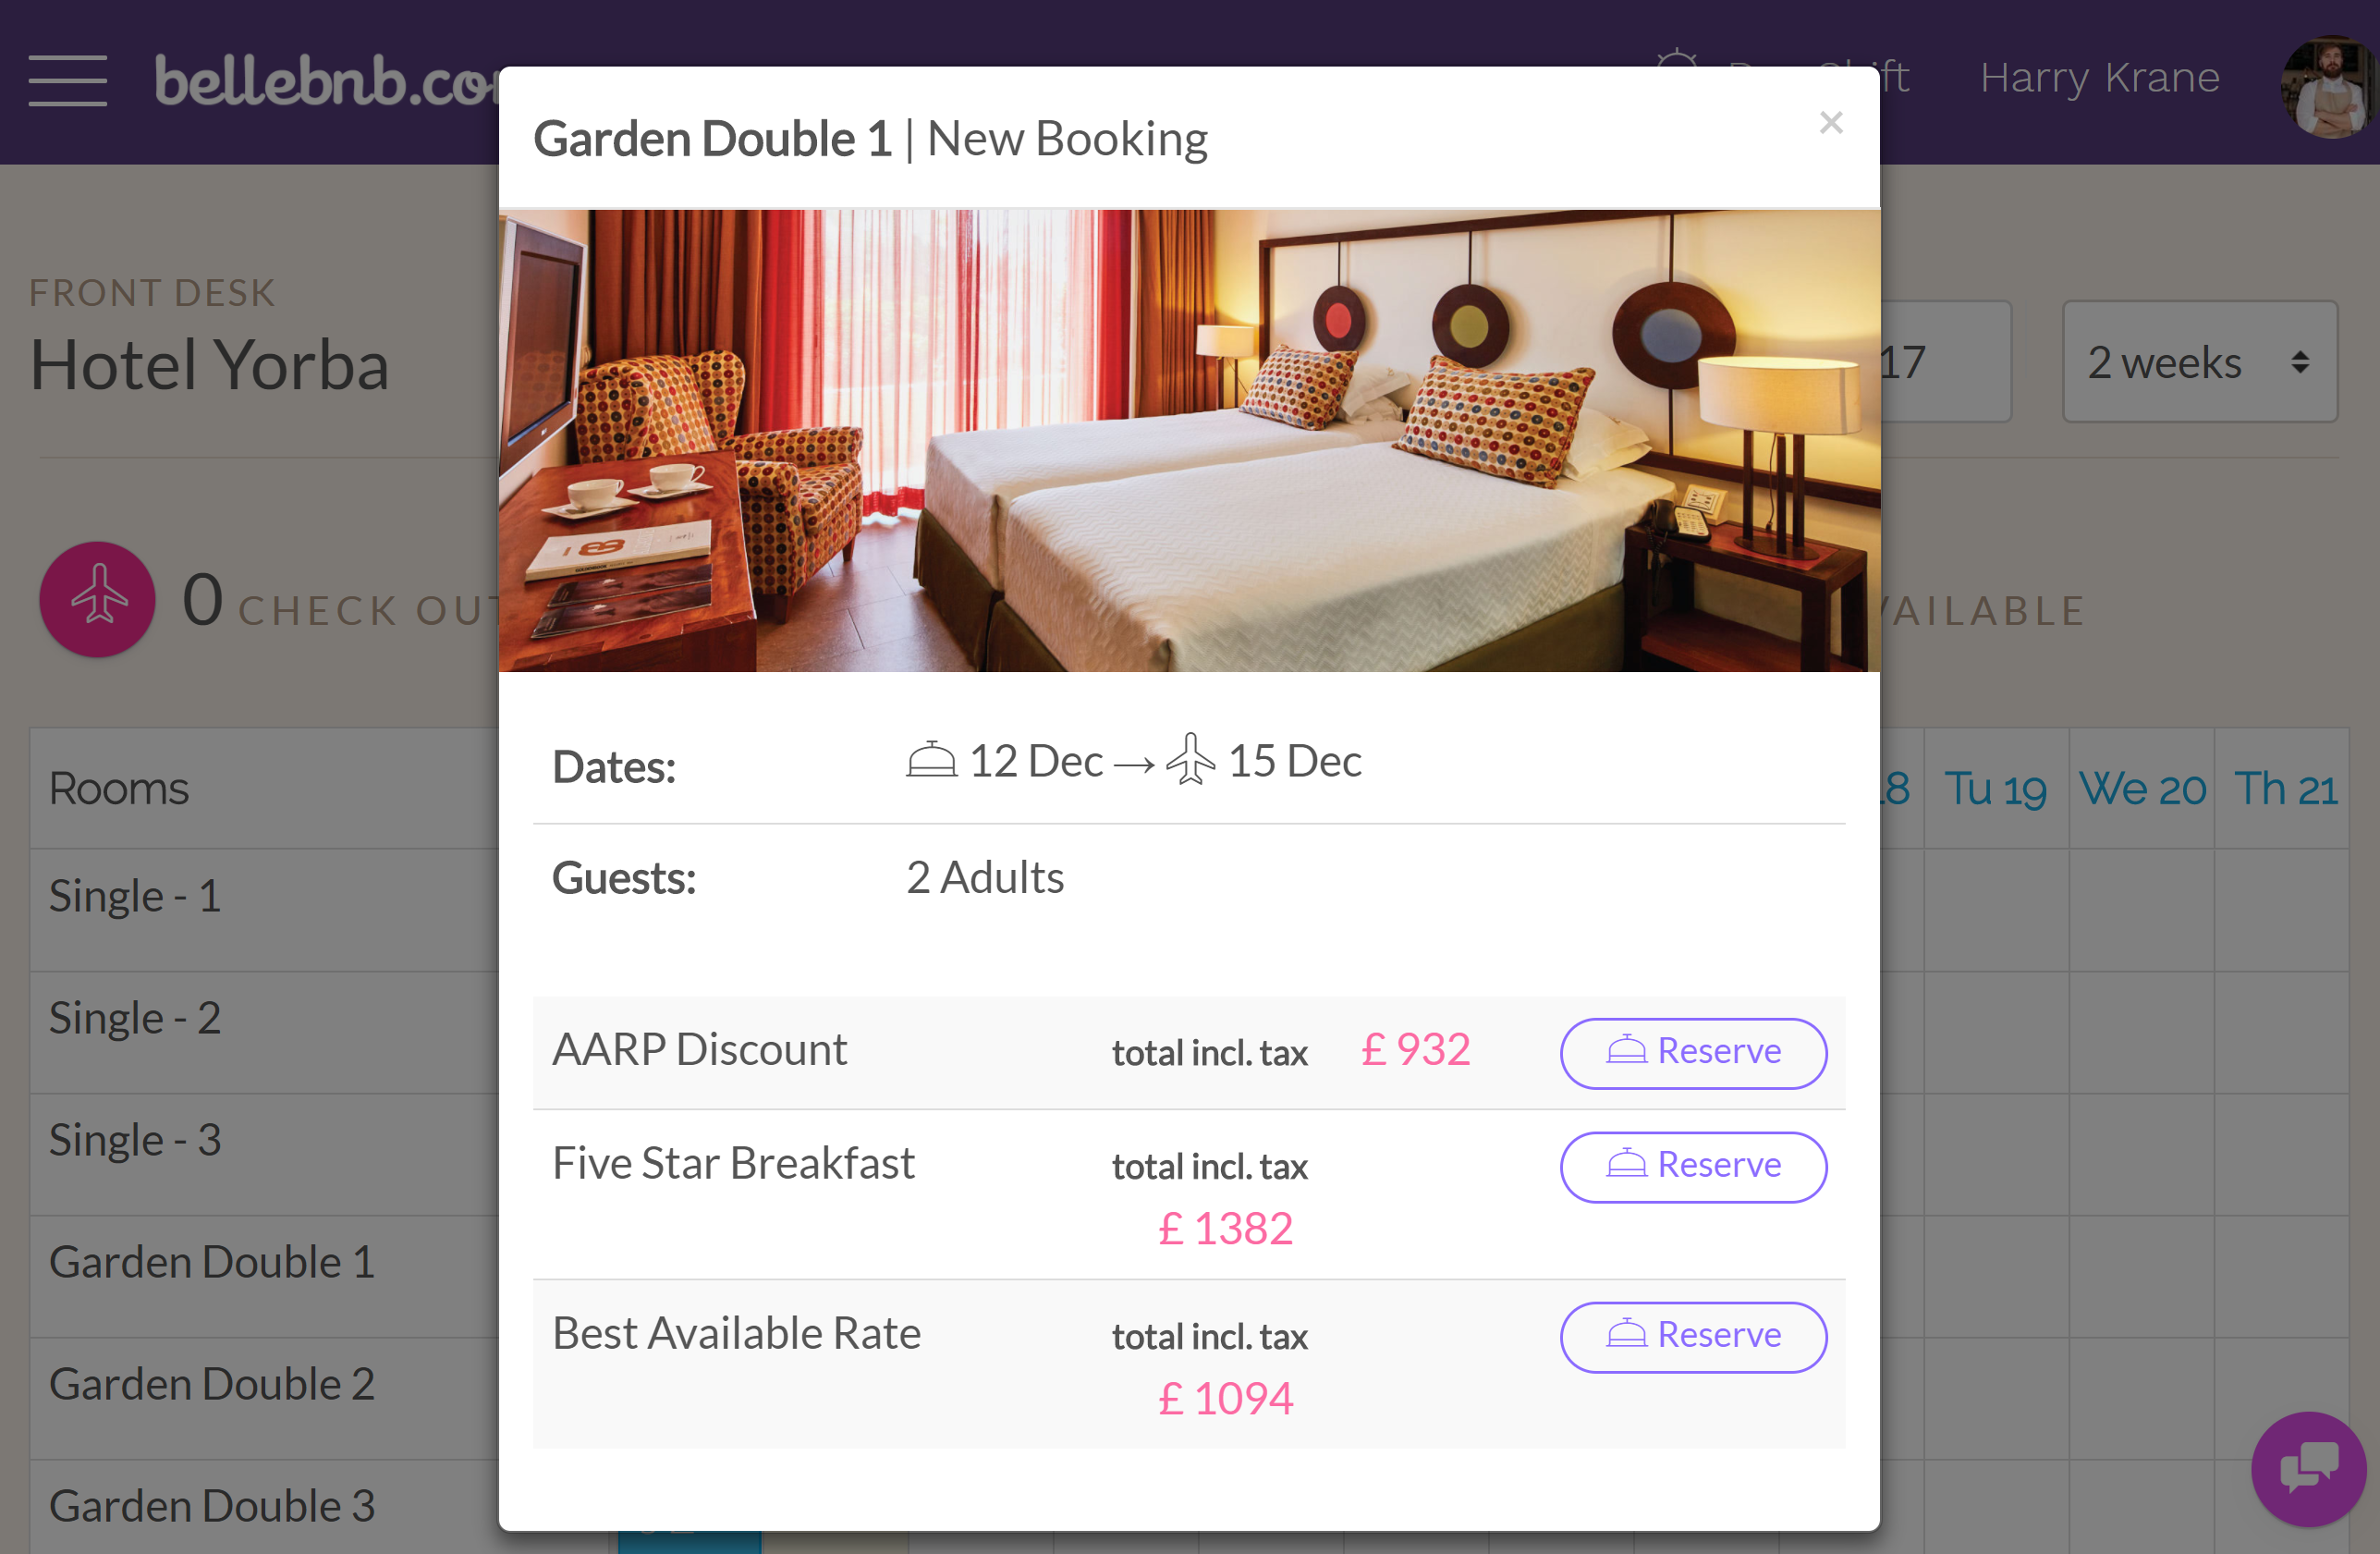
Enter the number of adults and children for the room, click continue, then select the rate. This way you book exactly the room you want for the indicated dates.
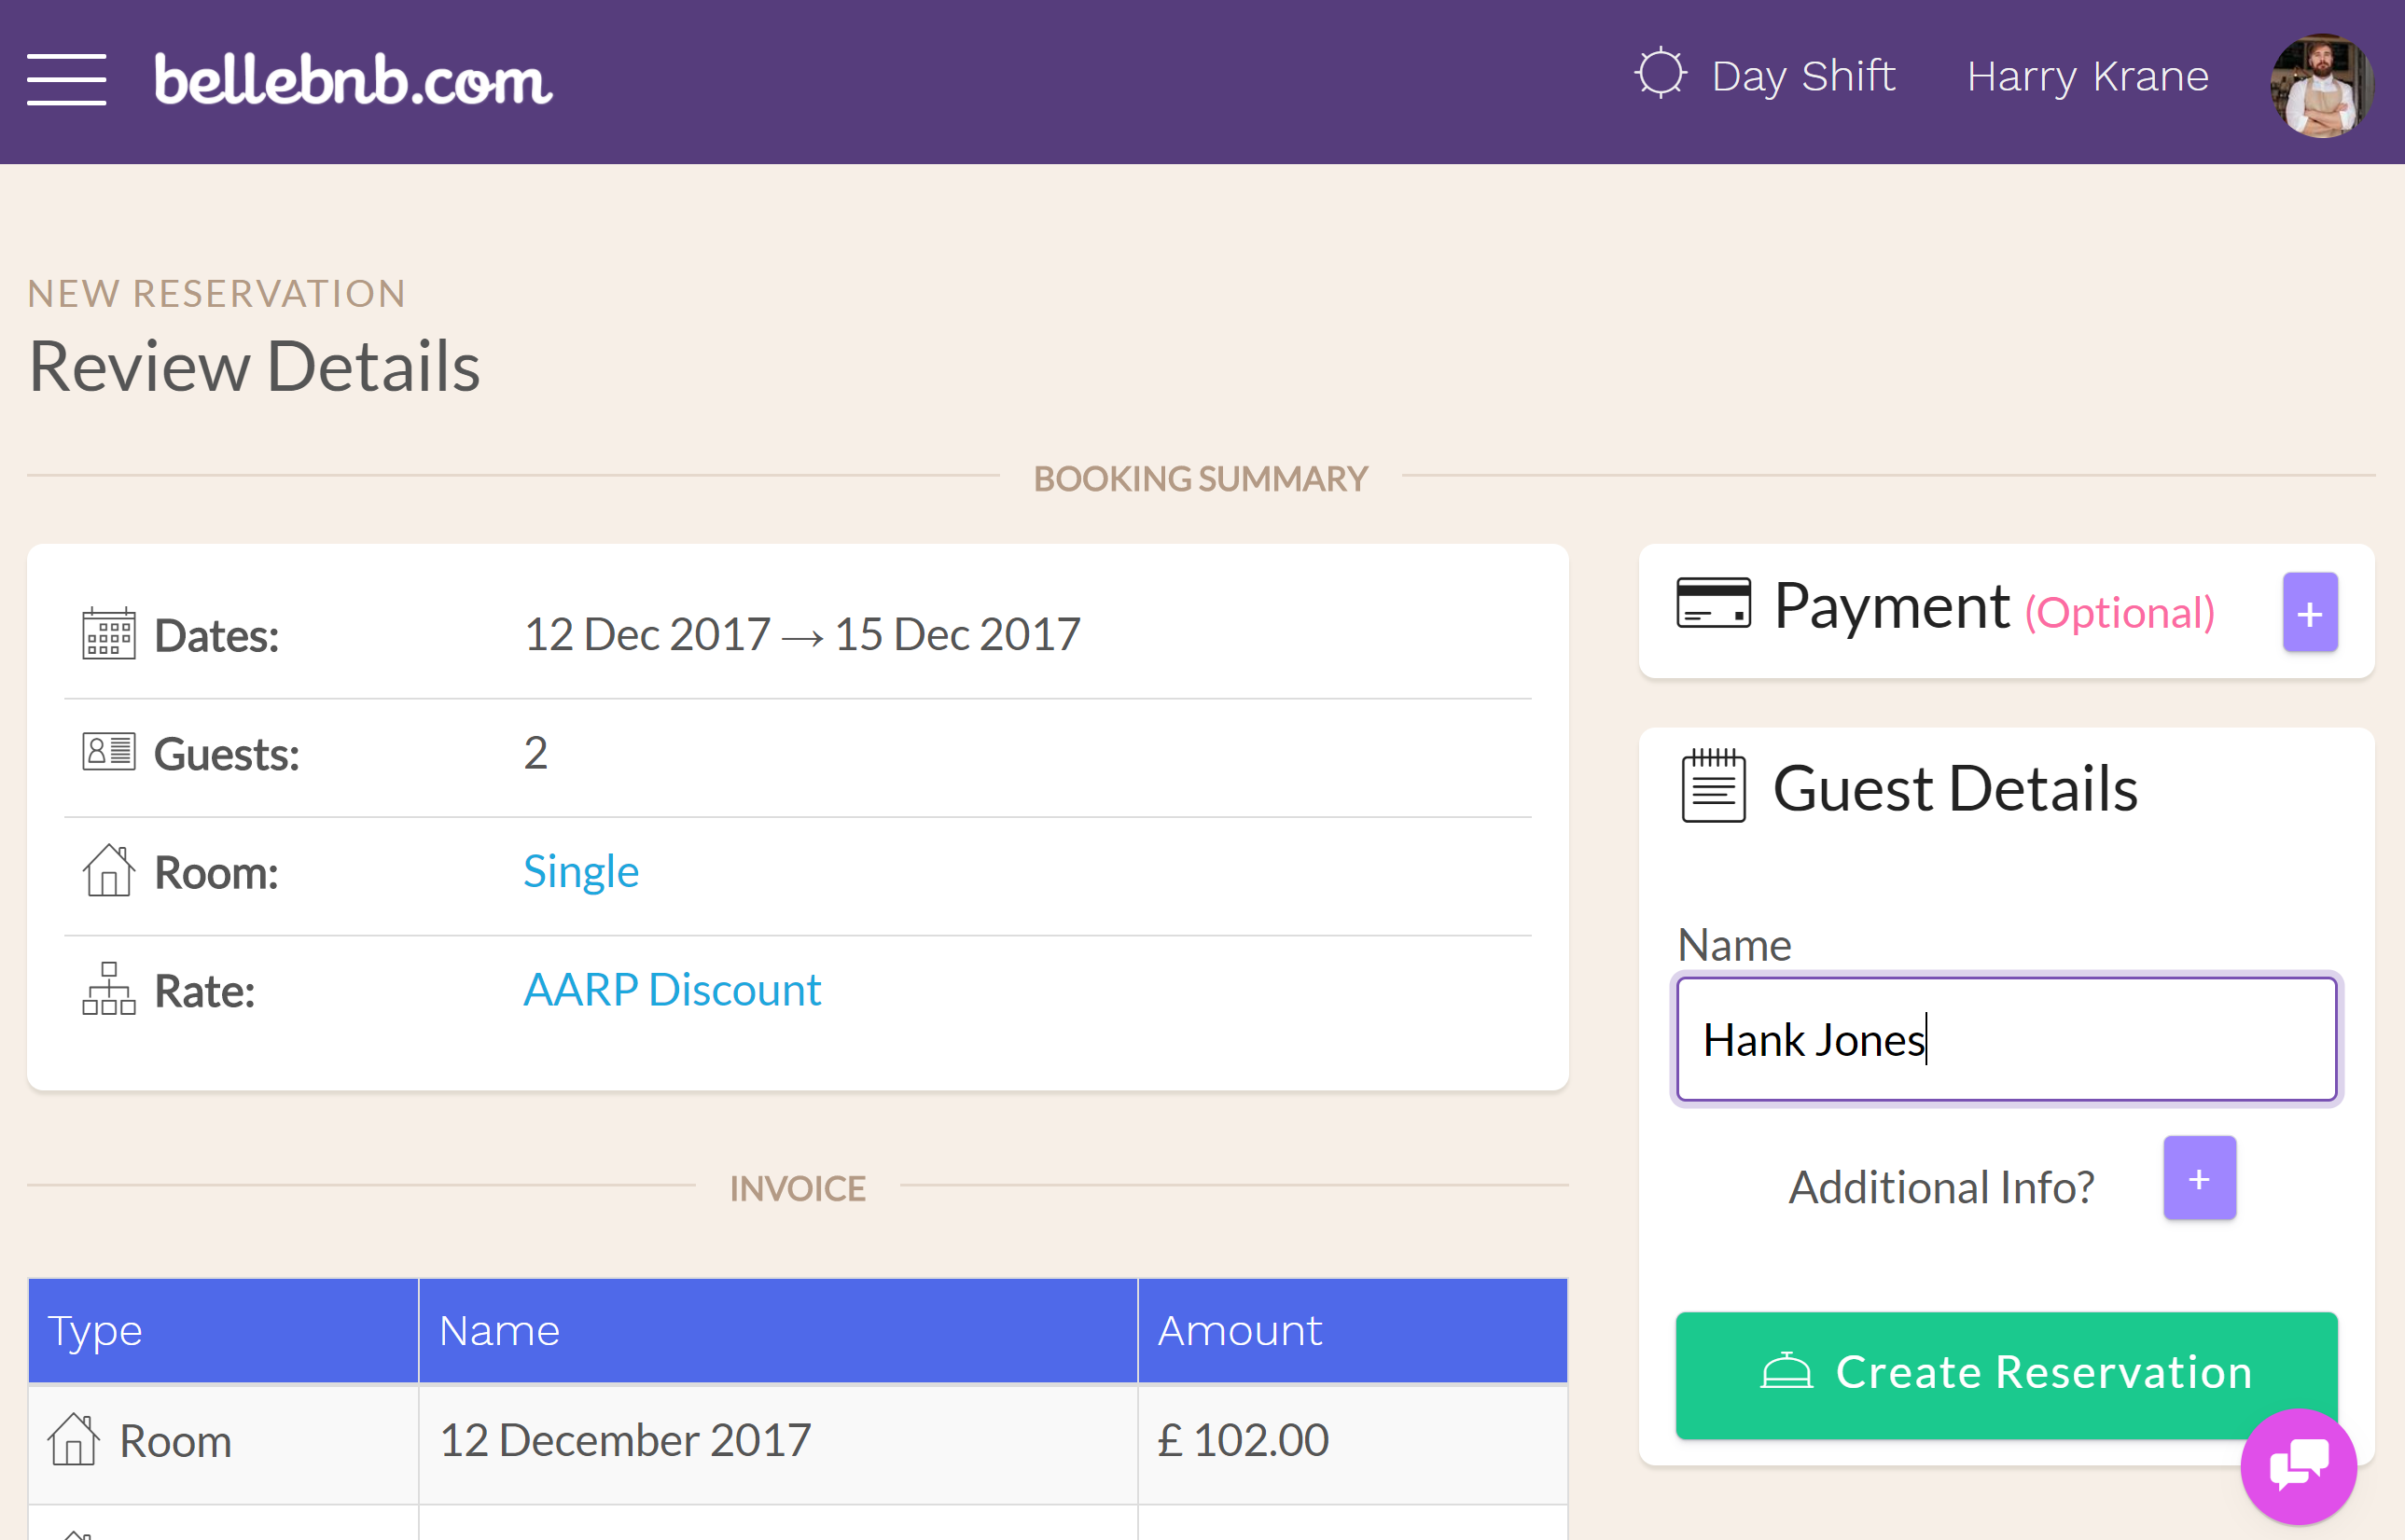
To complete the reservation, you need only to enter a name for the booking. You have the option to add extra info, like a contact email or a note, and you can even secure the booking with a credit card, if you like.
This method is very convenient because you can book an exact room, and you don’t have to leave your calendar. The drawback is you only see the price for the selected room. Sometimes a guest will call in and expect several options to be offered.
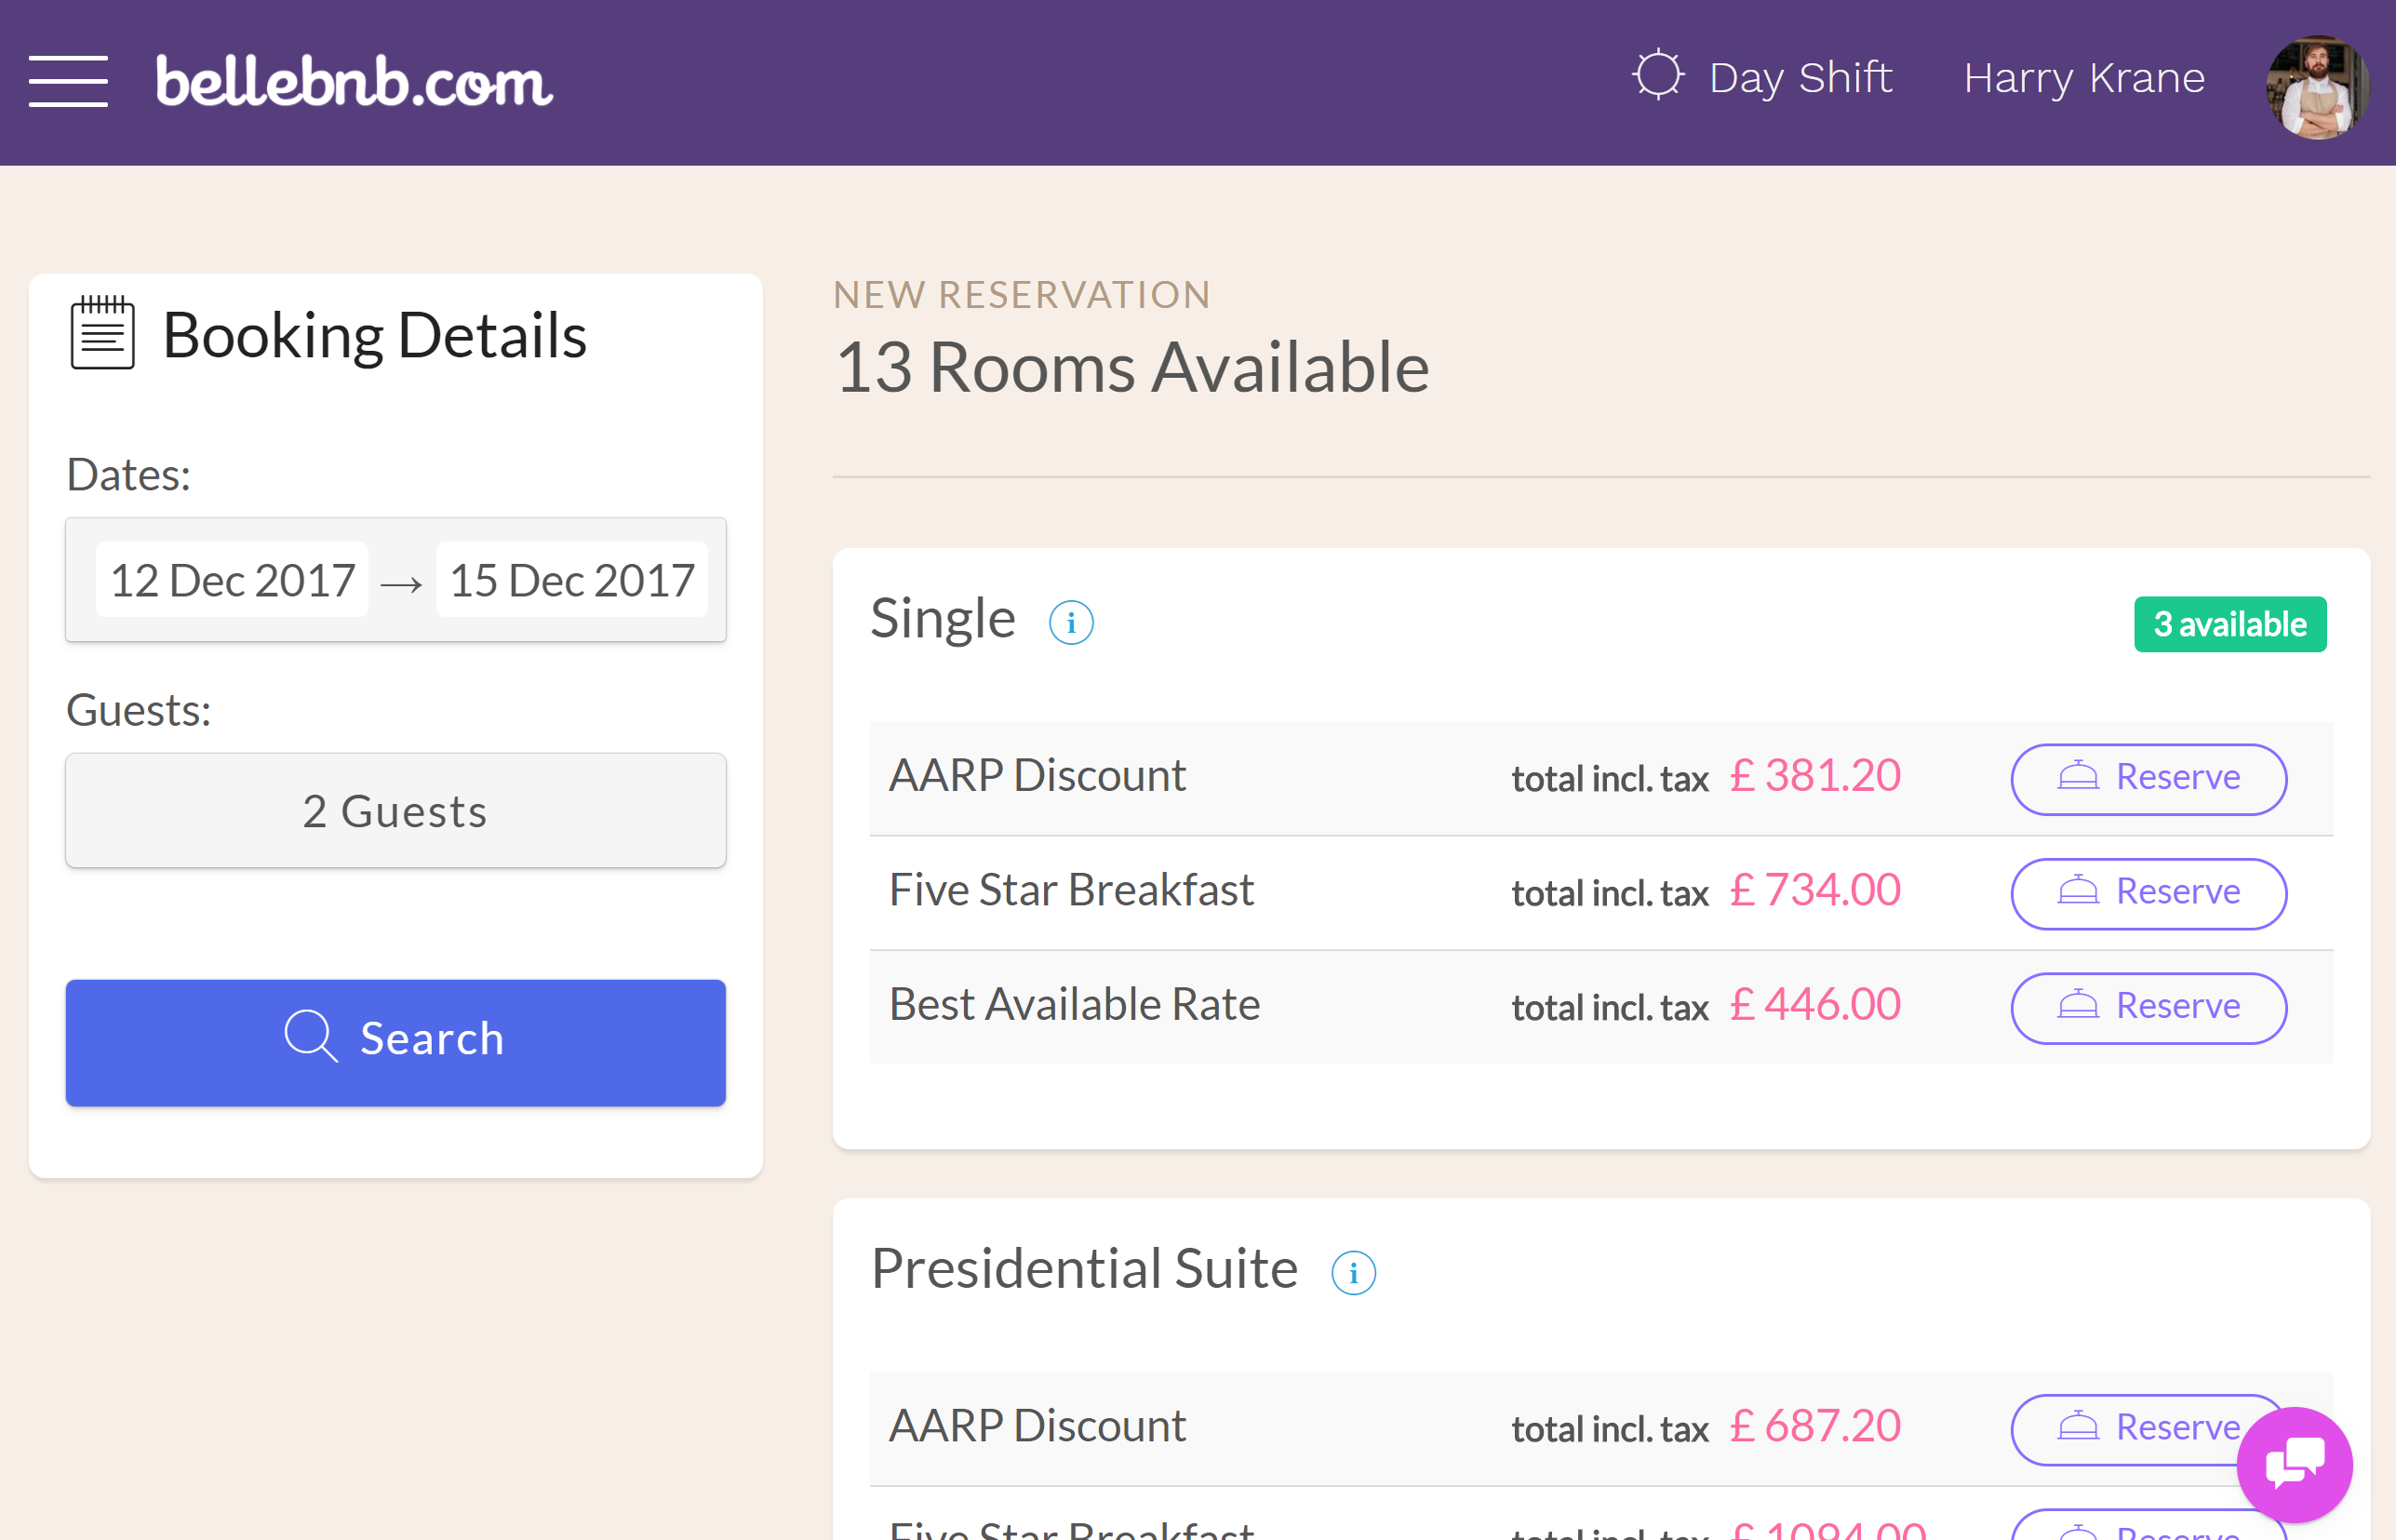
Go to ‘Front Desk > Book Now’ in the main menu, enter the dates and guests info and click ‘Search’ to see all the rooms available for the selected parameters. Select the room/rate combination to complete the booking.
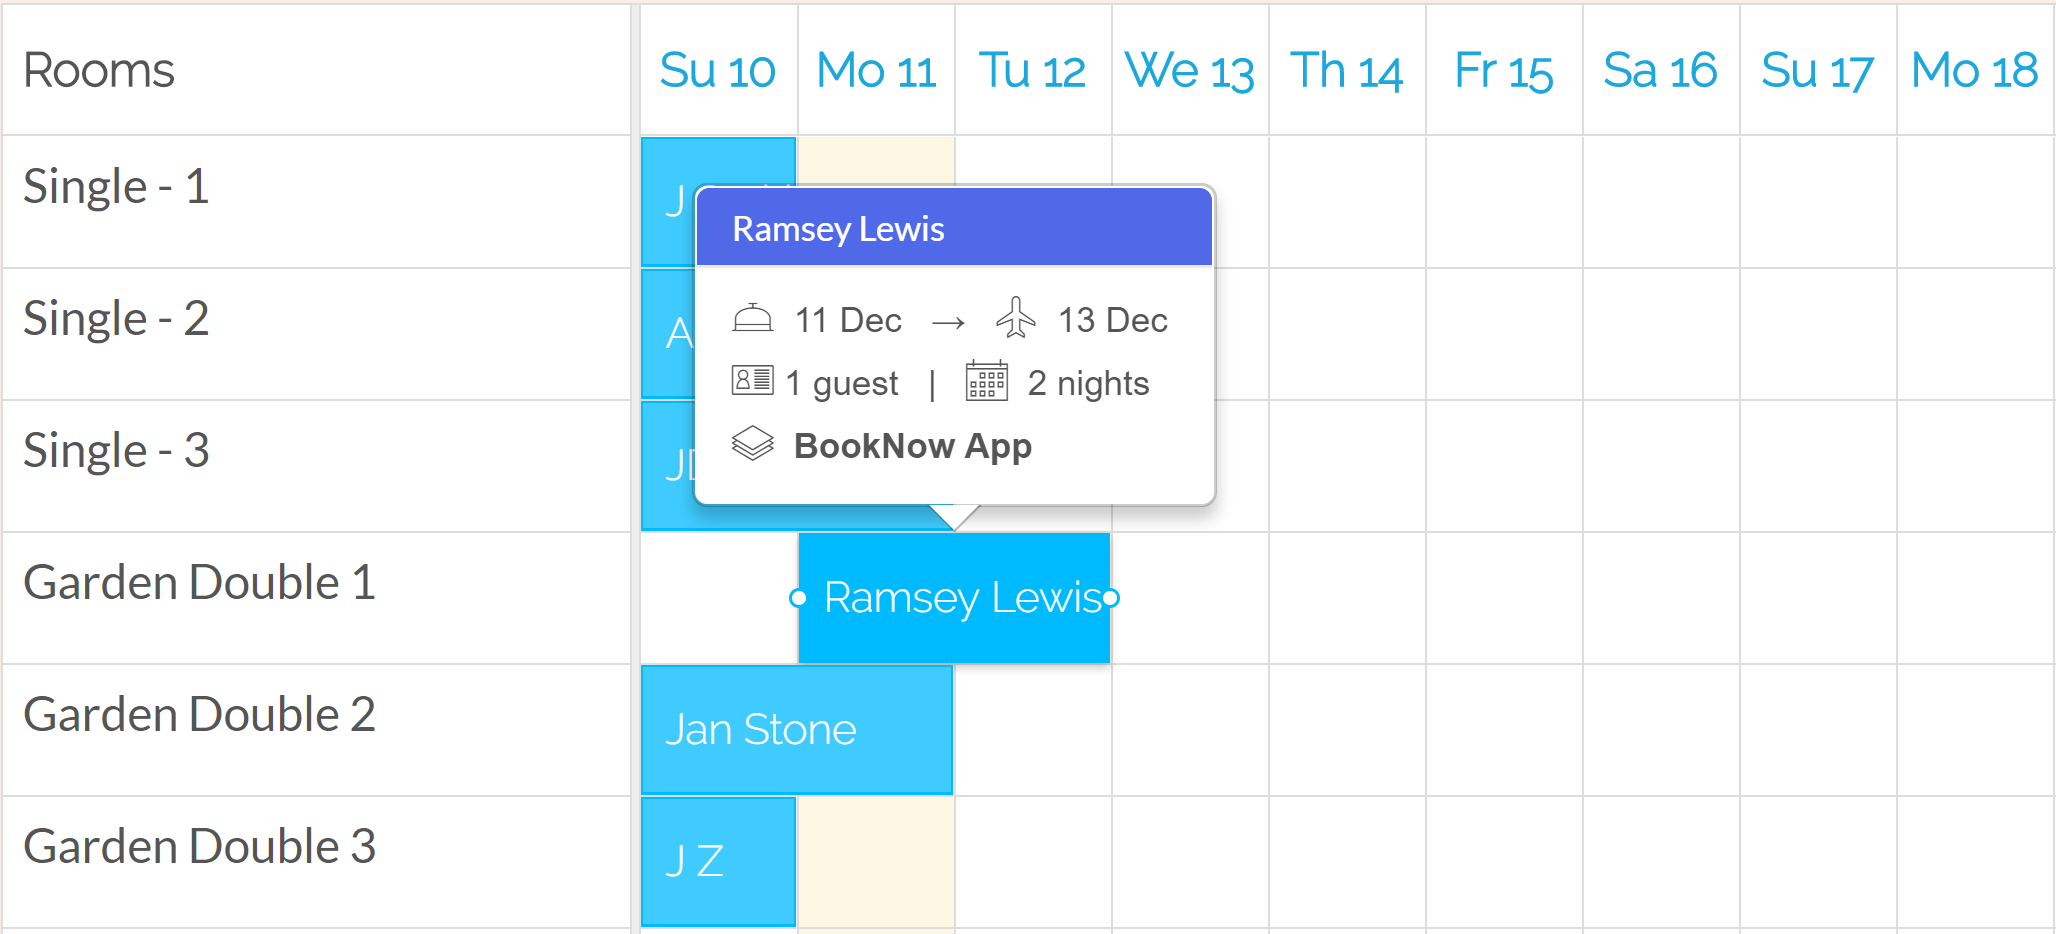
Now that you know how to create bookings, try to reschedule. Just drag and resize any blue or green booking in your calendar to move between rooms or add/remove dates. Note that purple bookings have already been checked out and thus cannot be rescheduled.
III. Try out Your Booking Engine
Now that you know how to manage bookings, you should see how our system can generate bookings for you through your booking engine. Go to ‘Channel Manager > My Booking Engine’ to view settings. Here you can customize the appearance of your booking engine and add descriptions and policies, along with photos of your hotel.
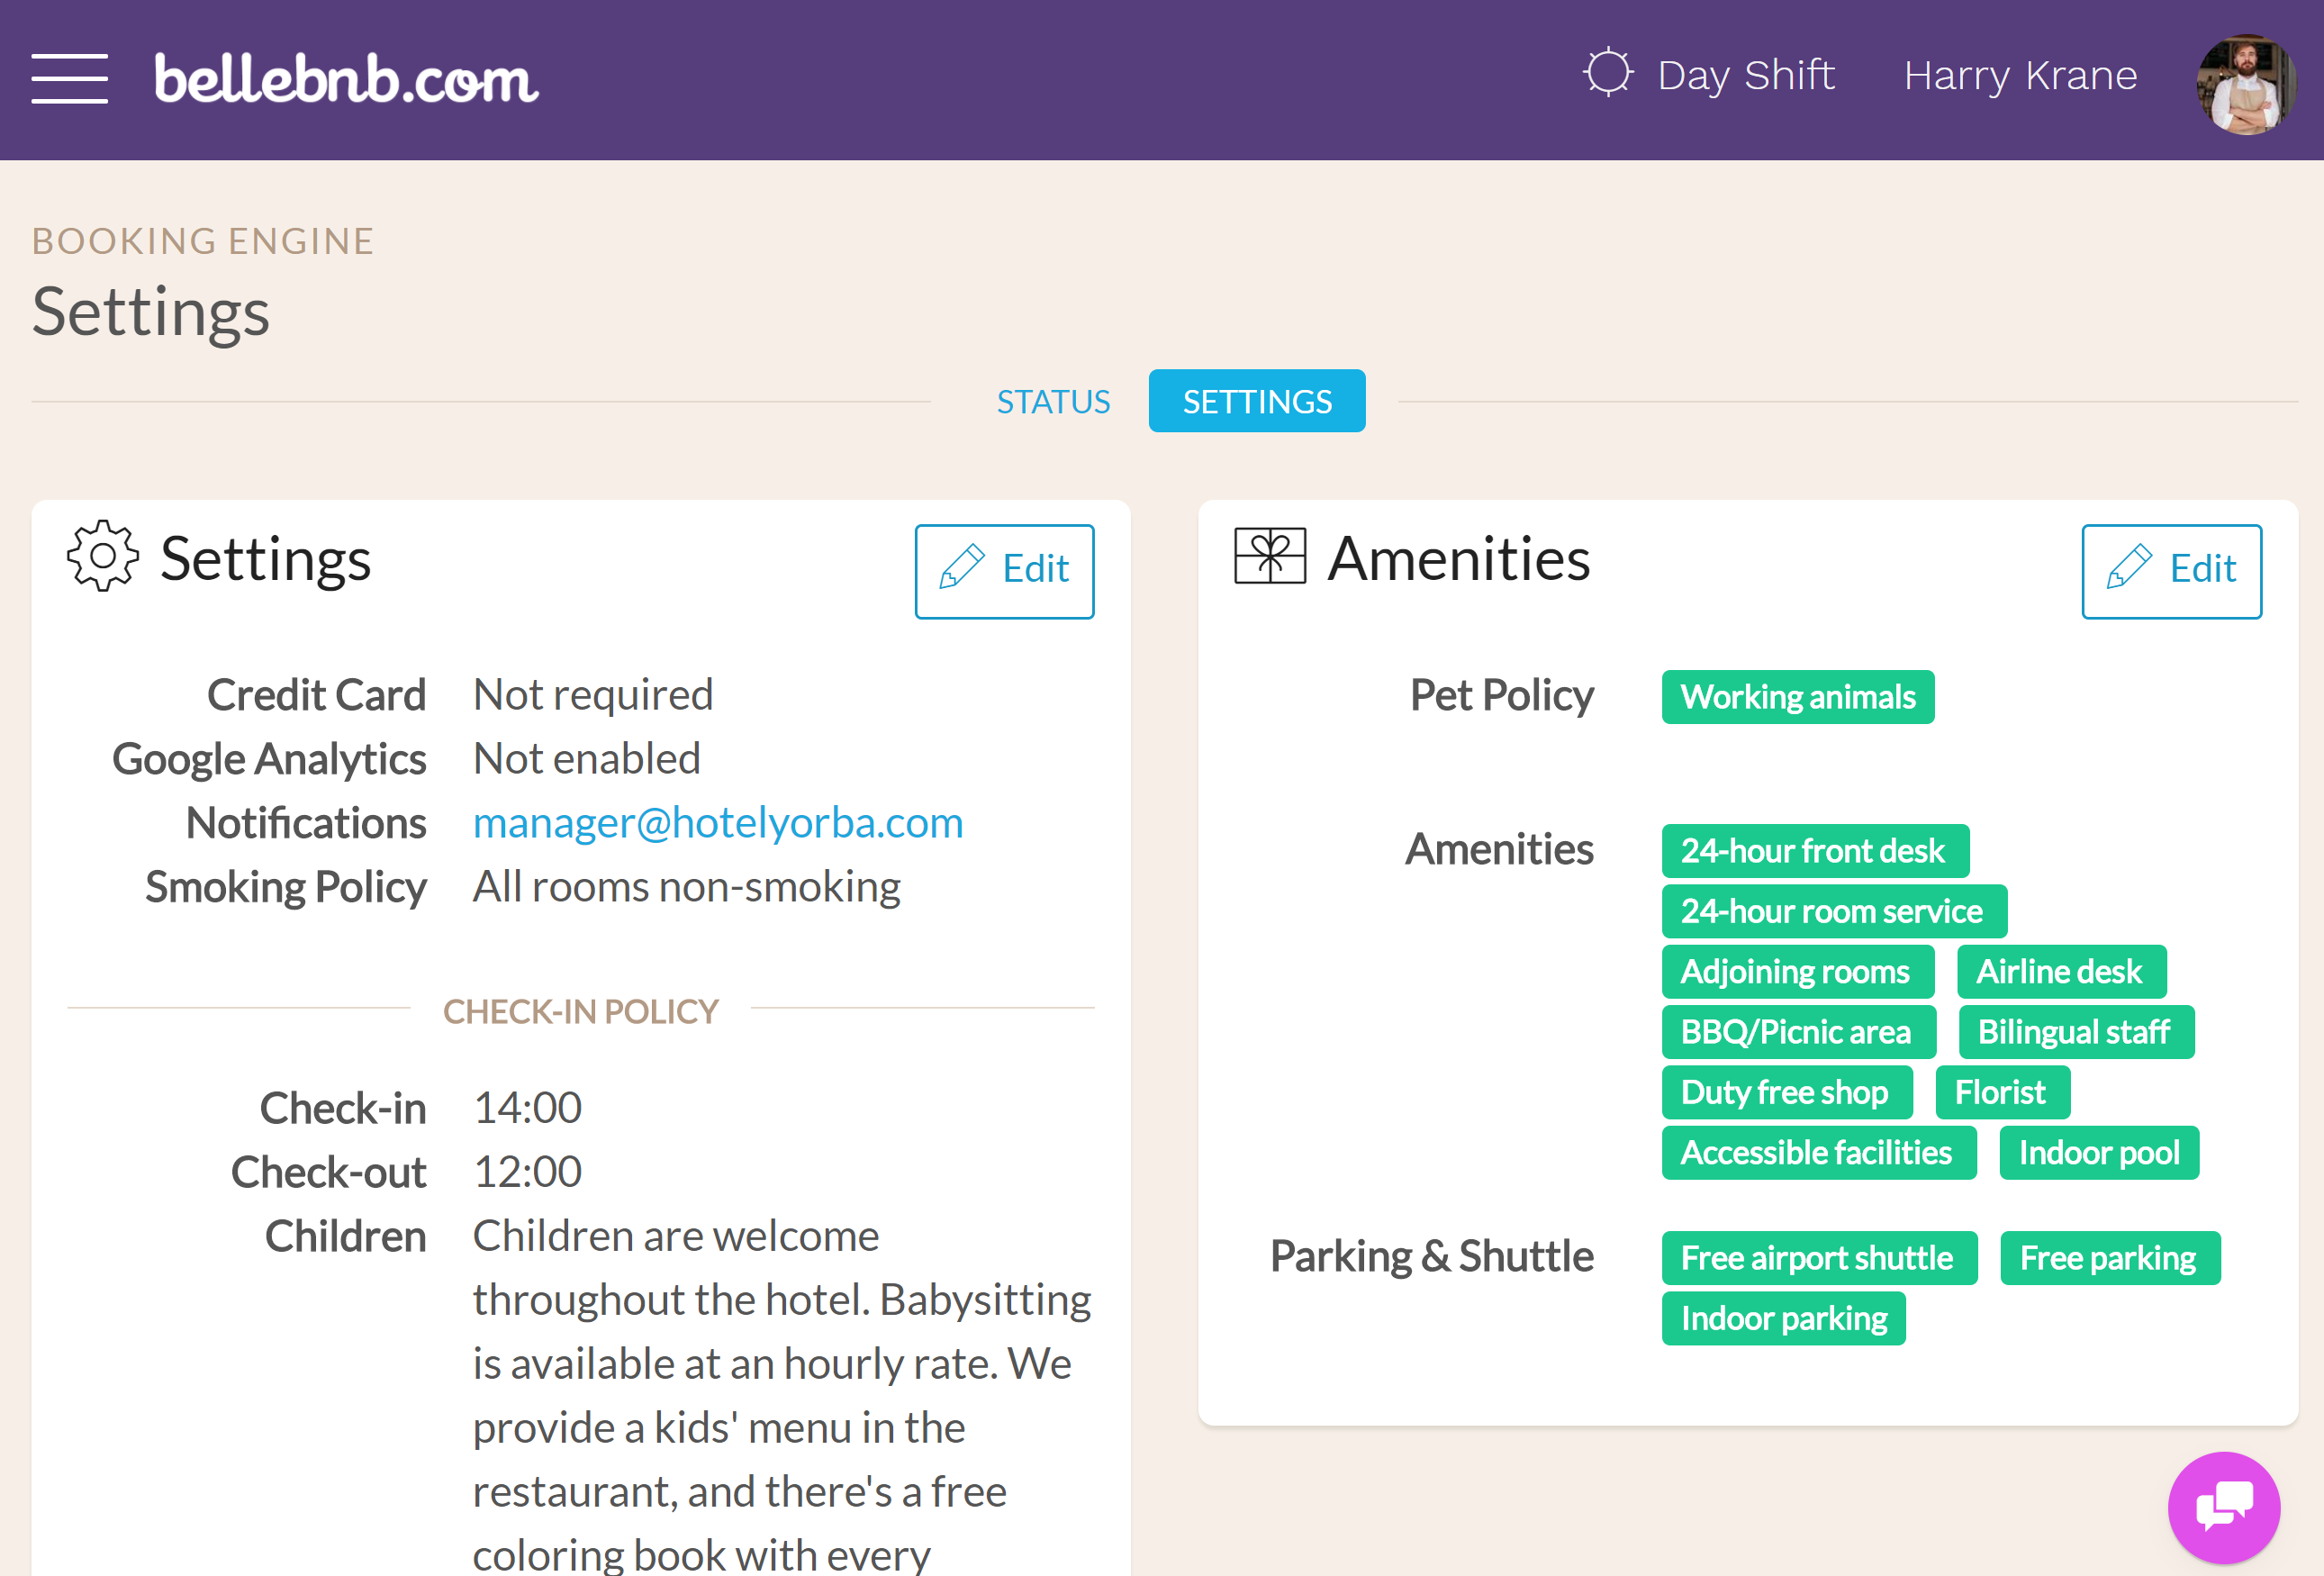
You should also add photos for your room types to see how your hotel will look to your potential guests. Go to ‘My Hotel > Room Types’ and select any room.
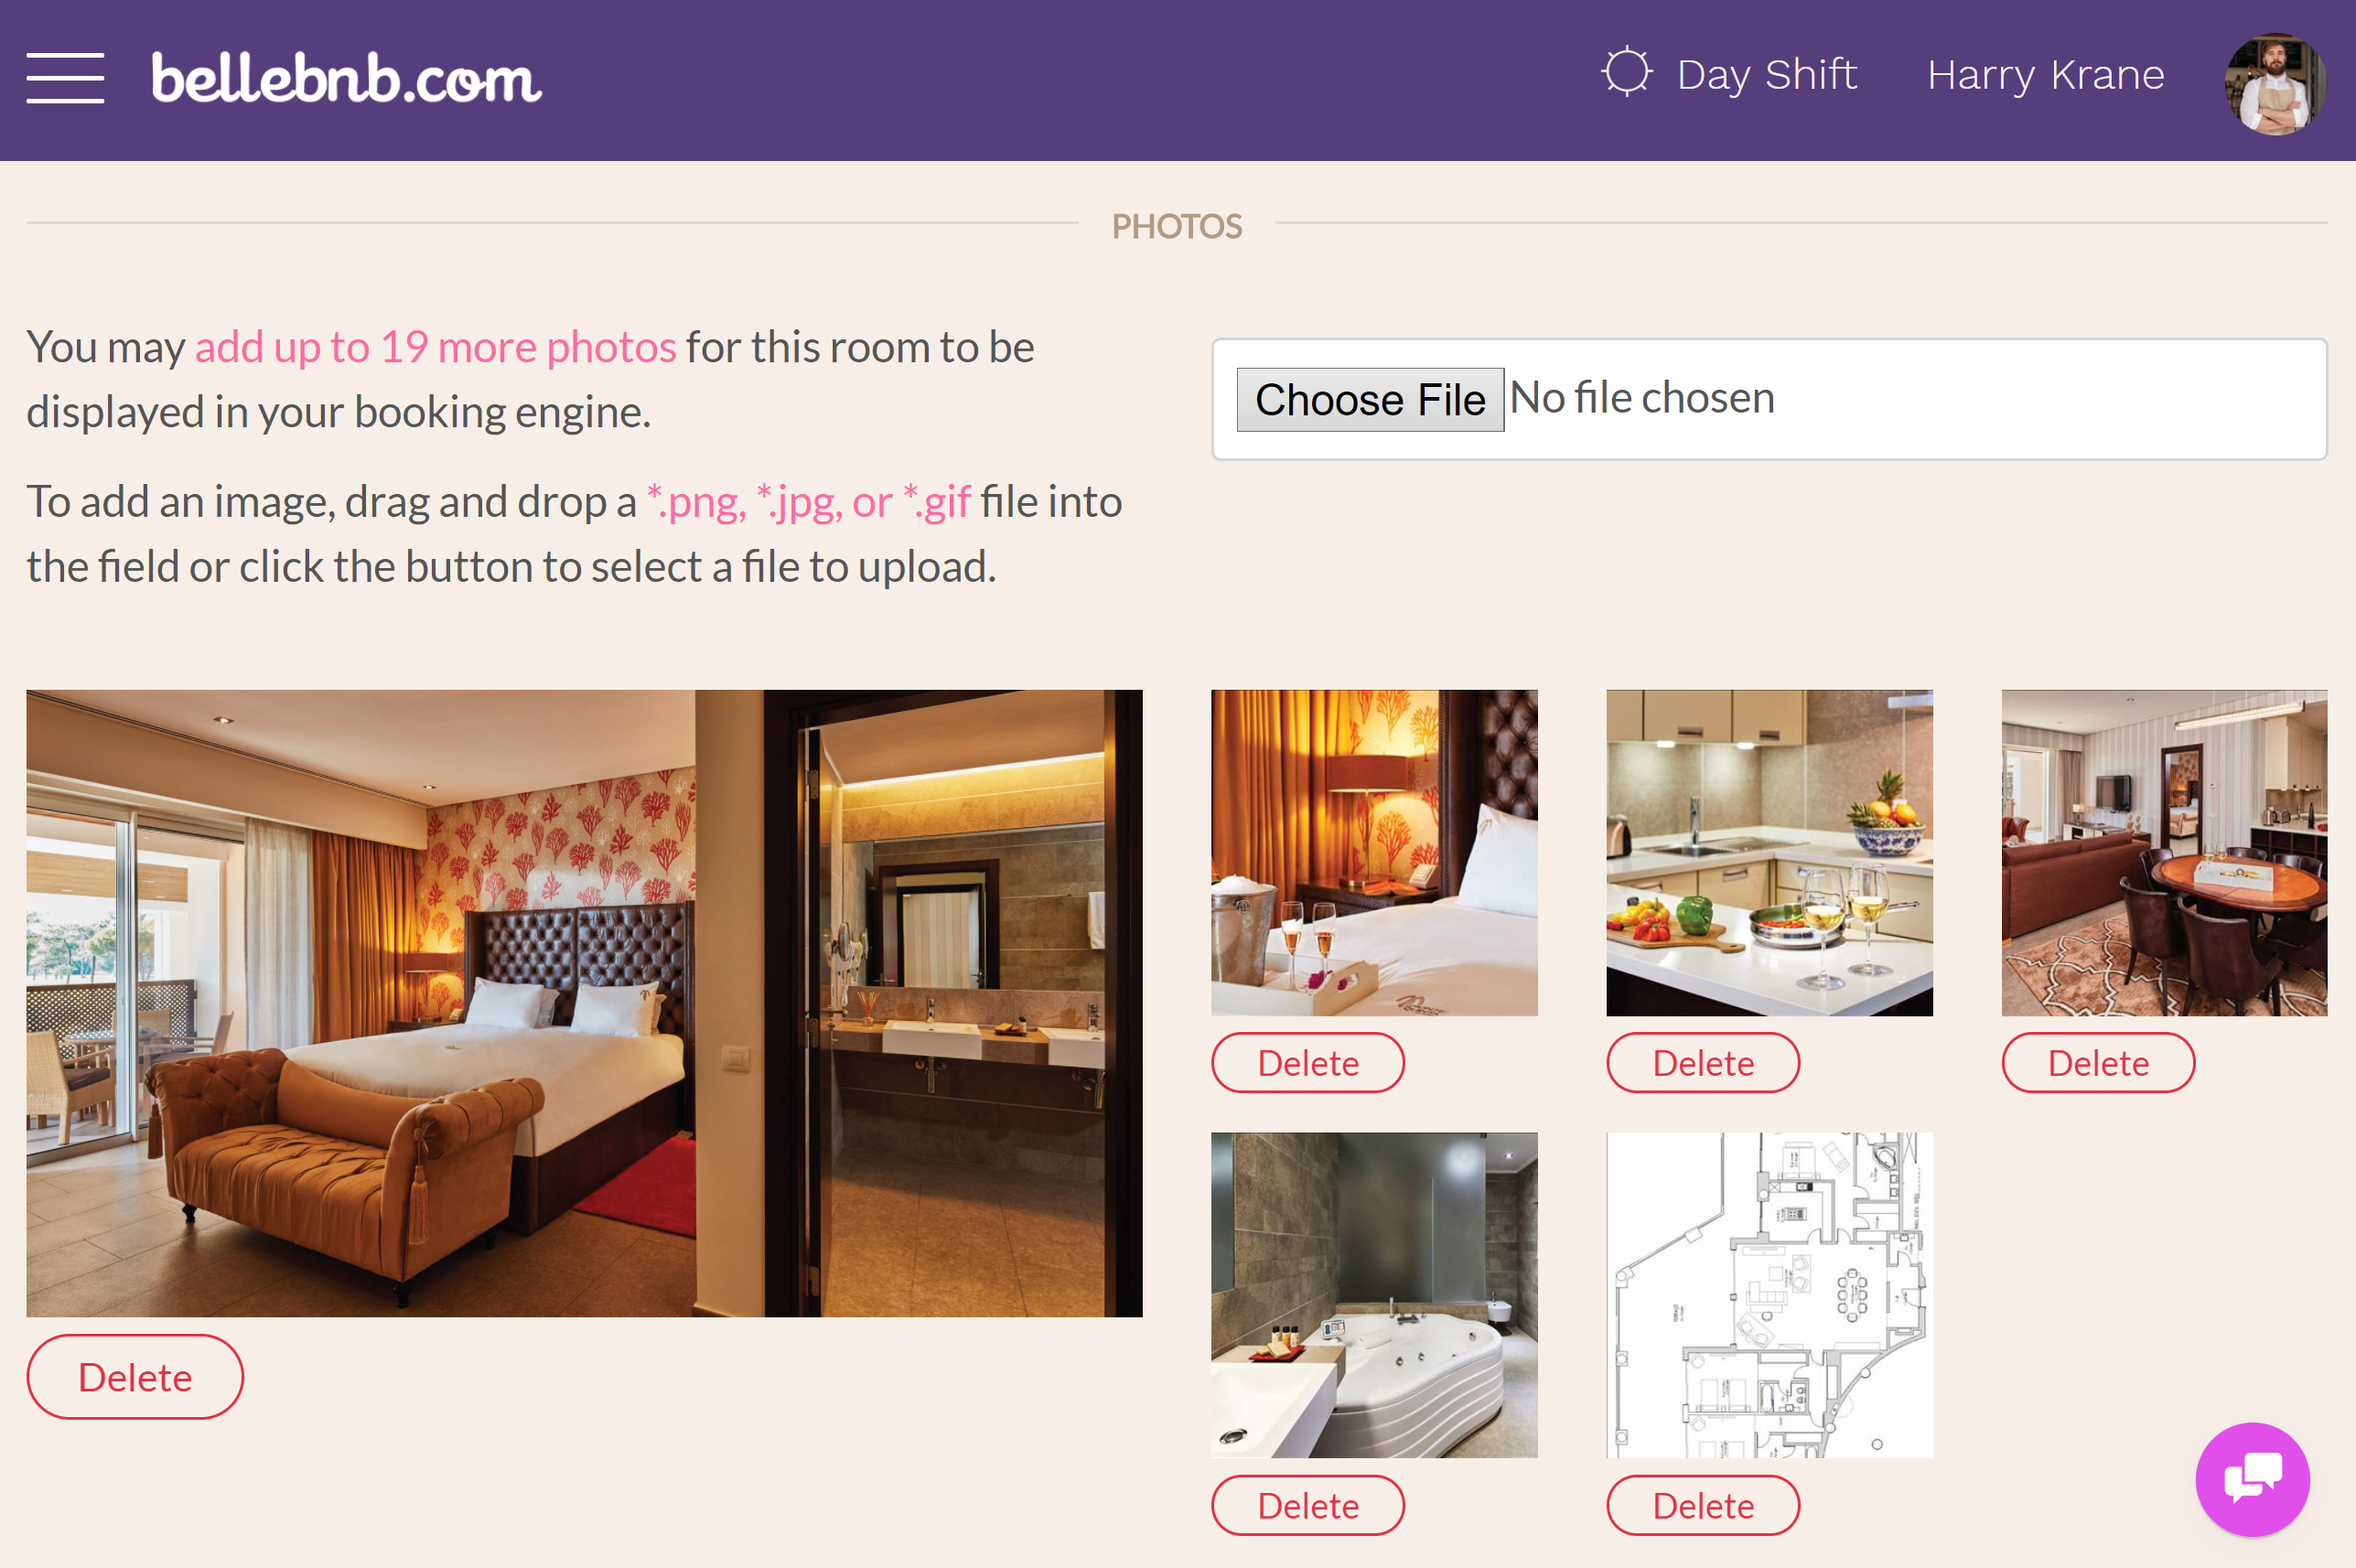
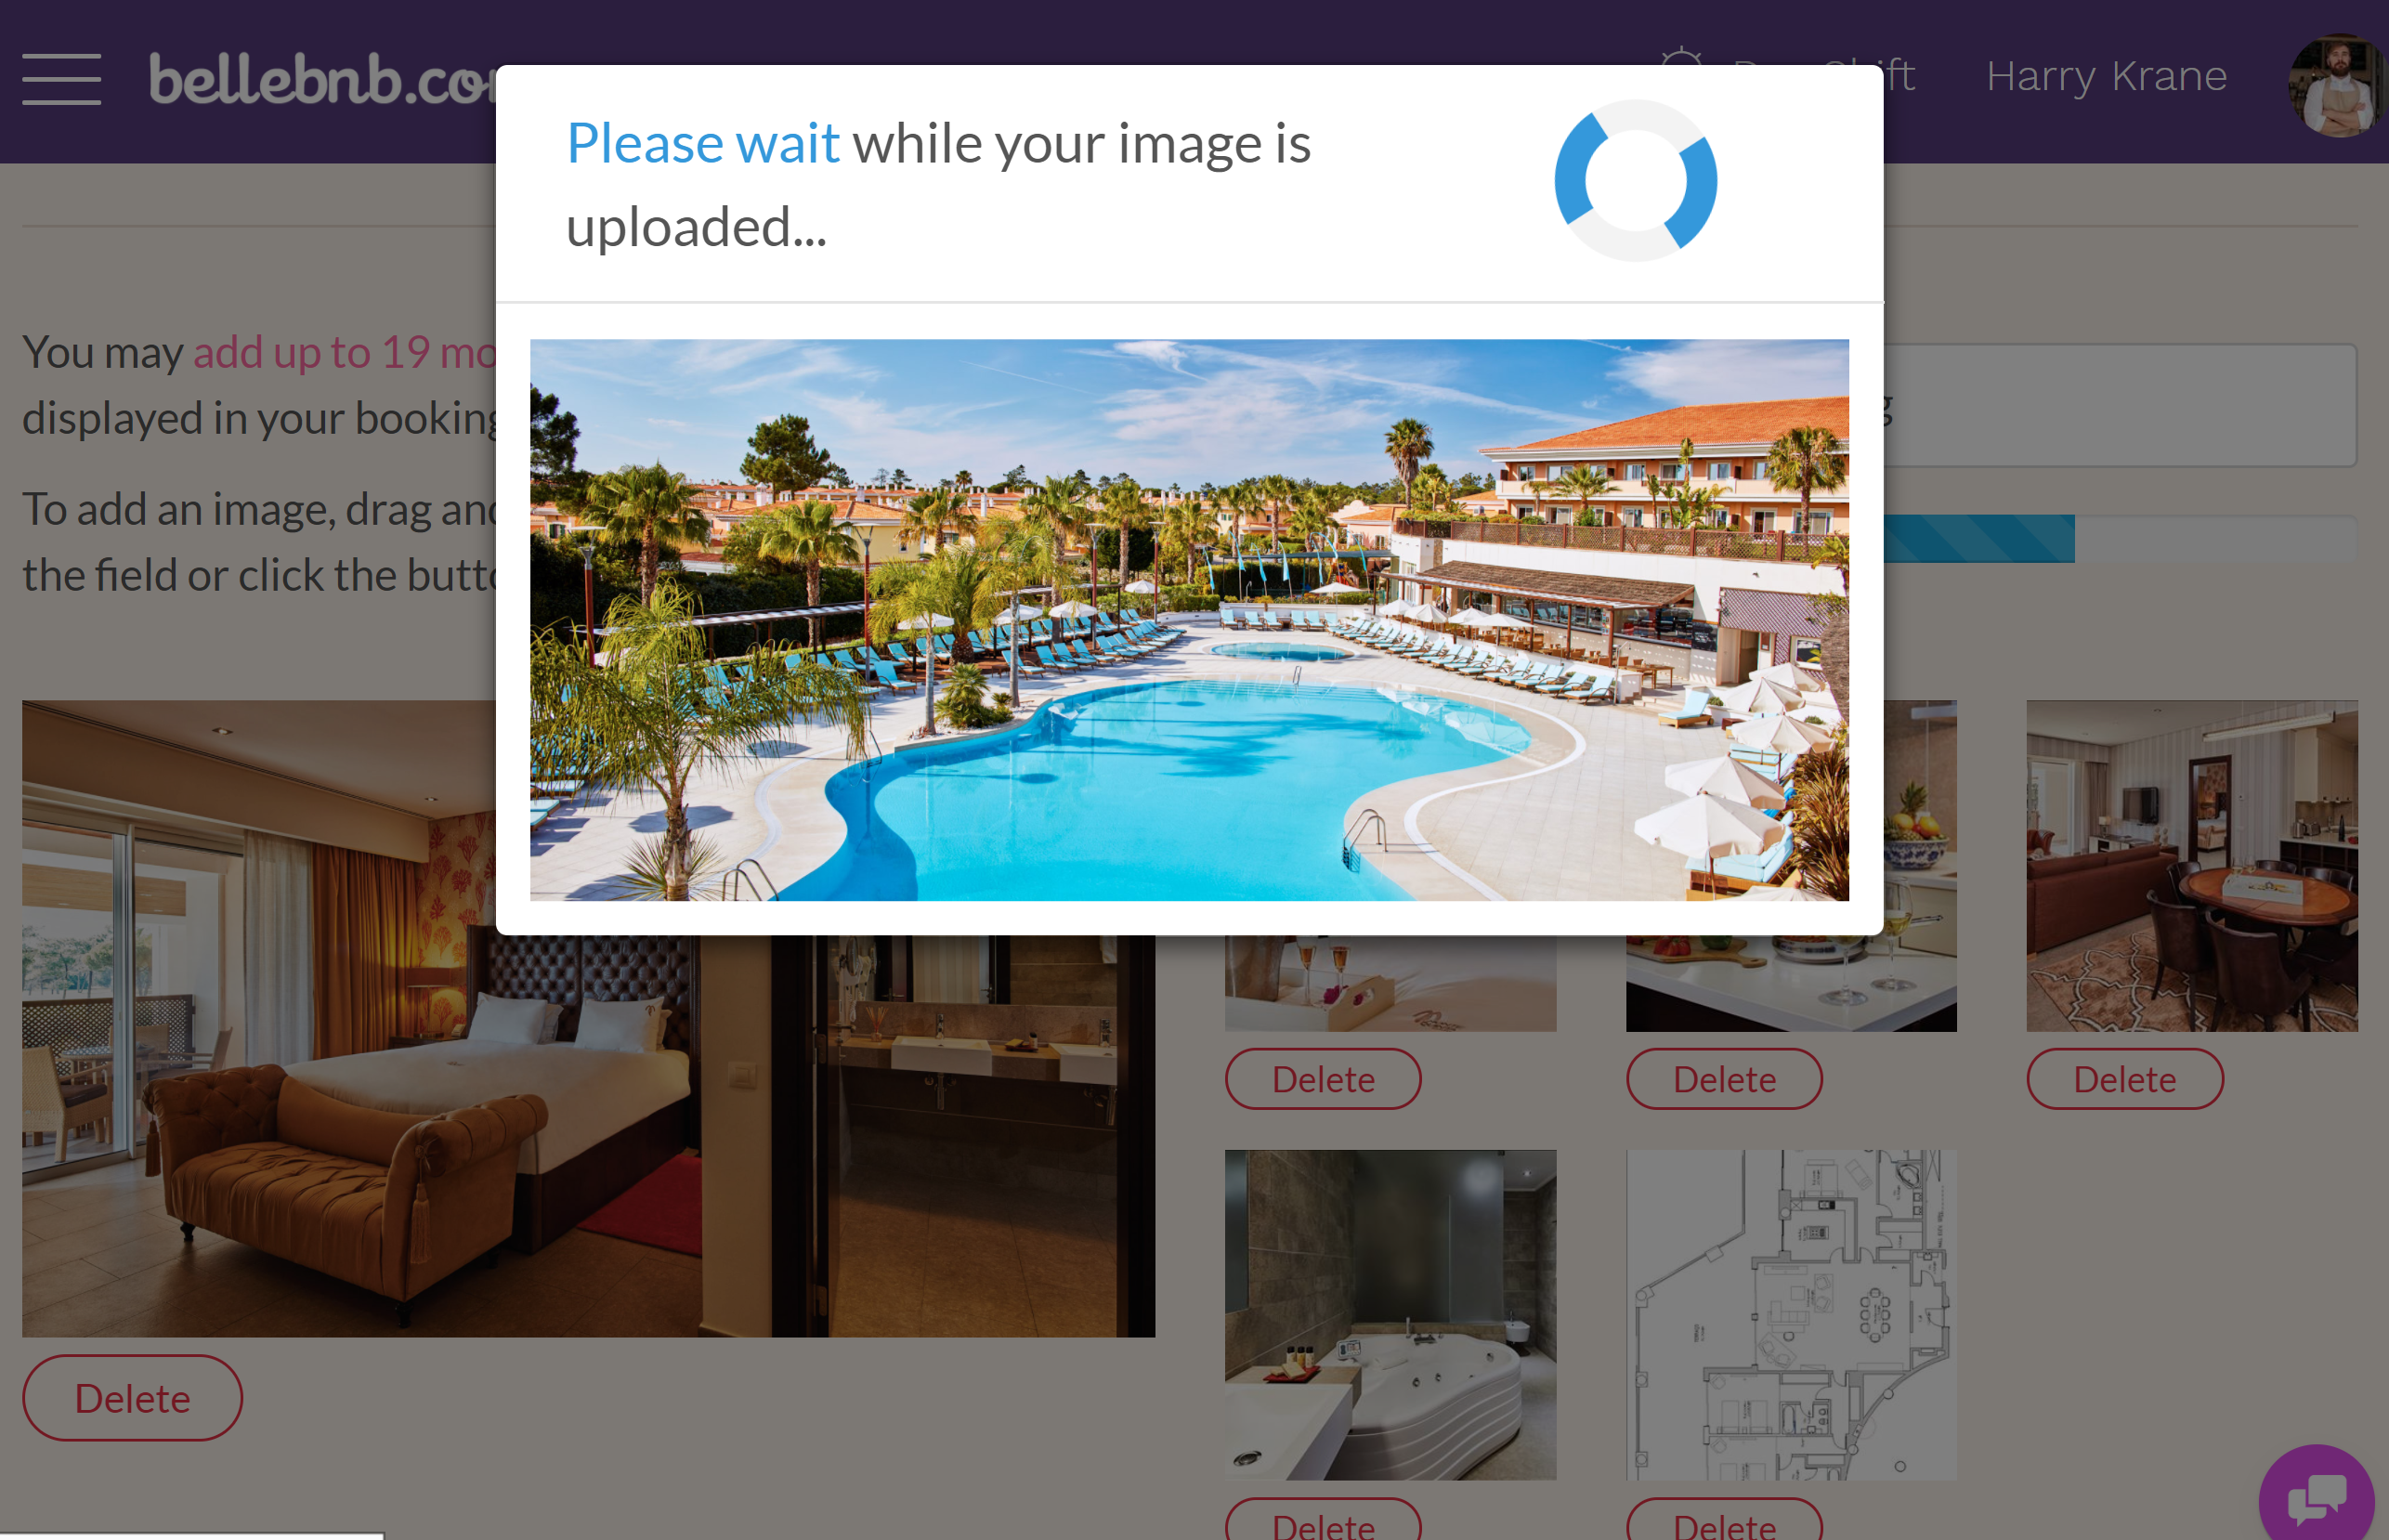
Scroll down to the ‘Photos’ section. You can delete the stock photos and add photos of your own. Just drag and drop a photo into the form field to upload.
To view your booking engine, go to ‘Channel Manager > Booking Widgets’ and click the link under ‘Status’.
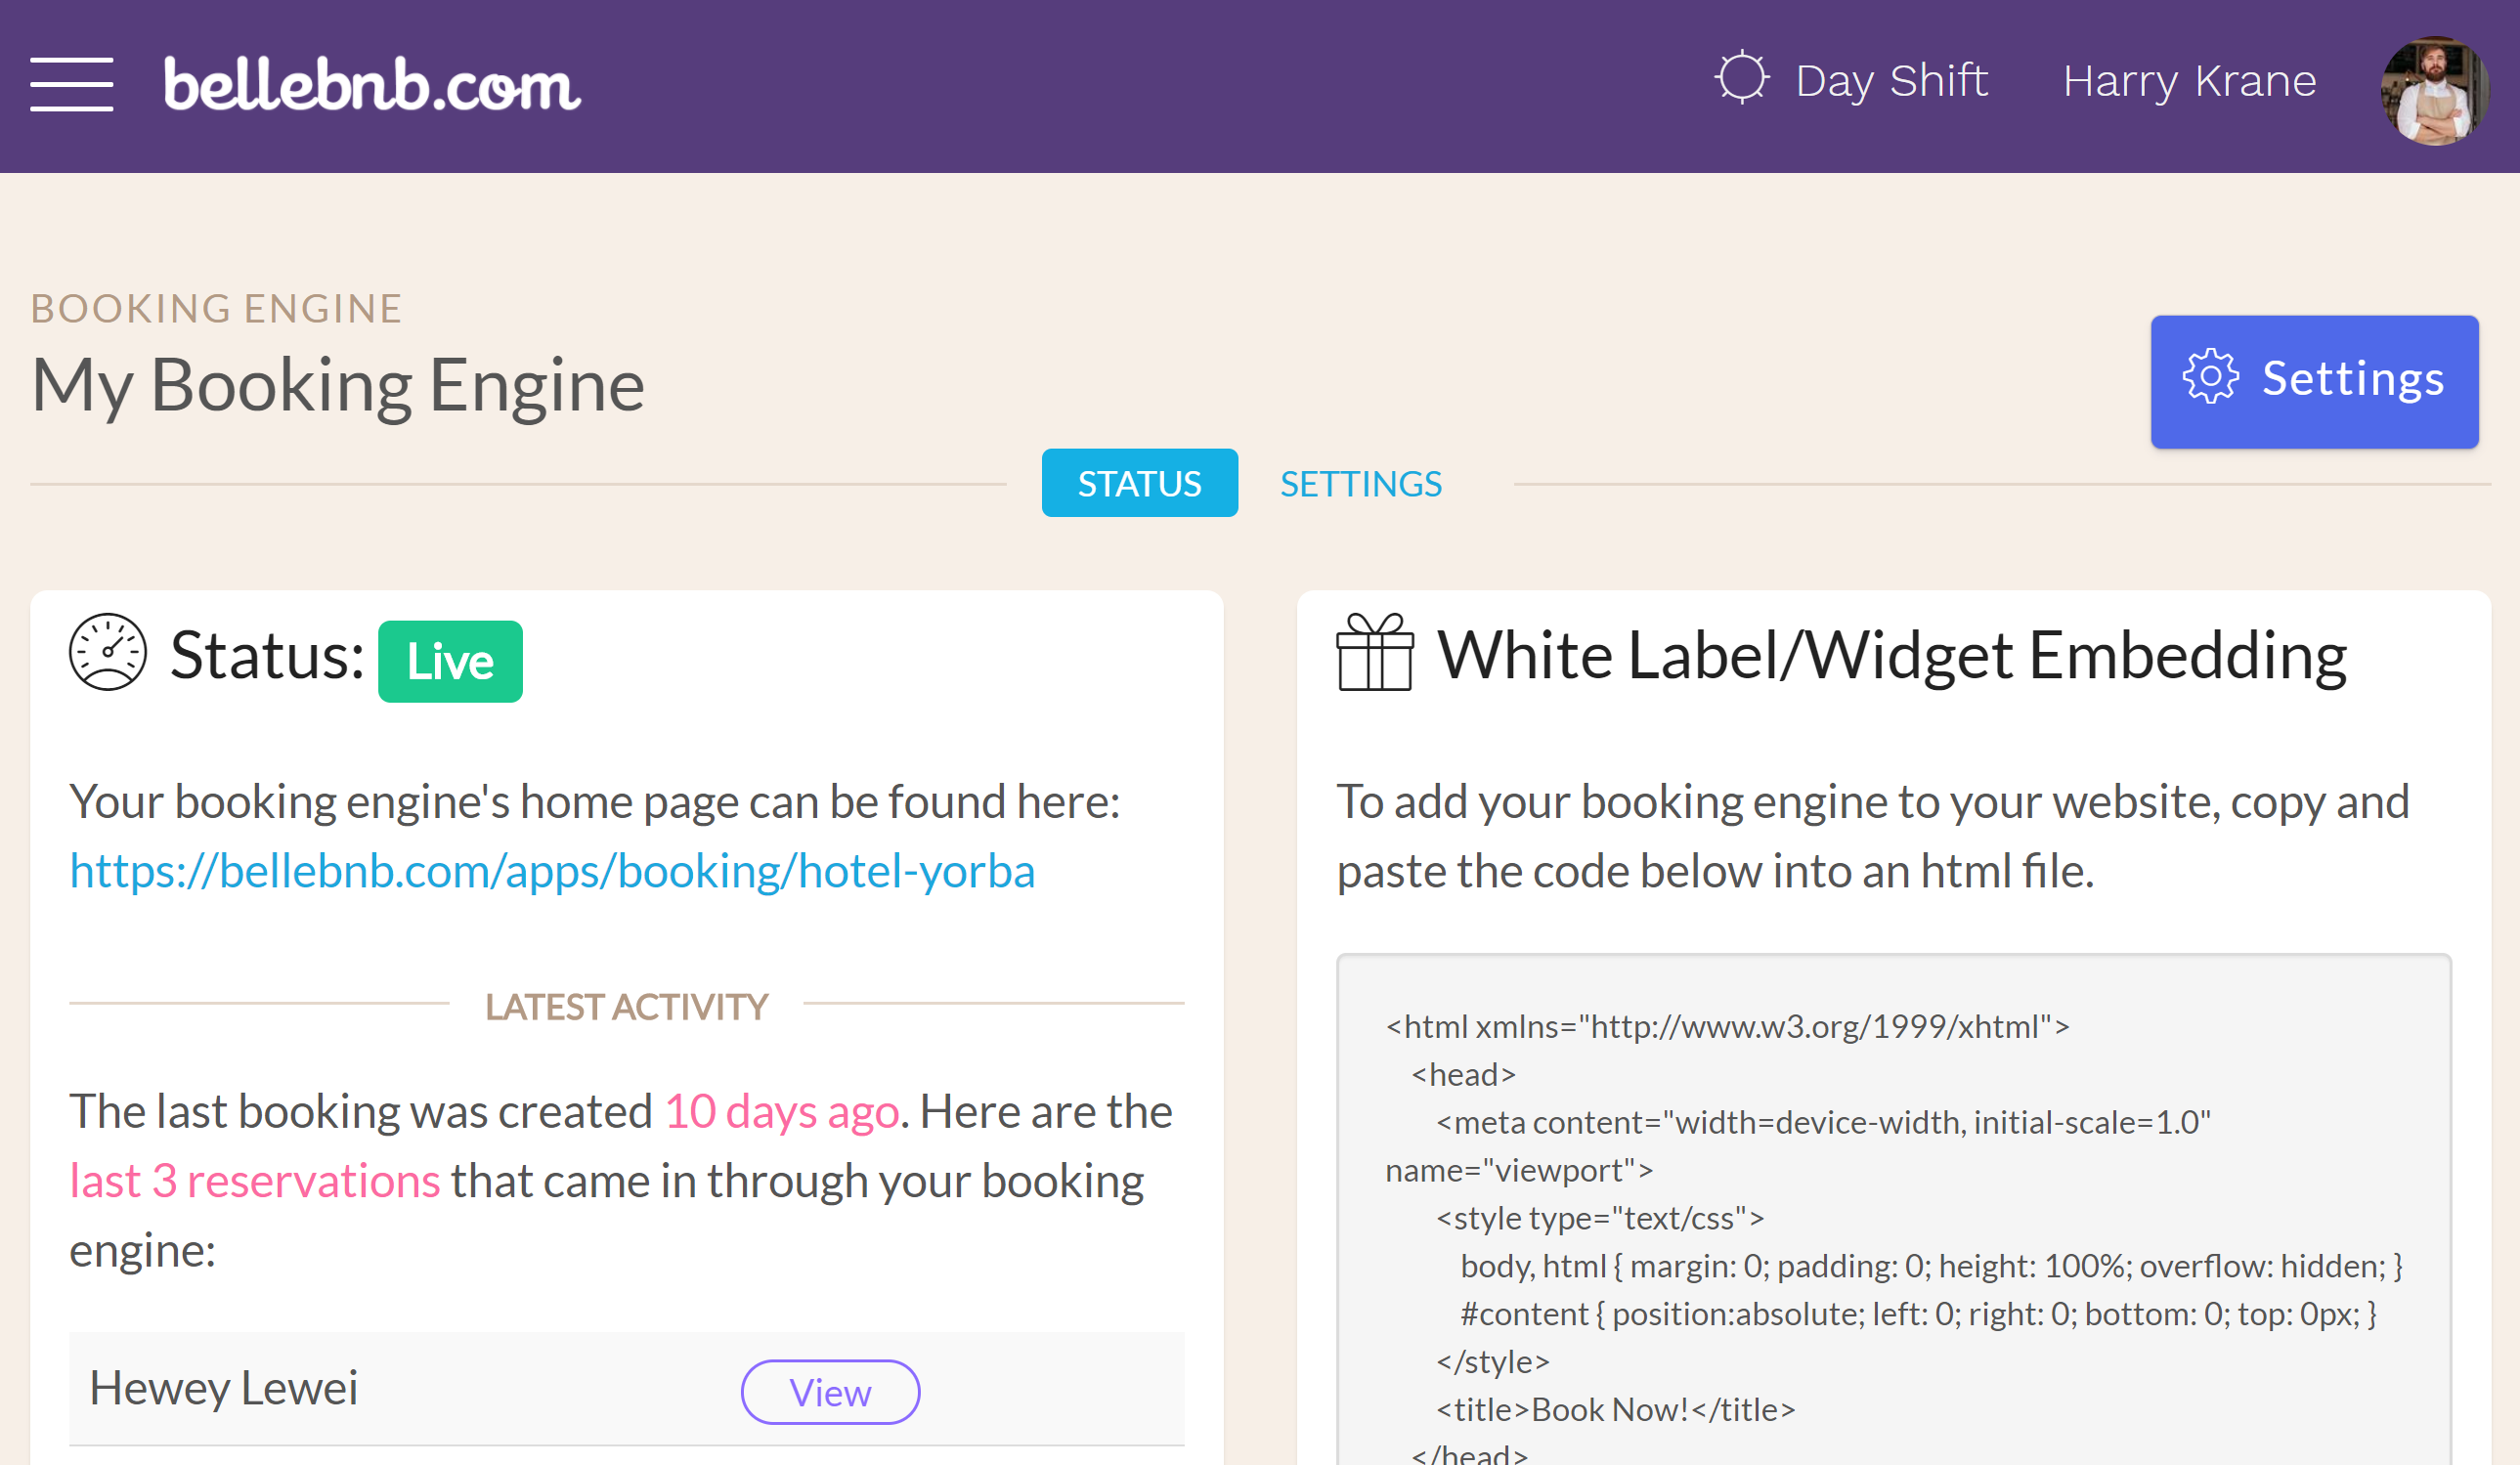
This is your hotel’s website where guests can reserve directly with you. If you already have your own domain, you can embed your booking engine to accept bookings from your existing website.
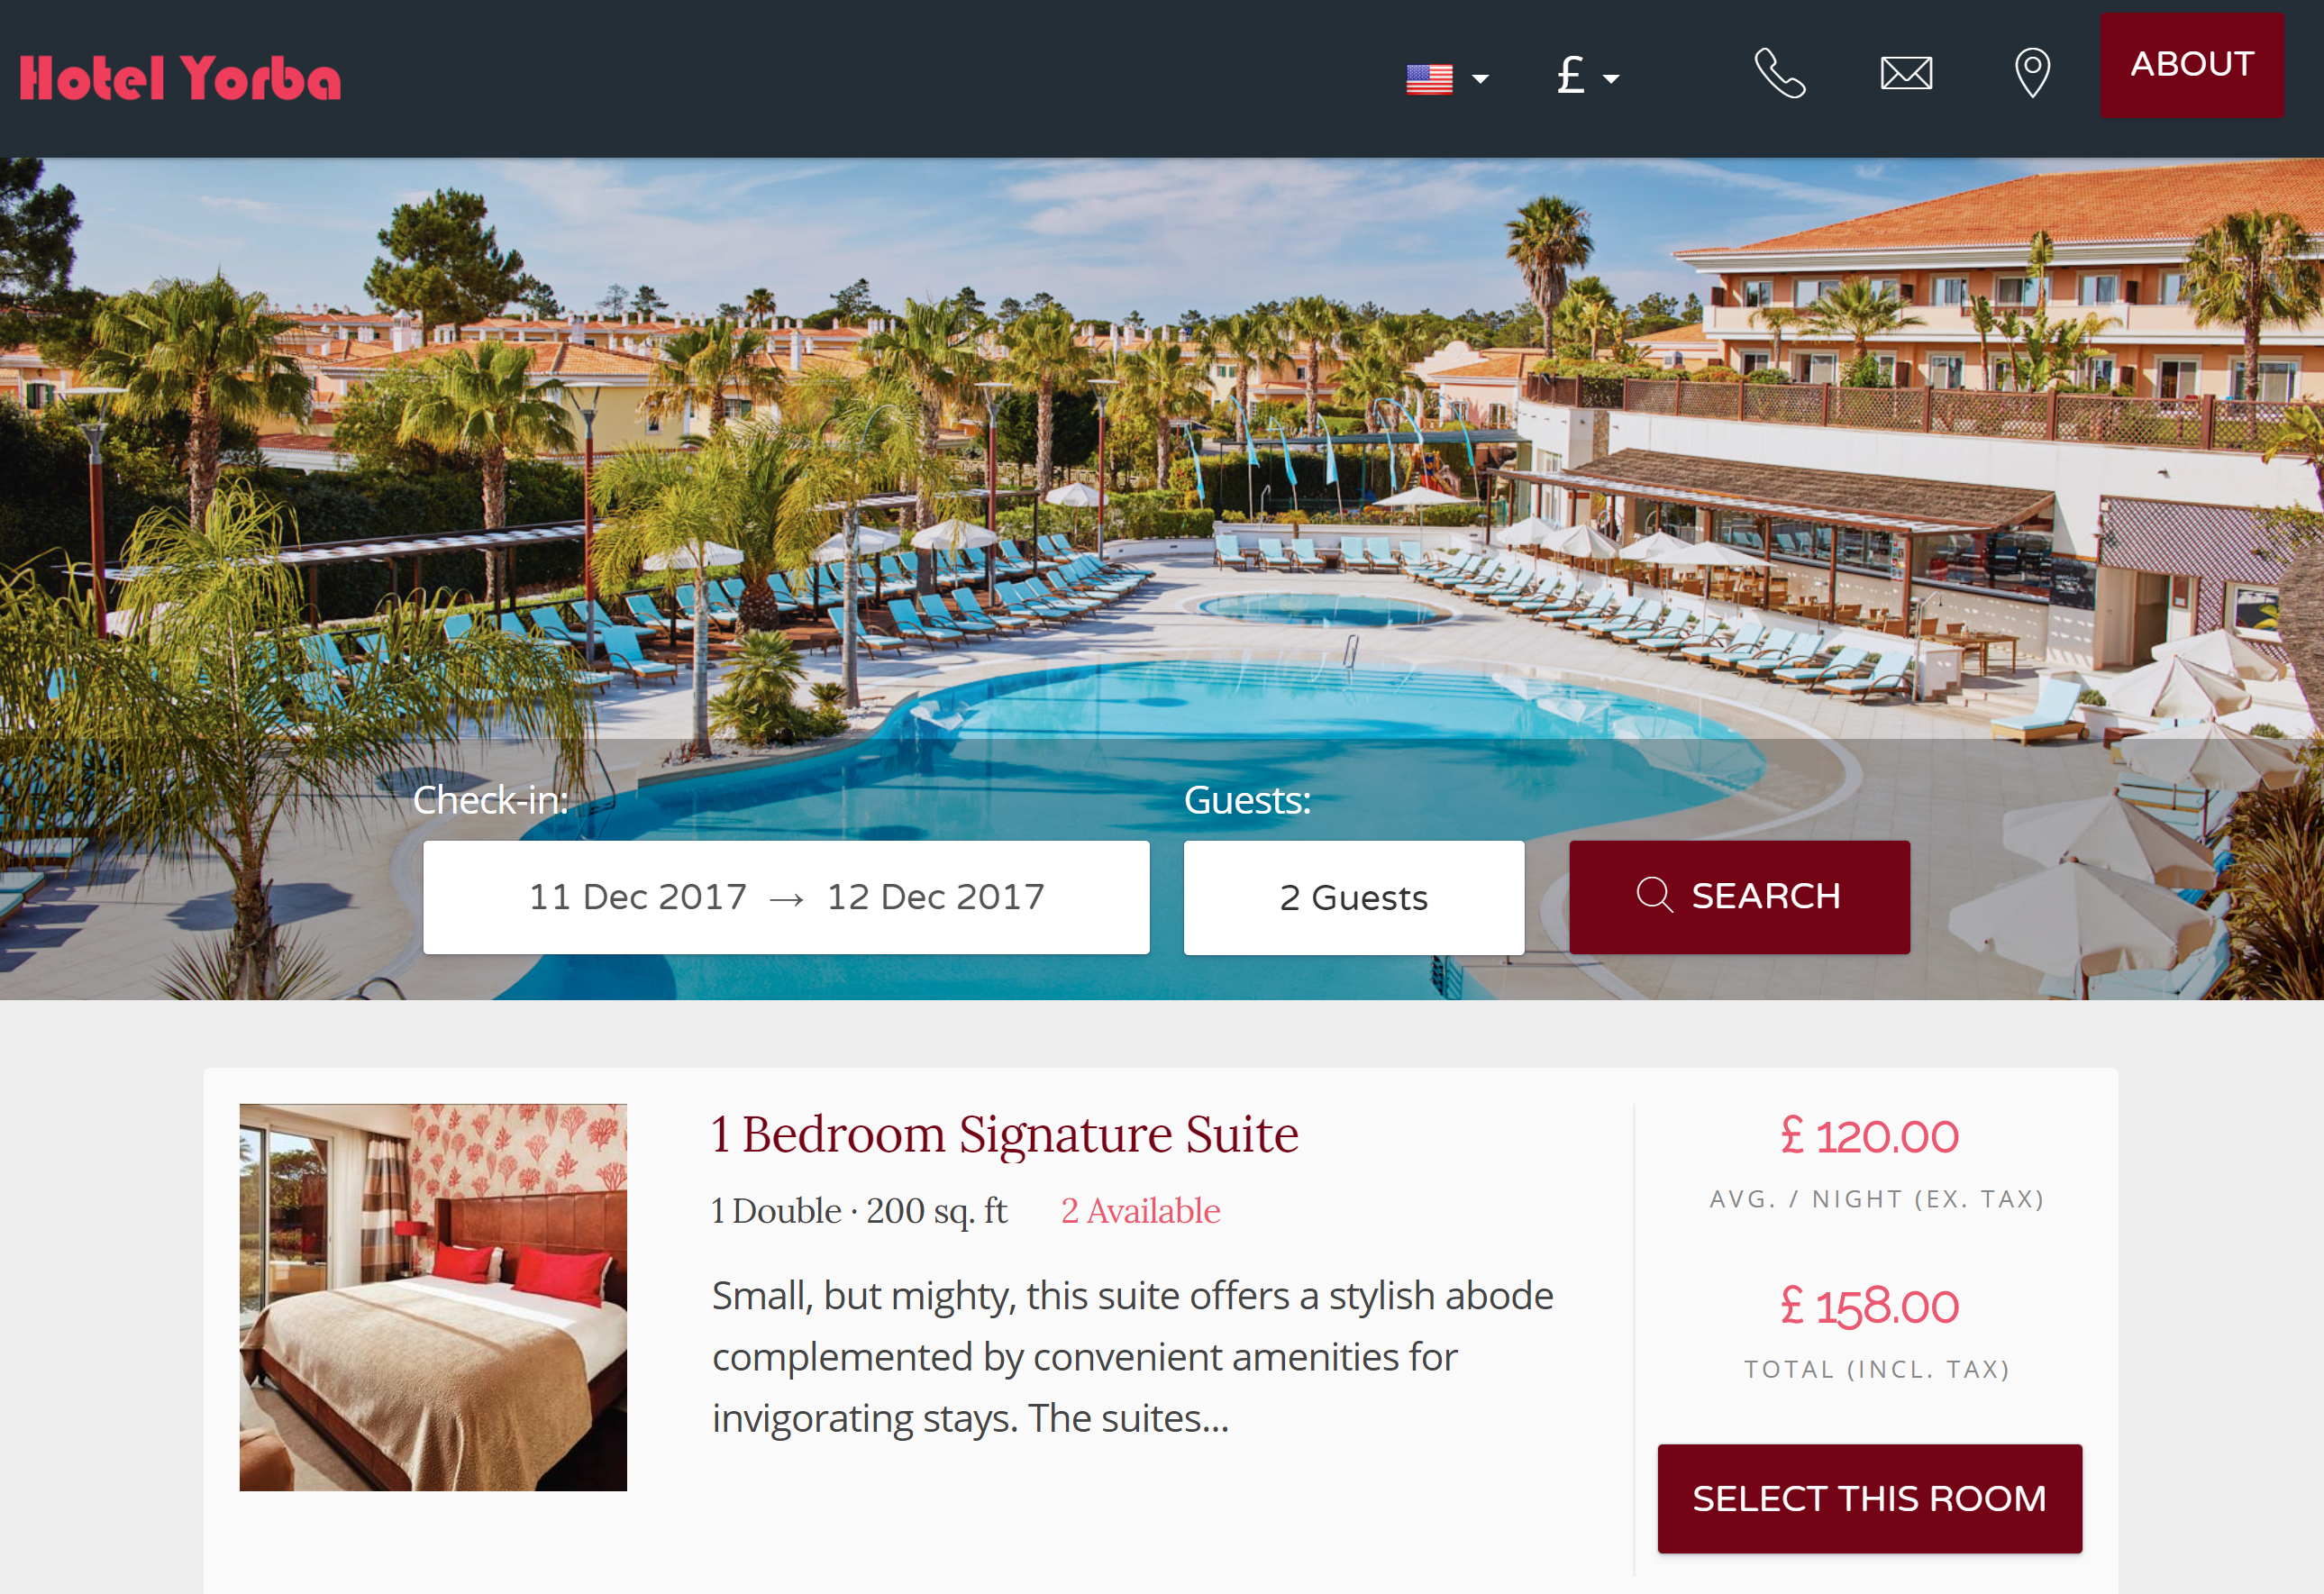
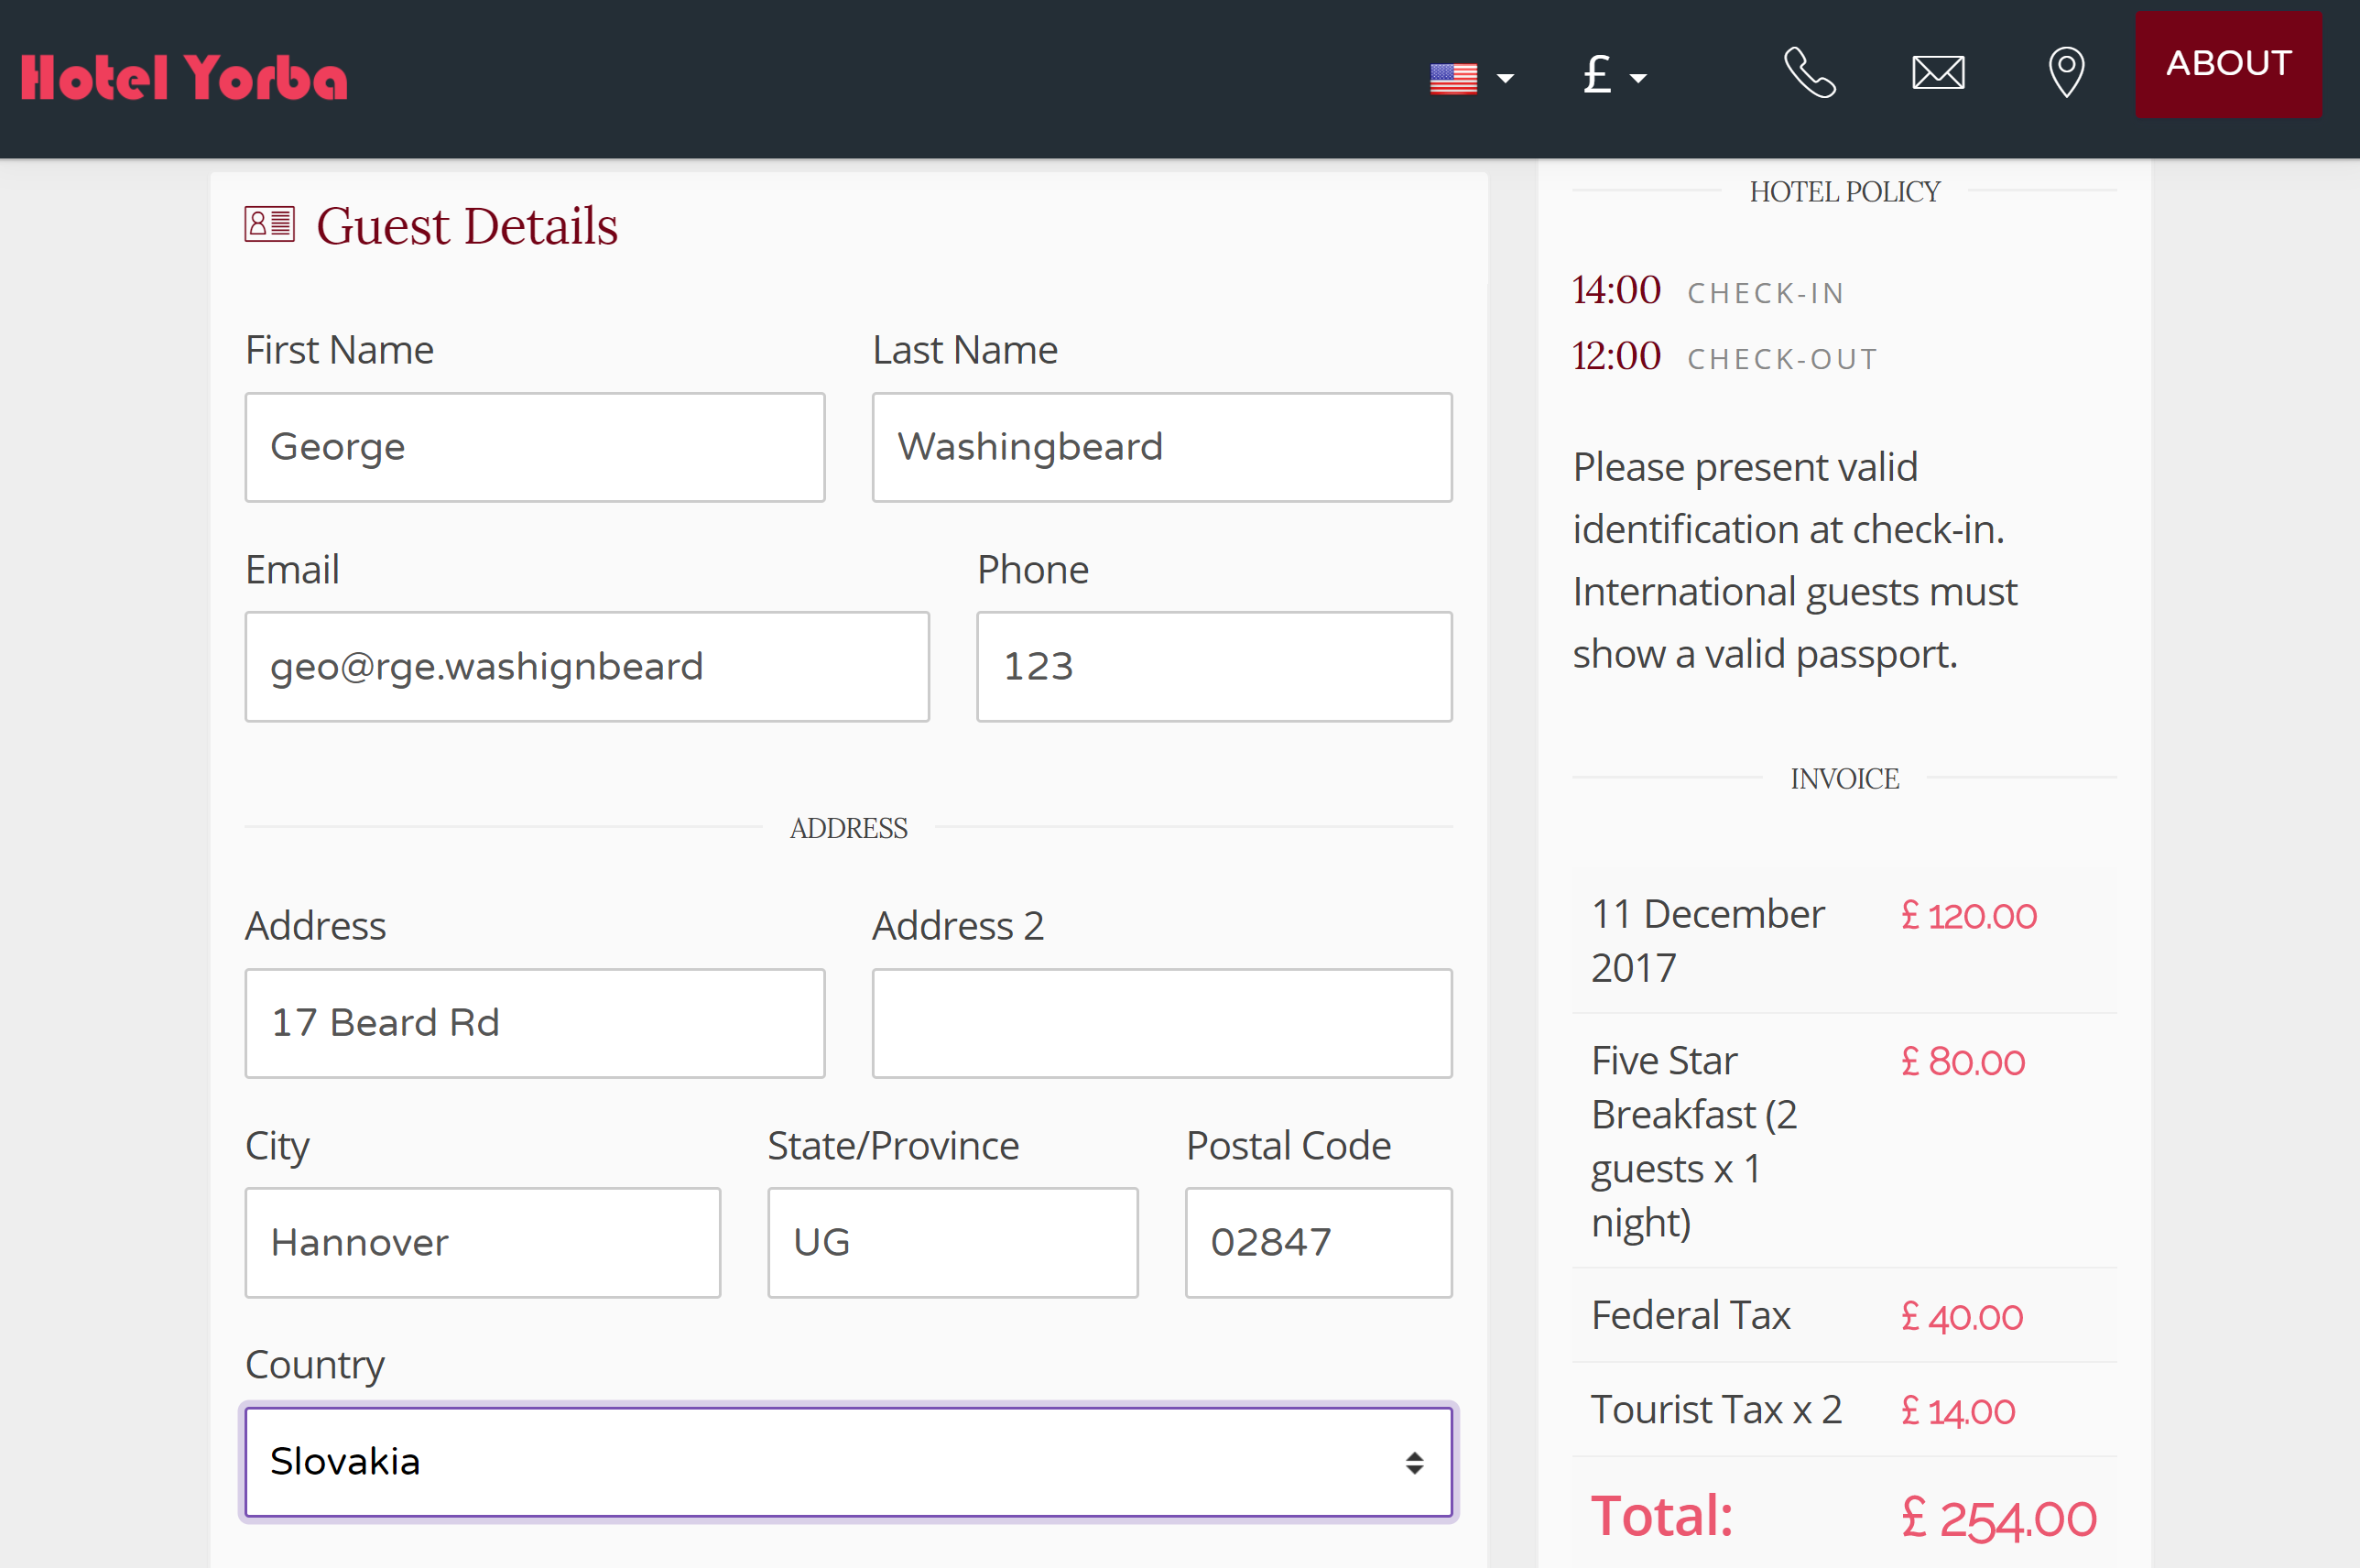
Go through the steps and create a test booking. Enter any test data for name and address, but use your own email address to receive the confirmation email sent by your booking engine.
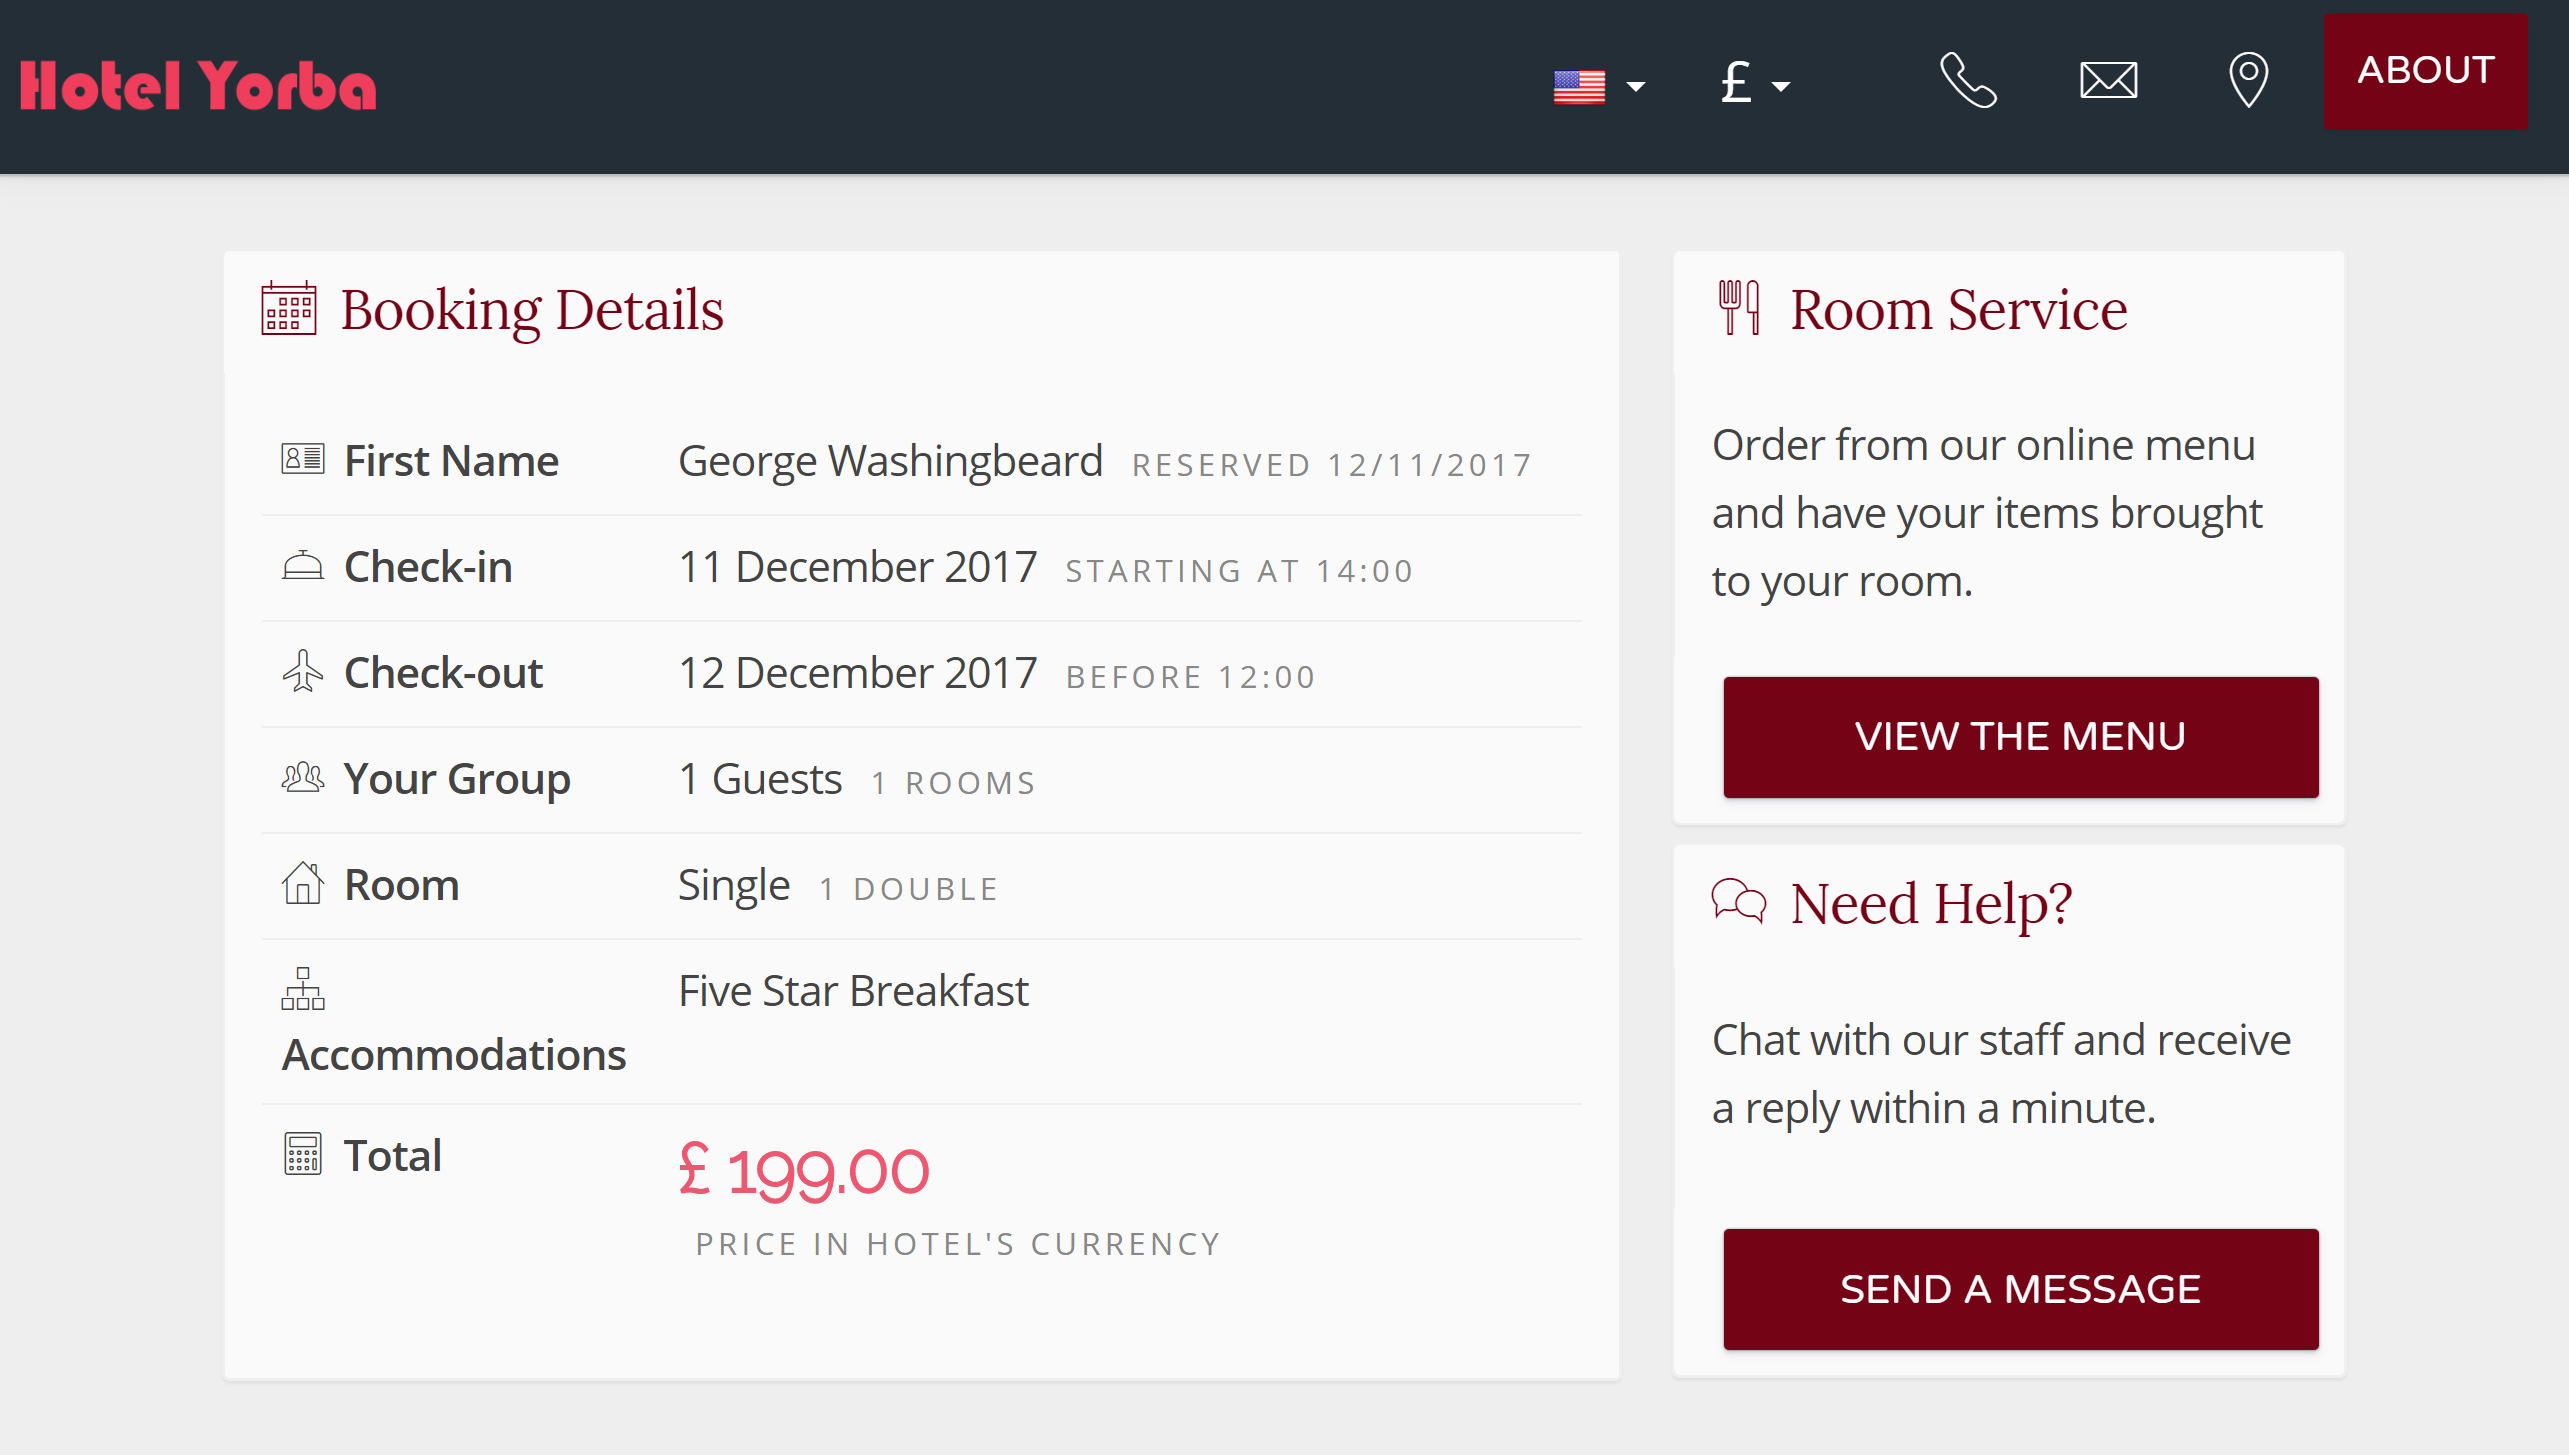
Here you see the electronic invoice available to your guests, and you should receive a confirmation email. You guests can access your room service menu, messaging, and review services from this page once they check-in/out. More on this in Section IV.
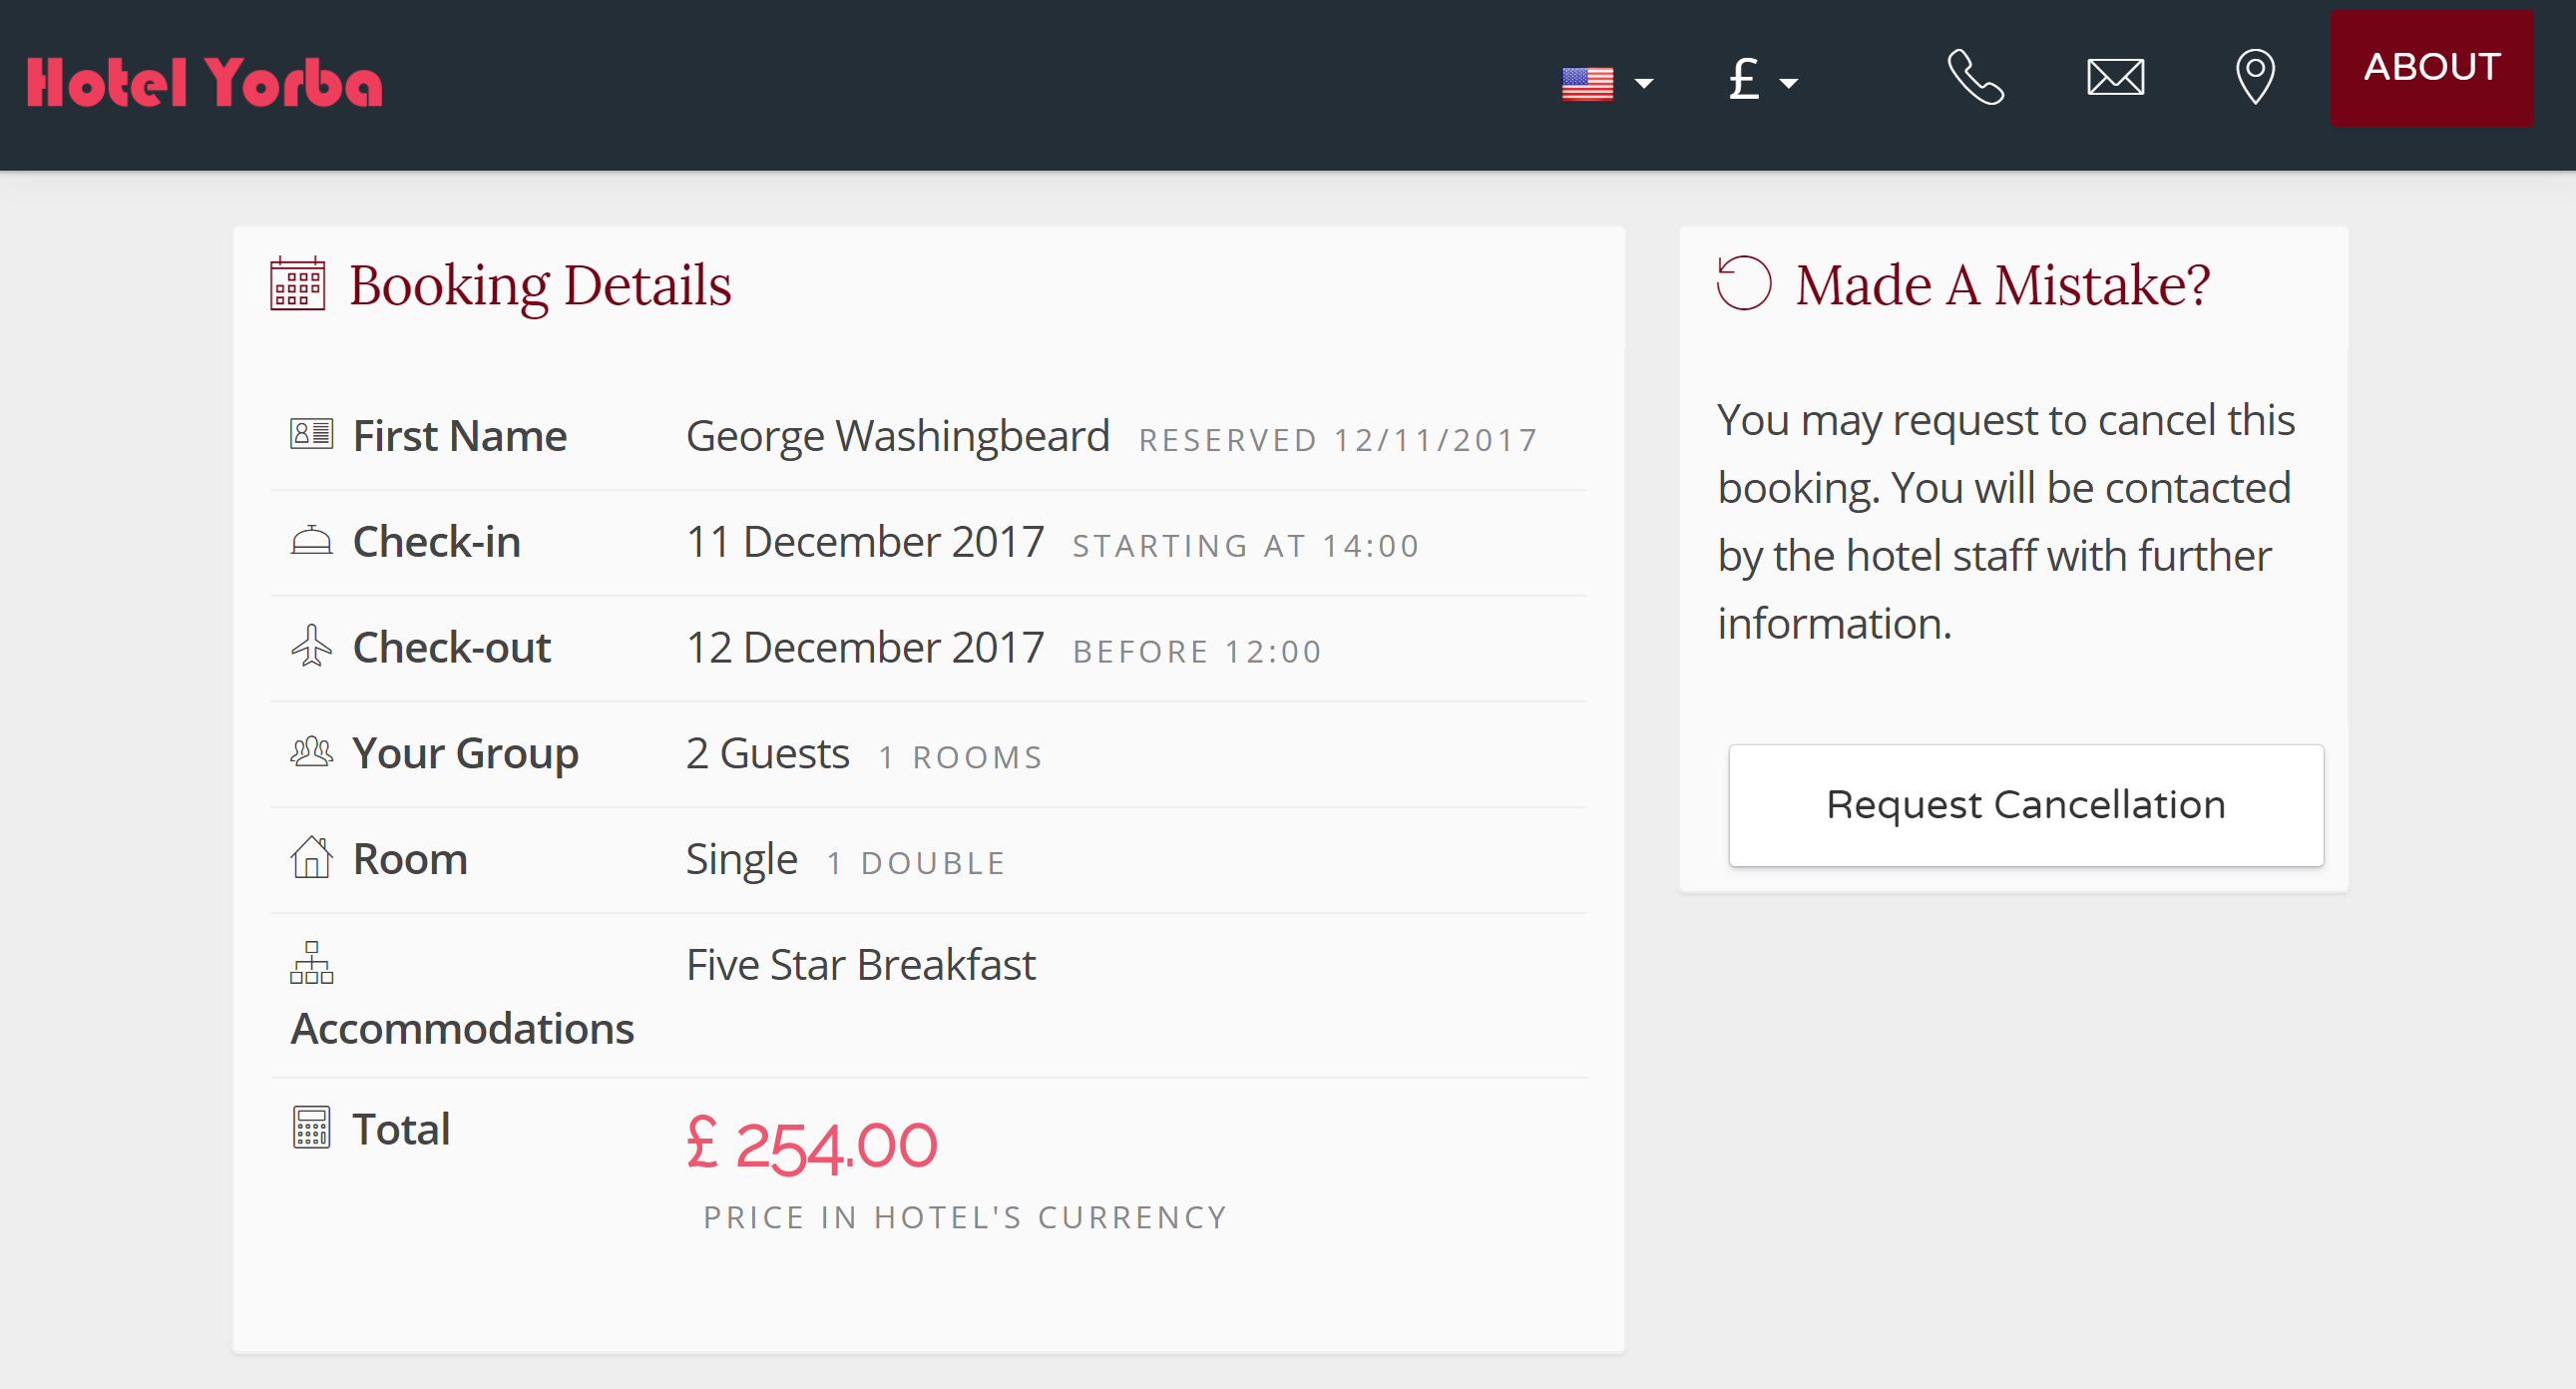
Without leaving the invoice page, open your Front Desk manager in a new tab and view your inbox (‘Front Desk > Hotel Activity’). Click on the new booking you just created.
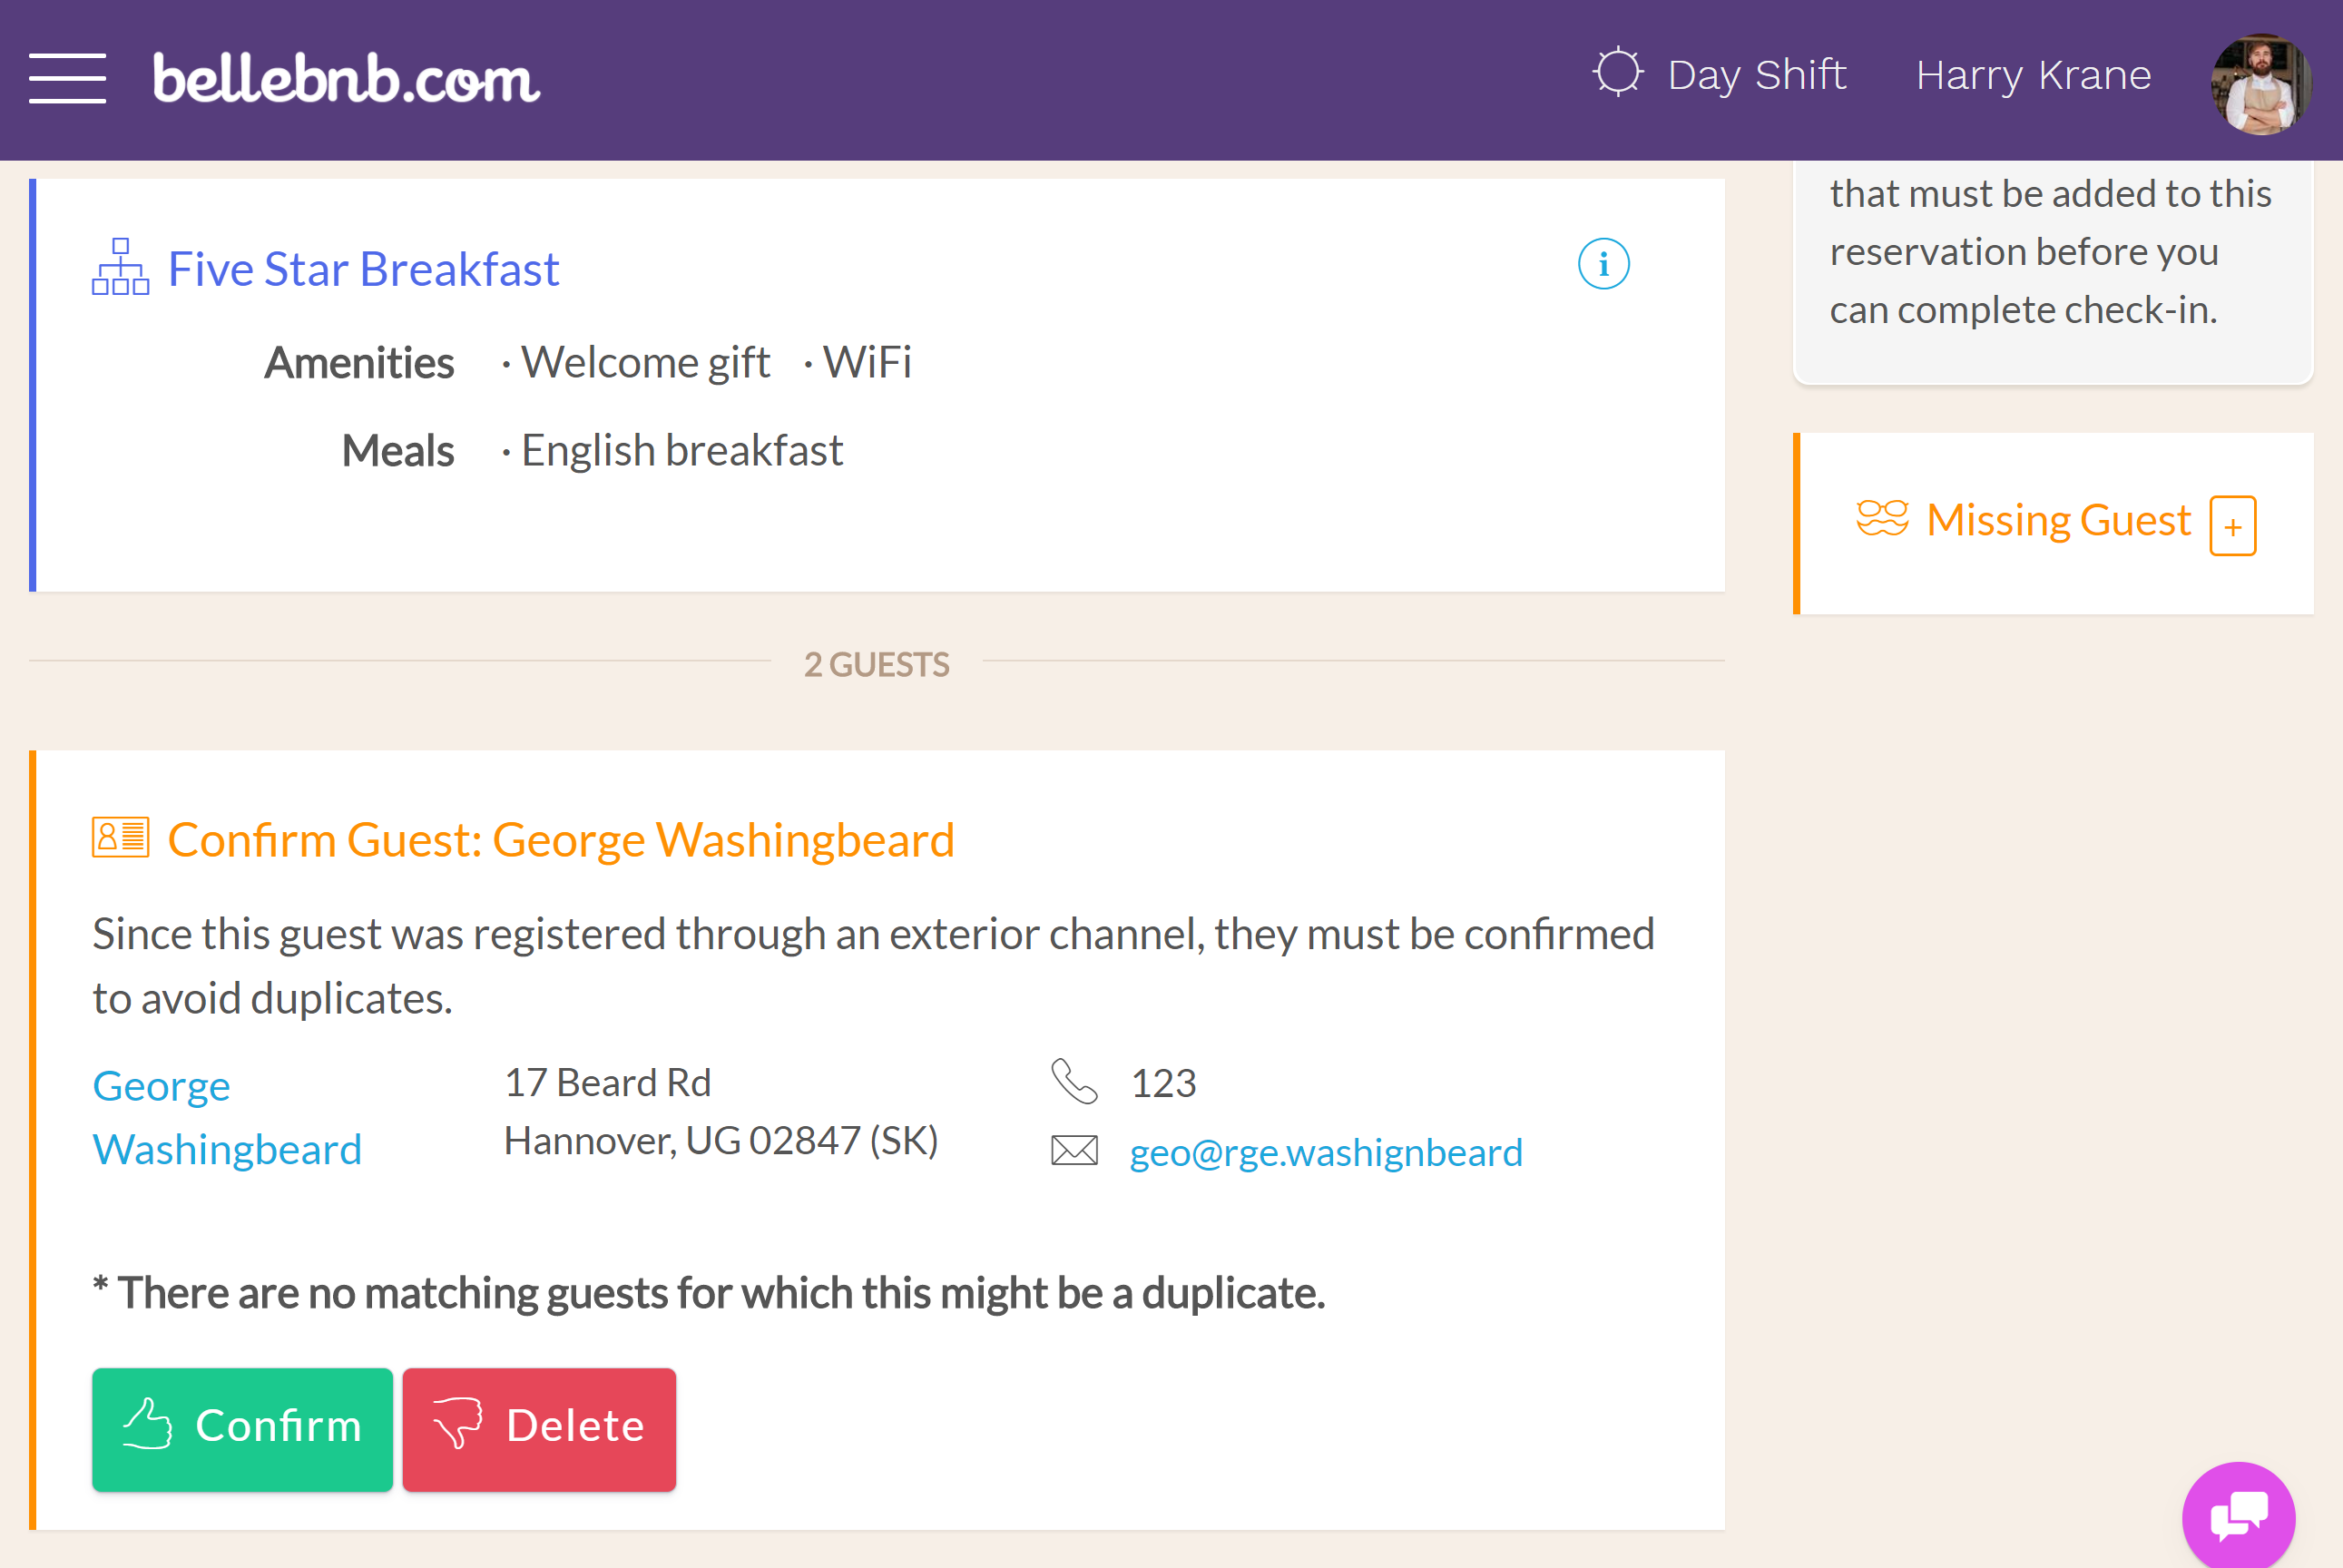
You will see that you must confirm the guest generated through your booking engine. Any guests generated outside the PMS must be confirmed or merged with an existing guest to avoid duplicate profiles.
IV. Explore the Concierge
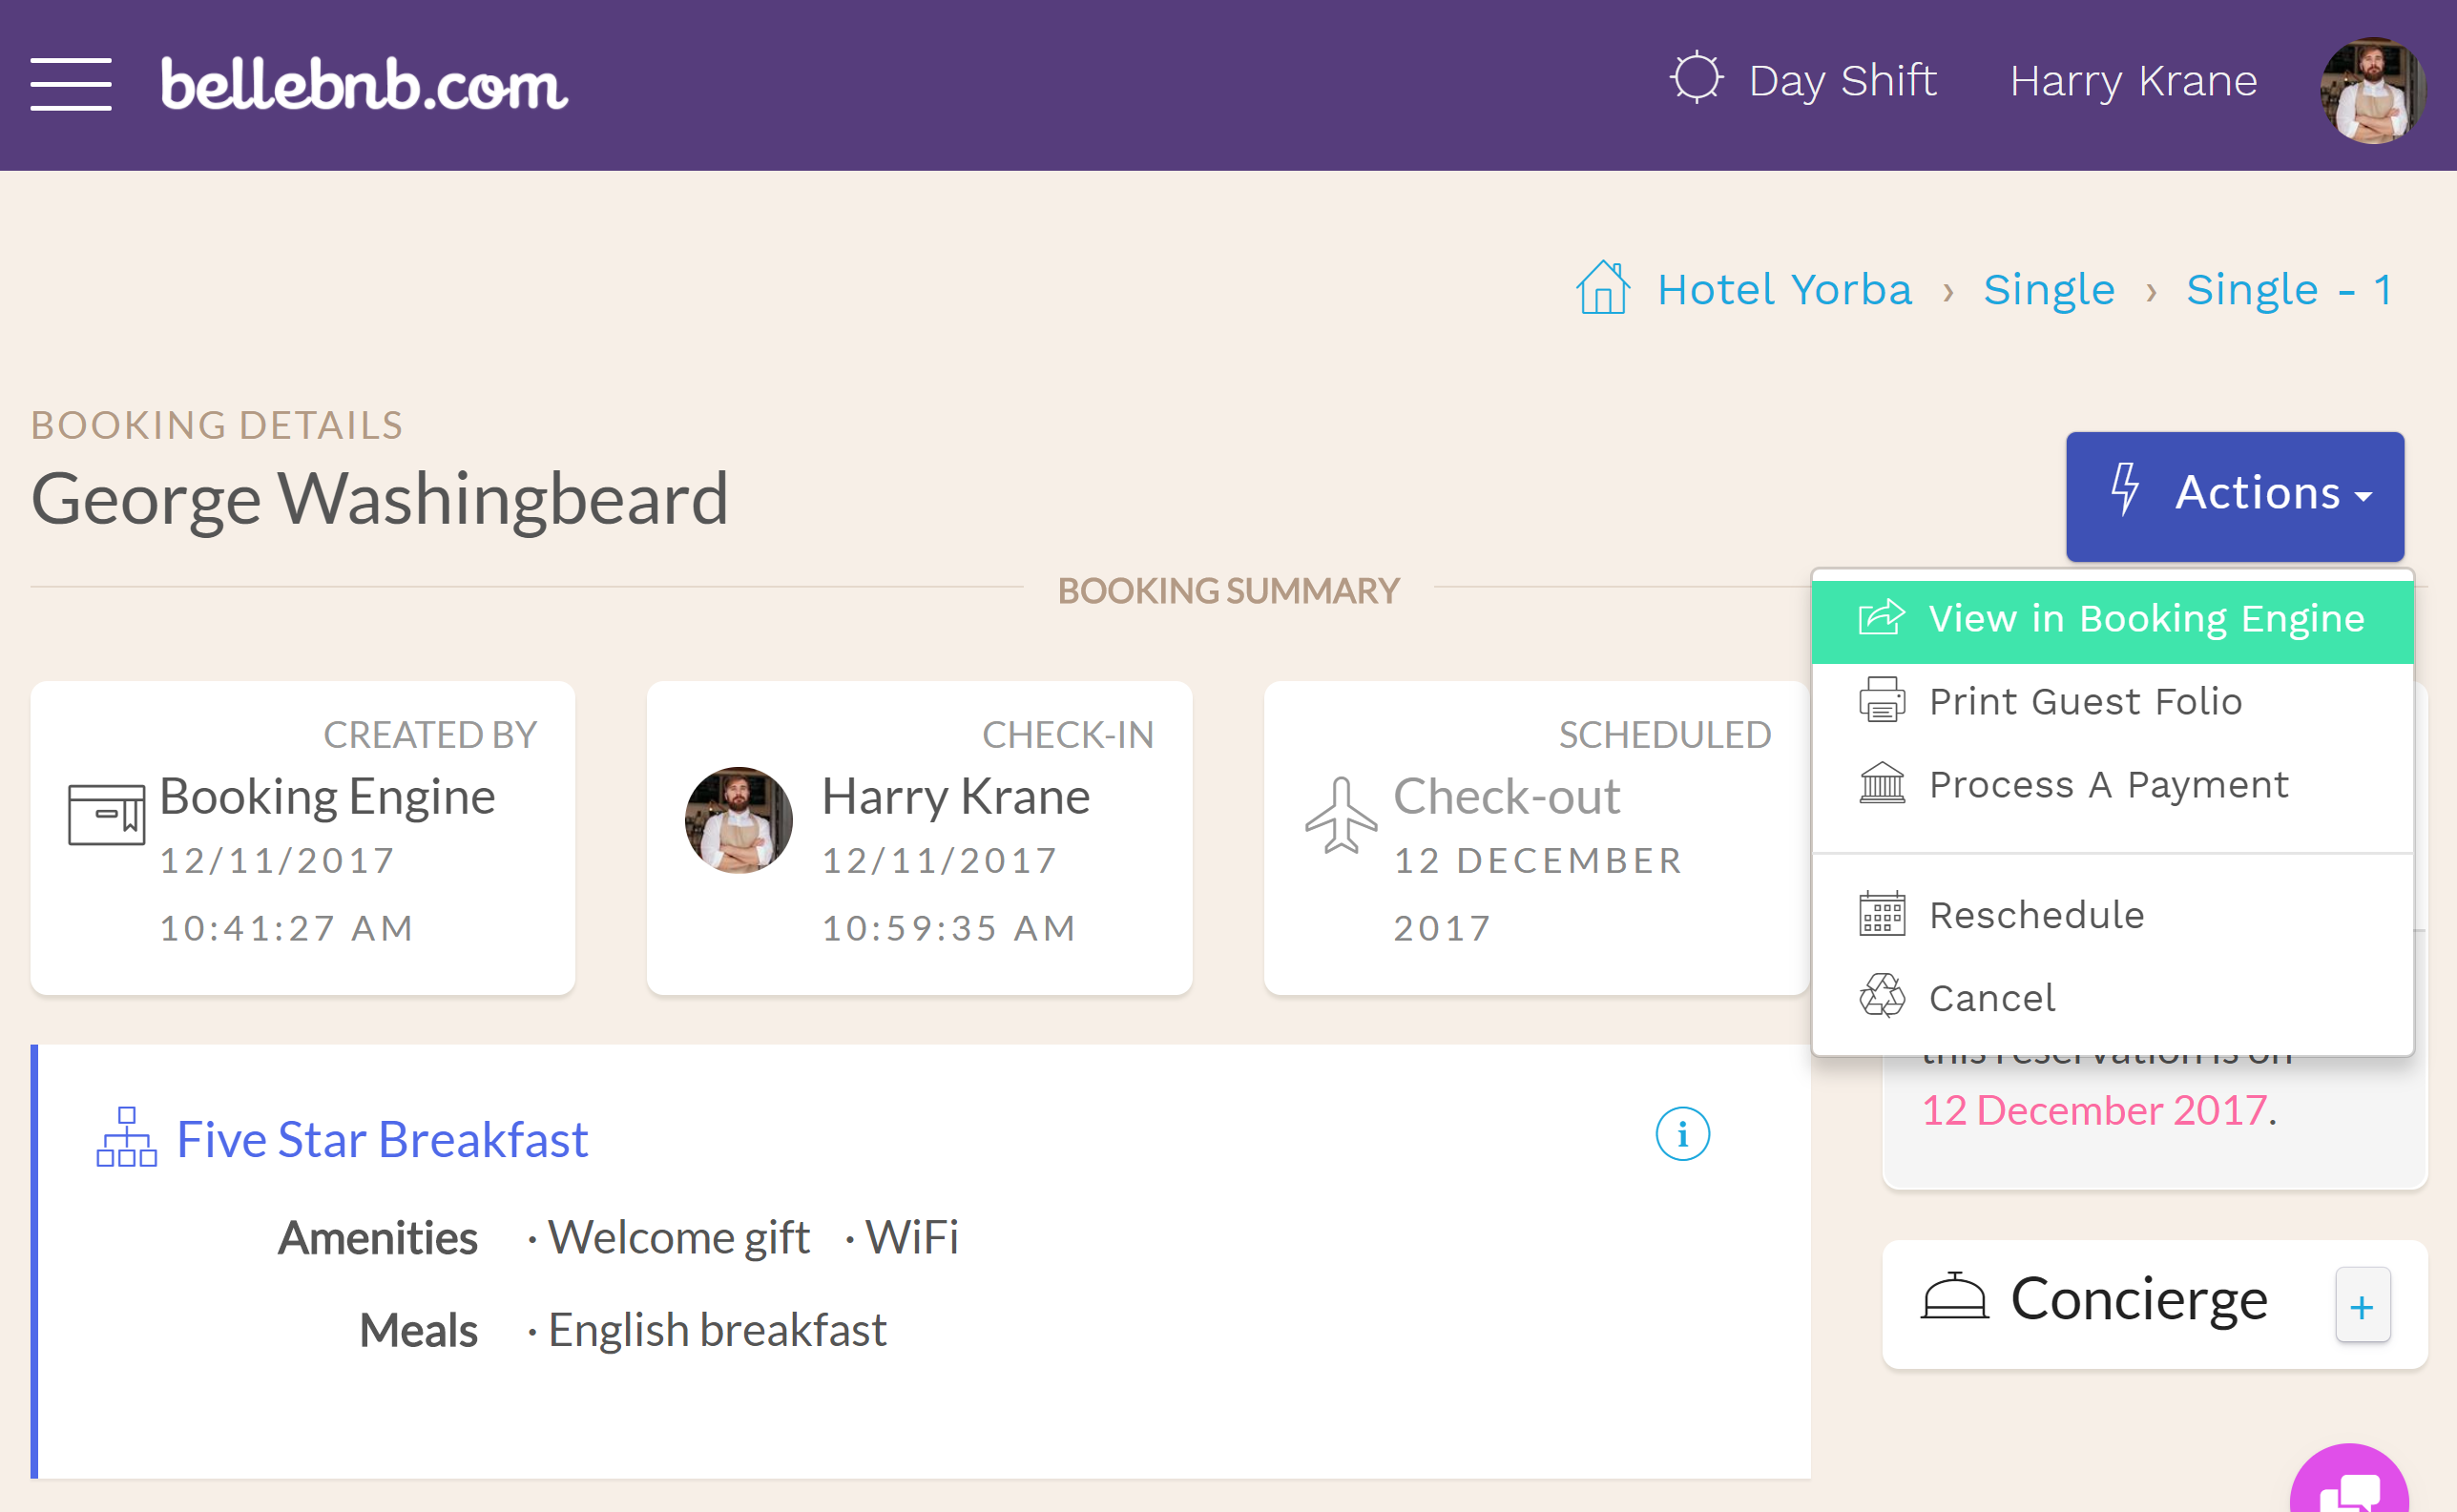
After you have completed check-in for the booking above, go back to the invoice page in your booking engine. If you accidentally closed the tab, go to ‘Actions > View in Booking Engine’.
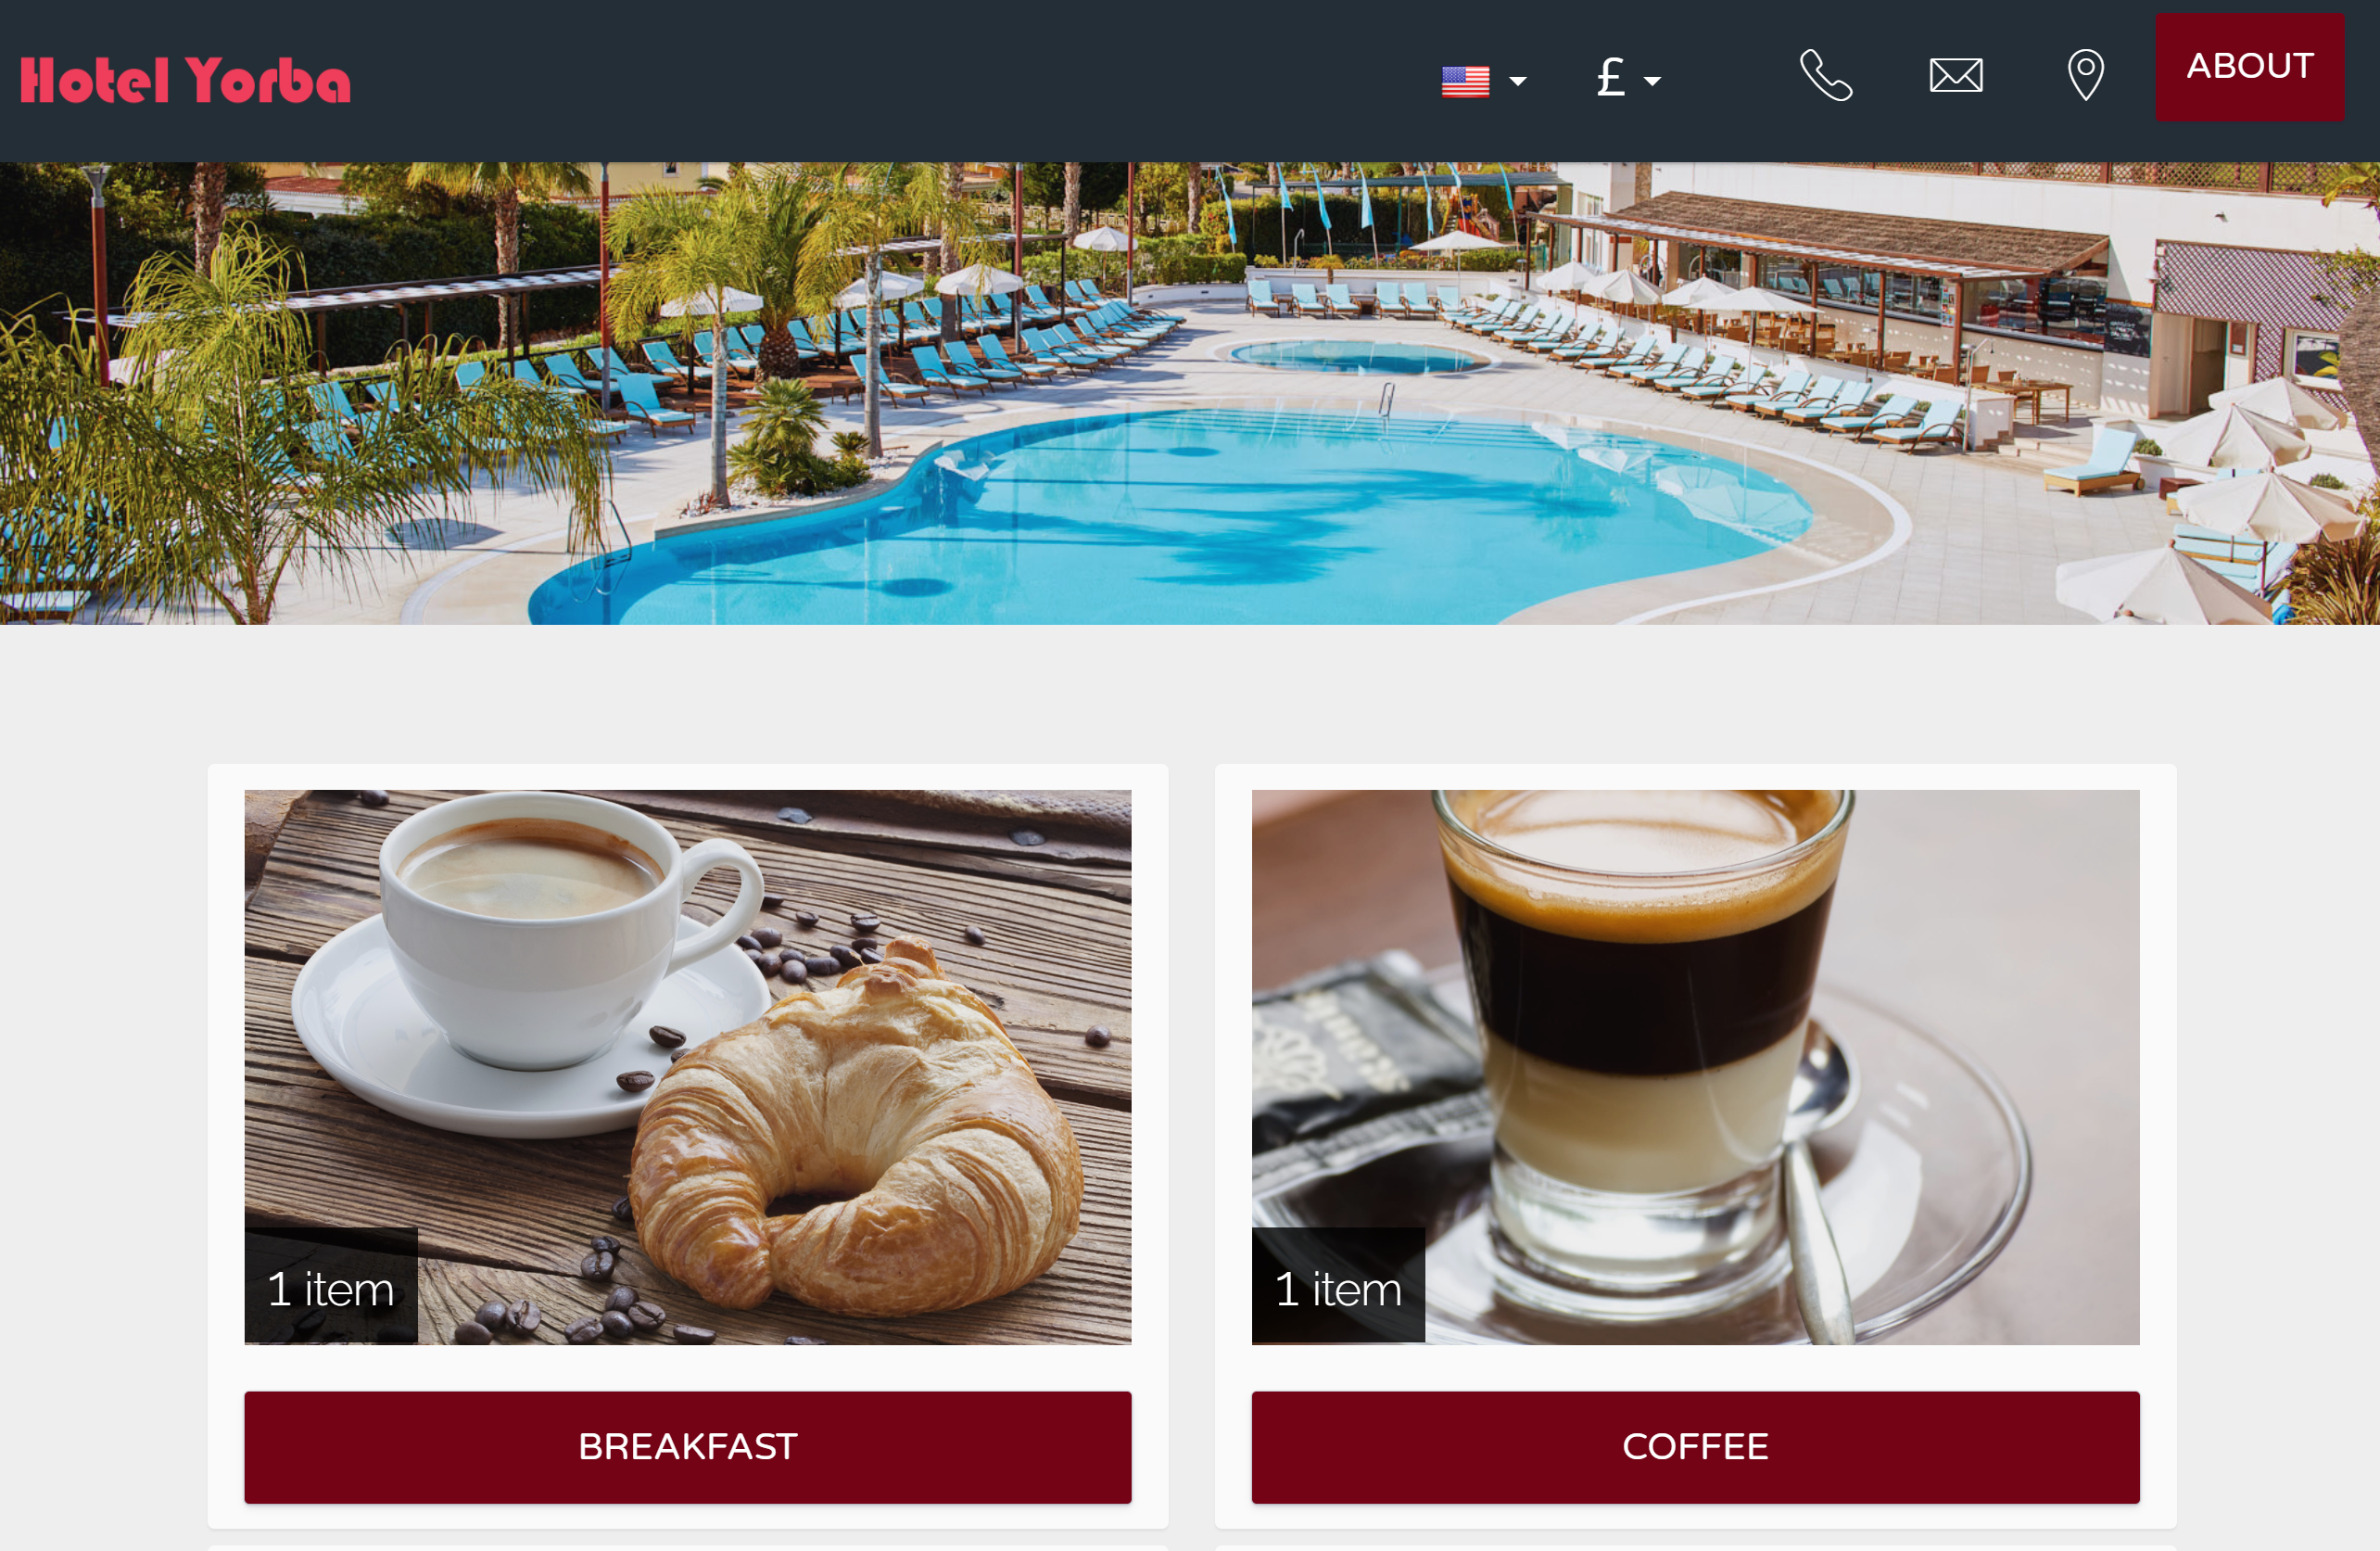
You see two new items that have appeared since check-in: the room service menu, and instant messages. Click to view your room service menu.
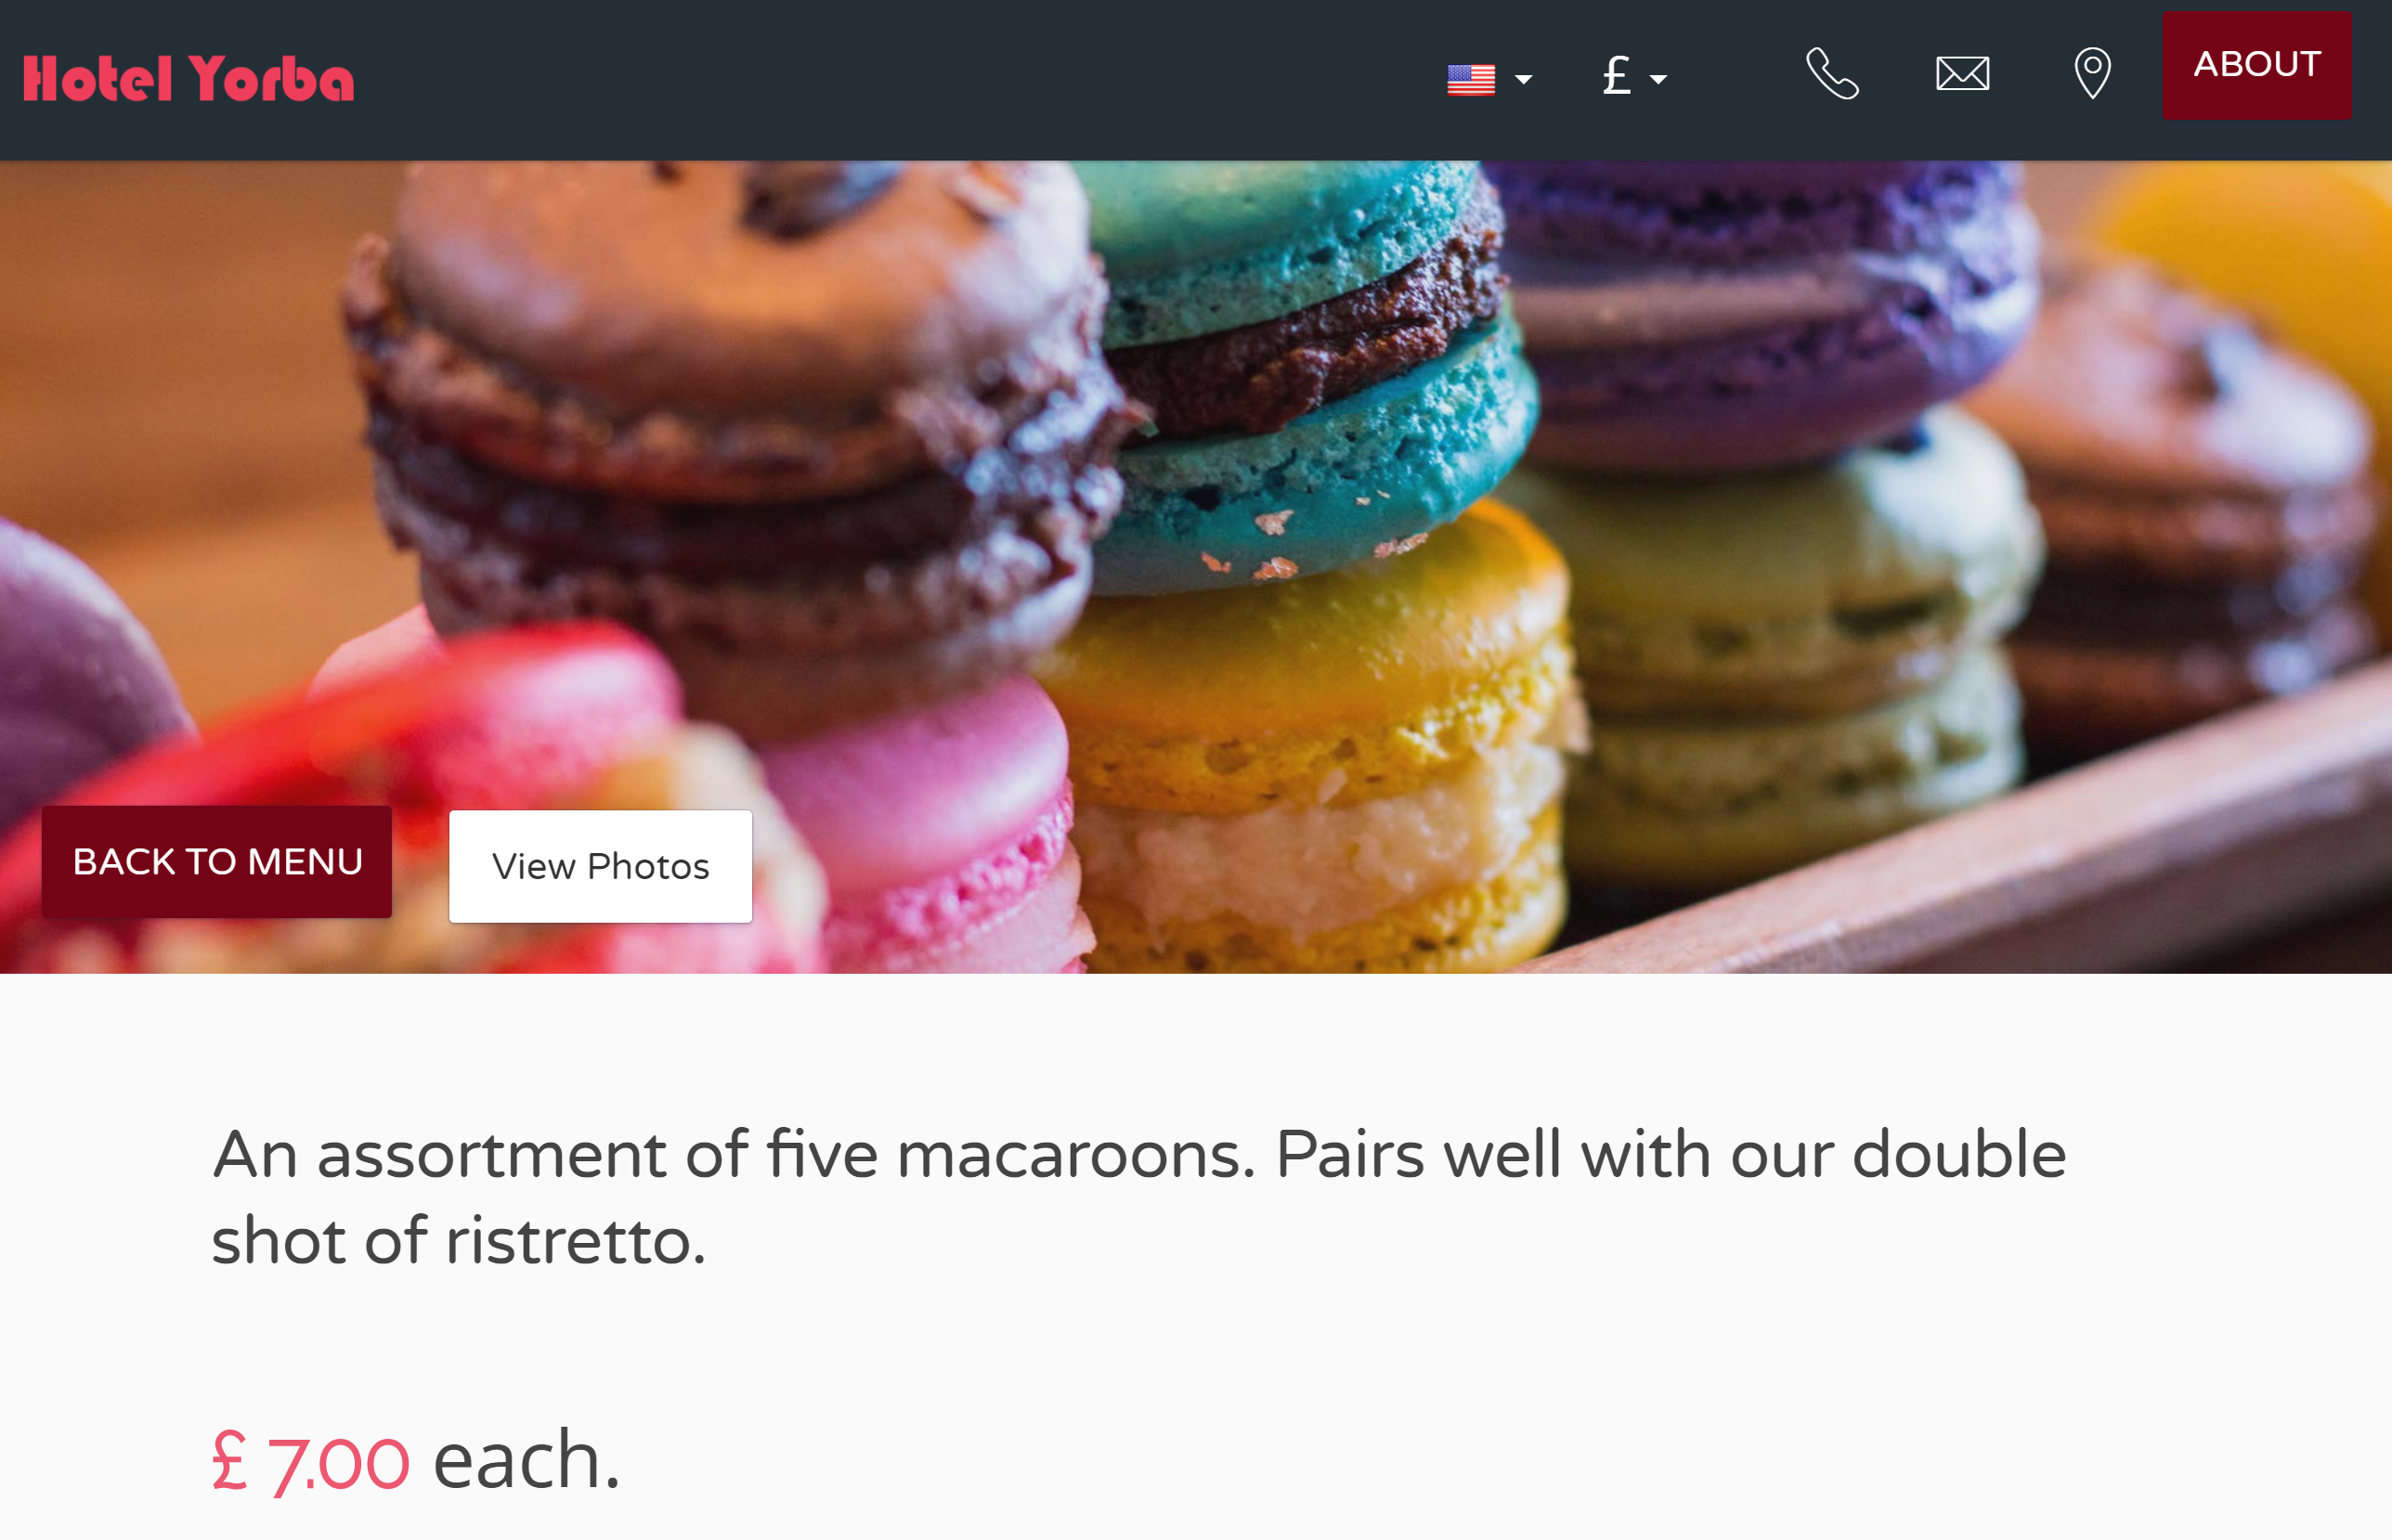
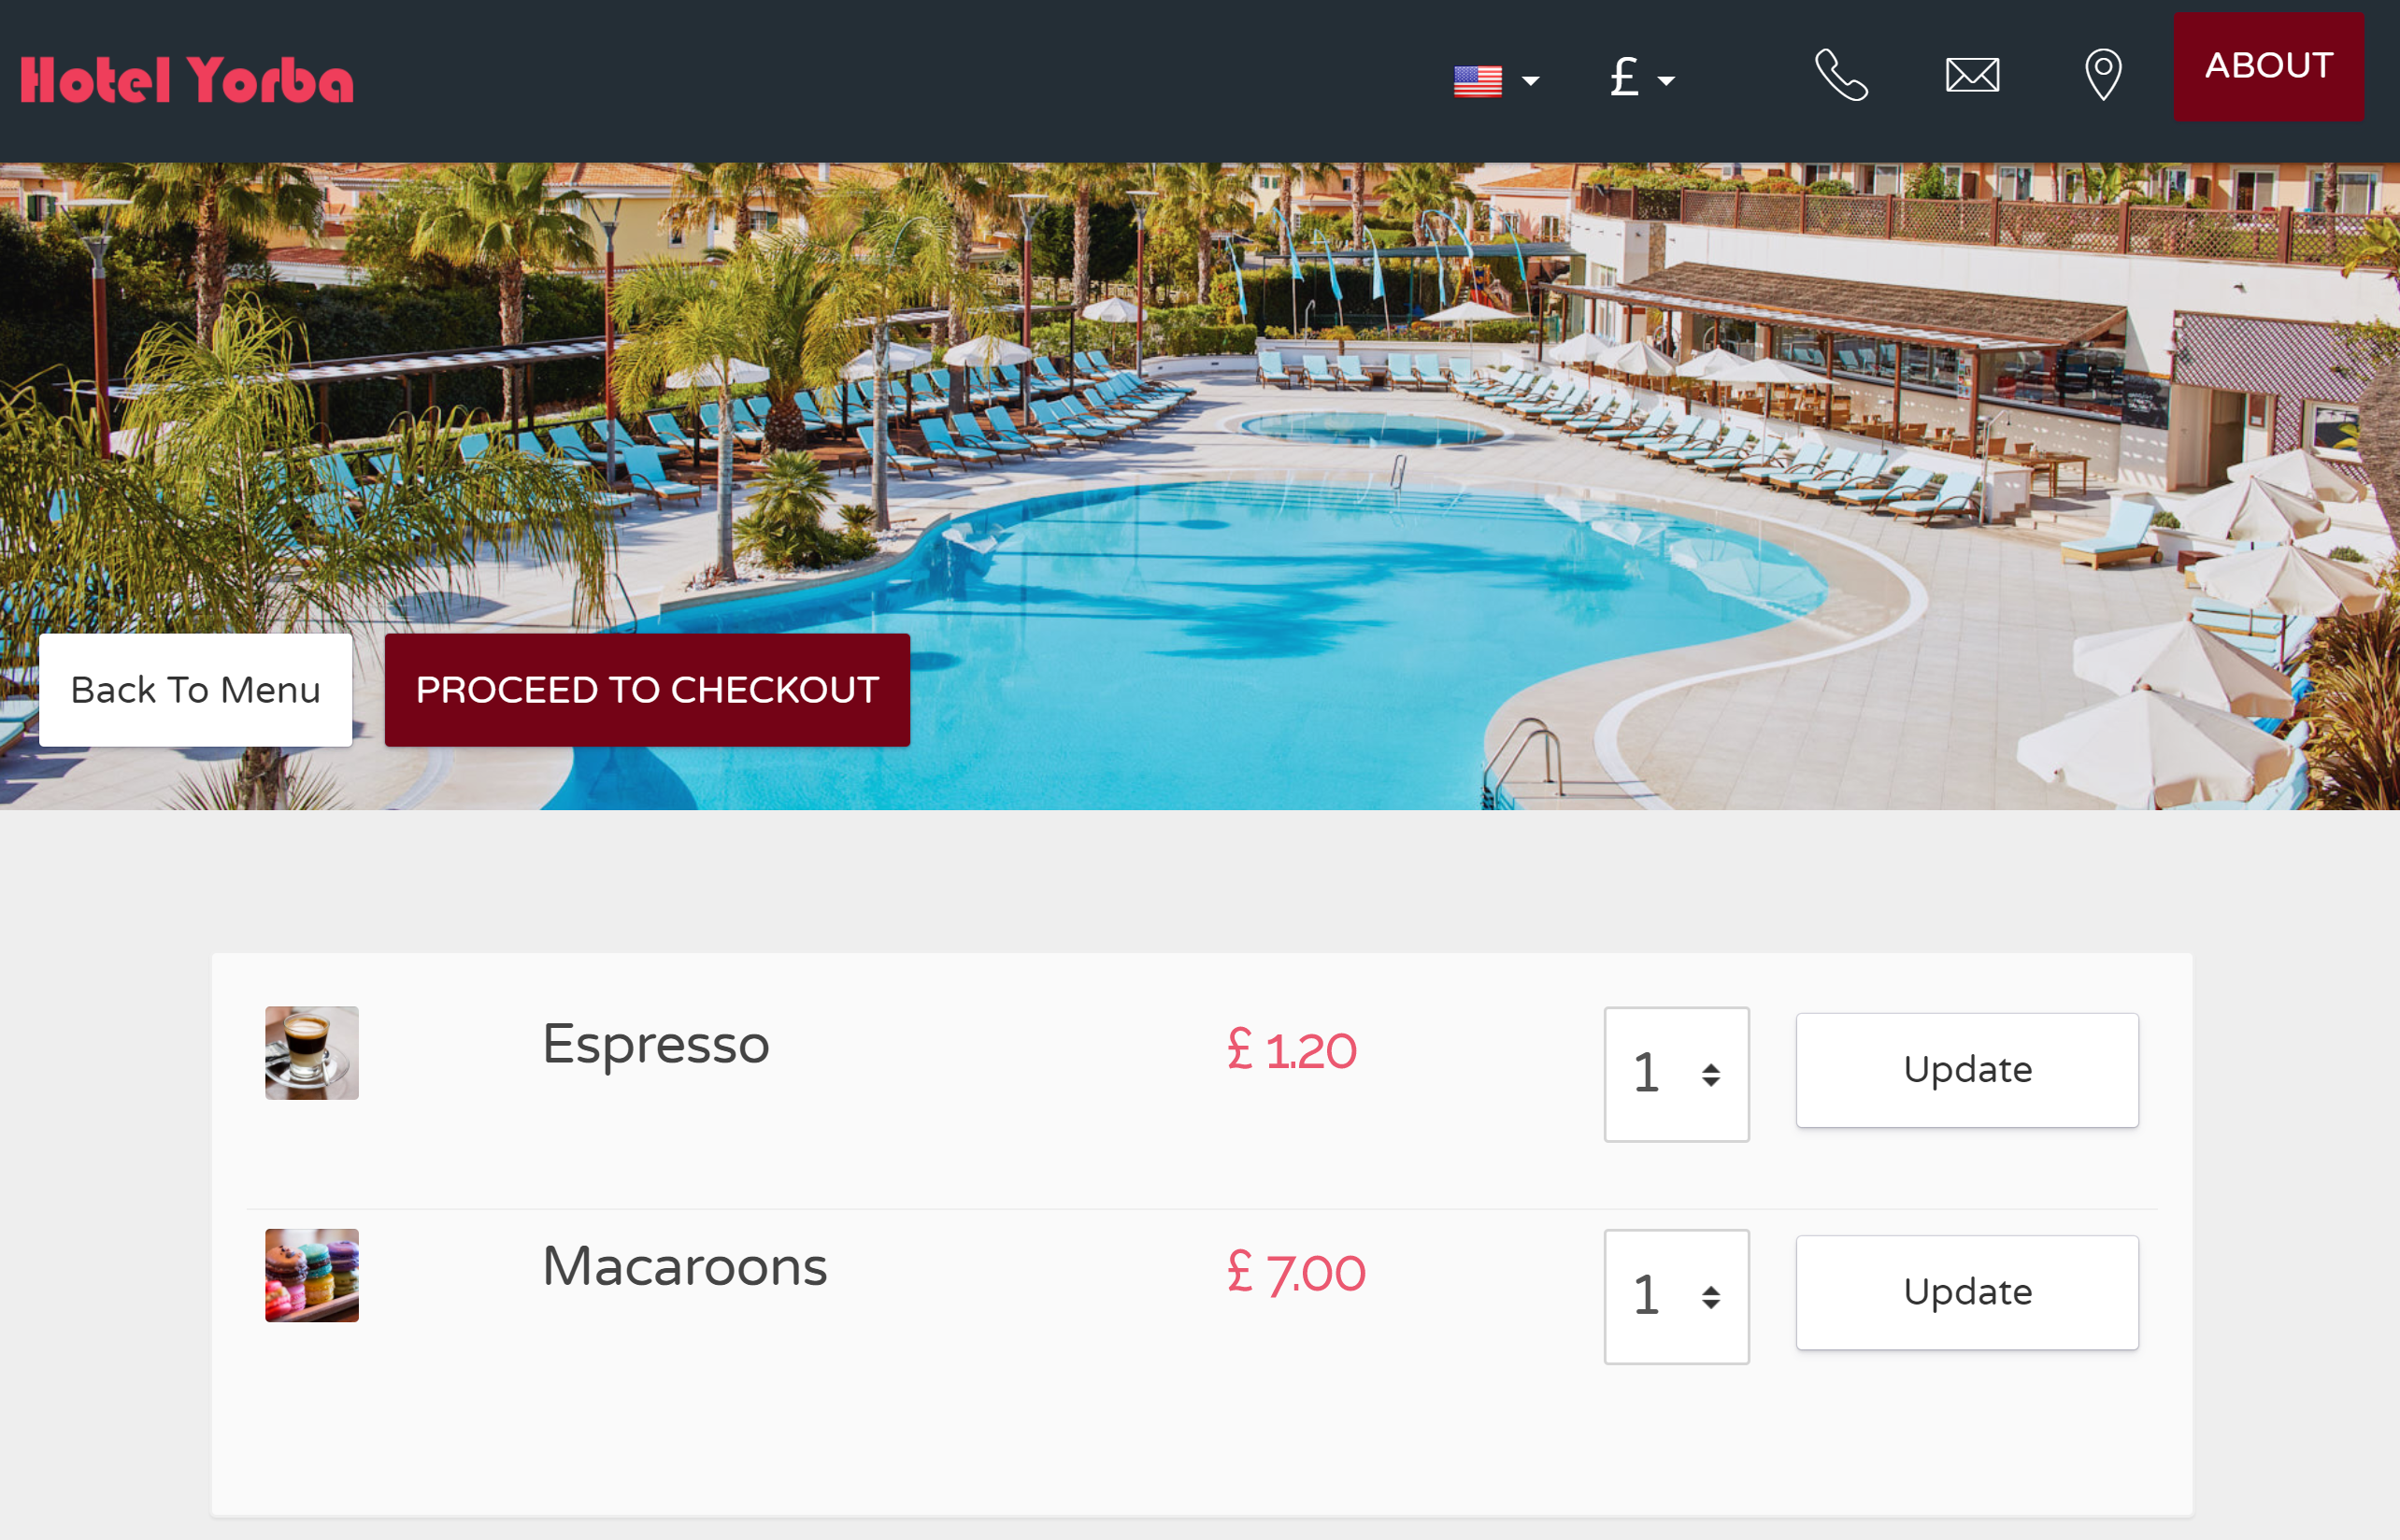
Take a look around your menu, then select a couple of items to order. When you have entered the order, go back and view the reservation in your Front Desk manager.
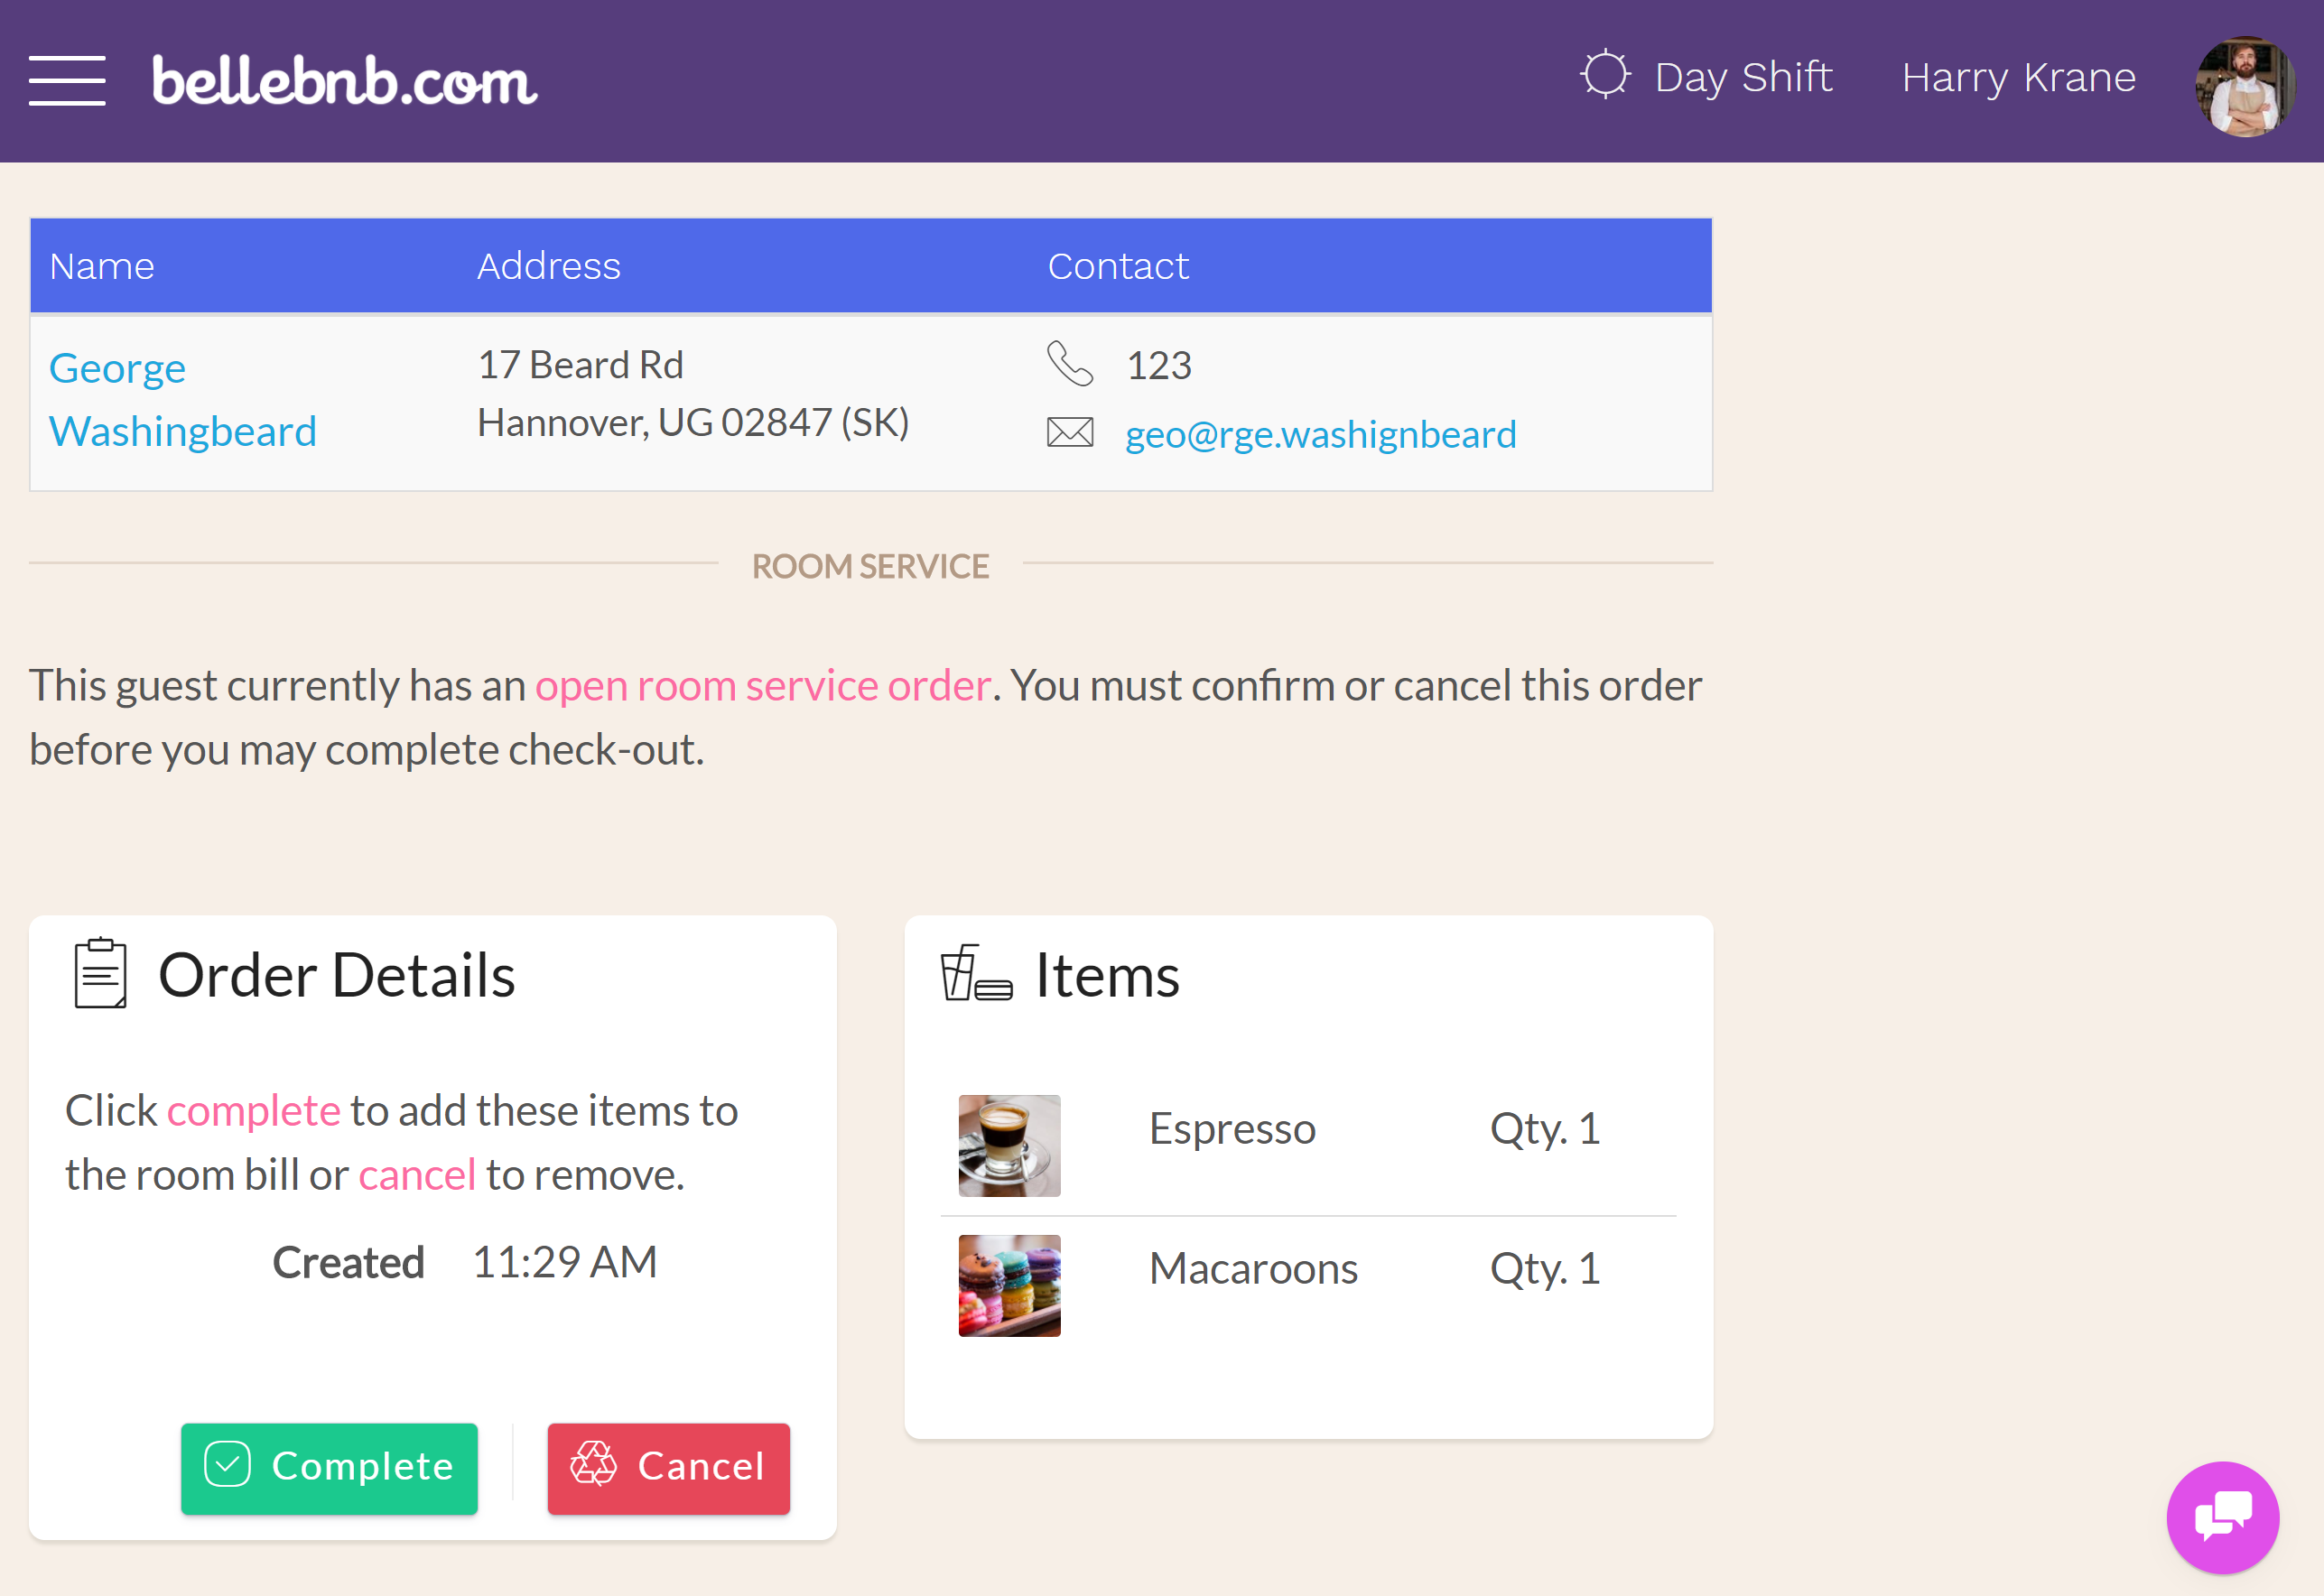
Refresh the booking in your Front Desk. You will see the items for the order have been added on to the reservation. These items are not added to the room bill until the order is marked as completed.
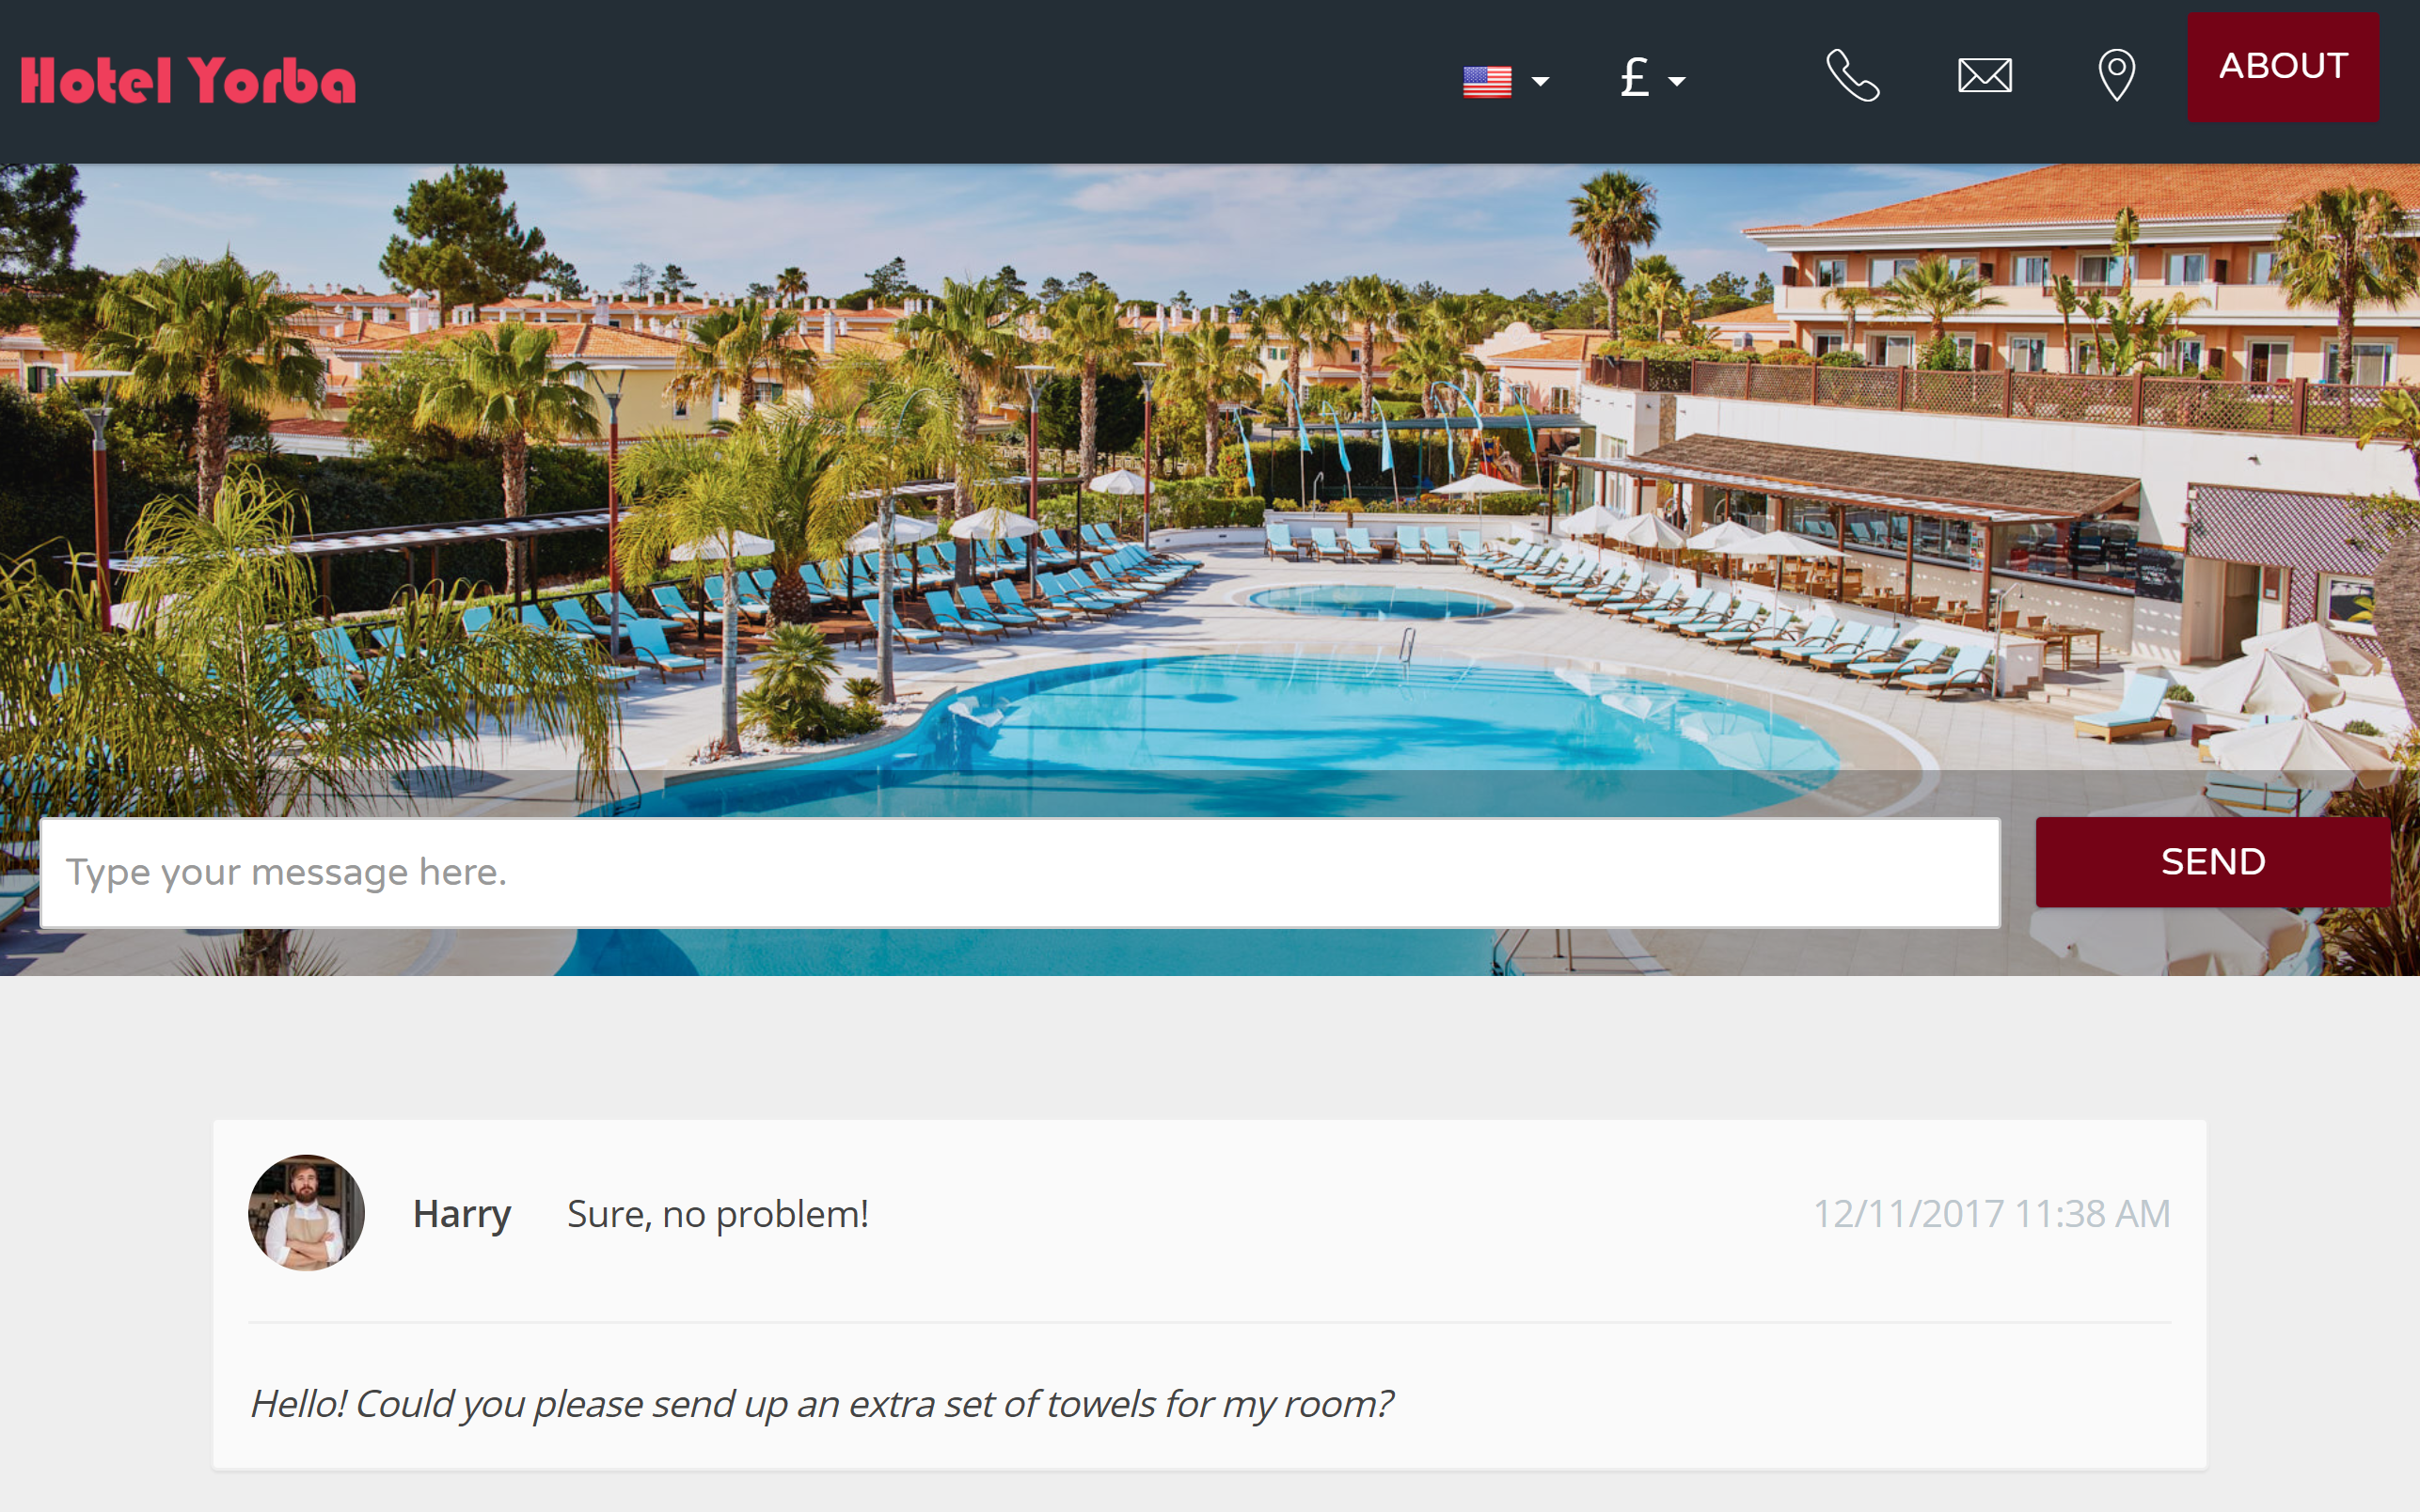
Next, go back to the invoice in your booking engine and click to view instant messages, then enter a new message for the Front Desk (click ‘Send’). Go back to the Front Desk manager and wait a minute until you see the ‘New Message’ indicator in the navigation bar.
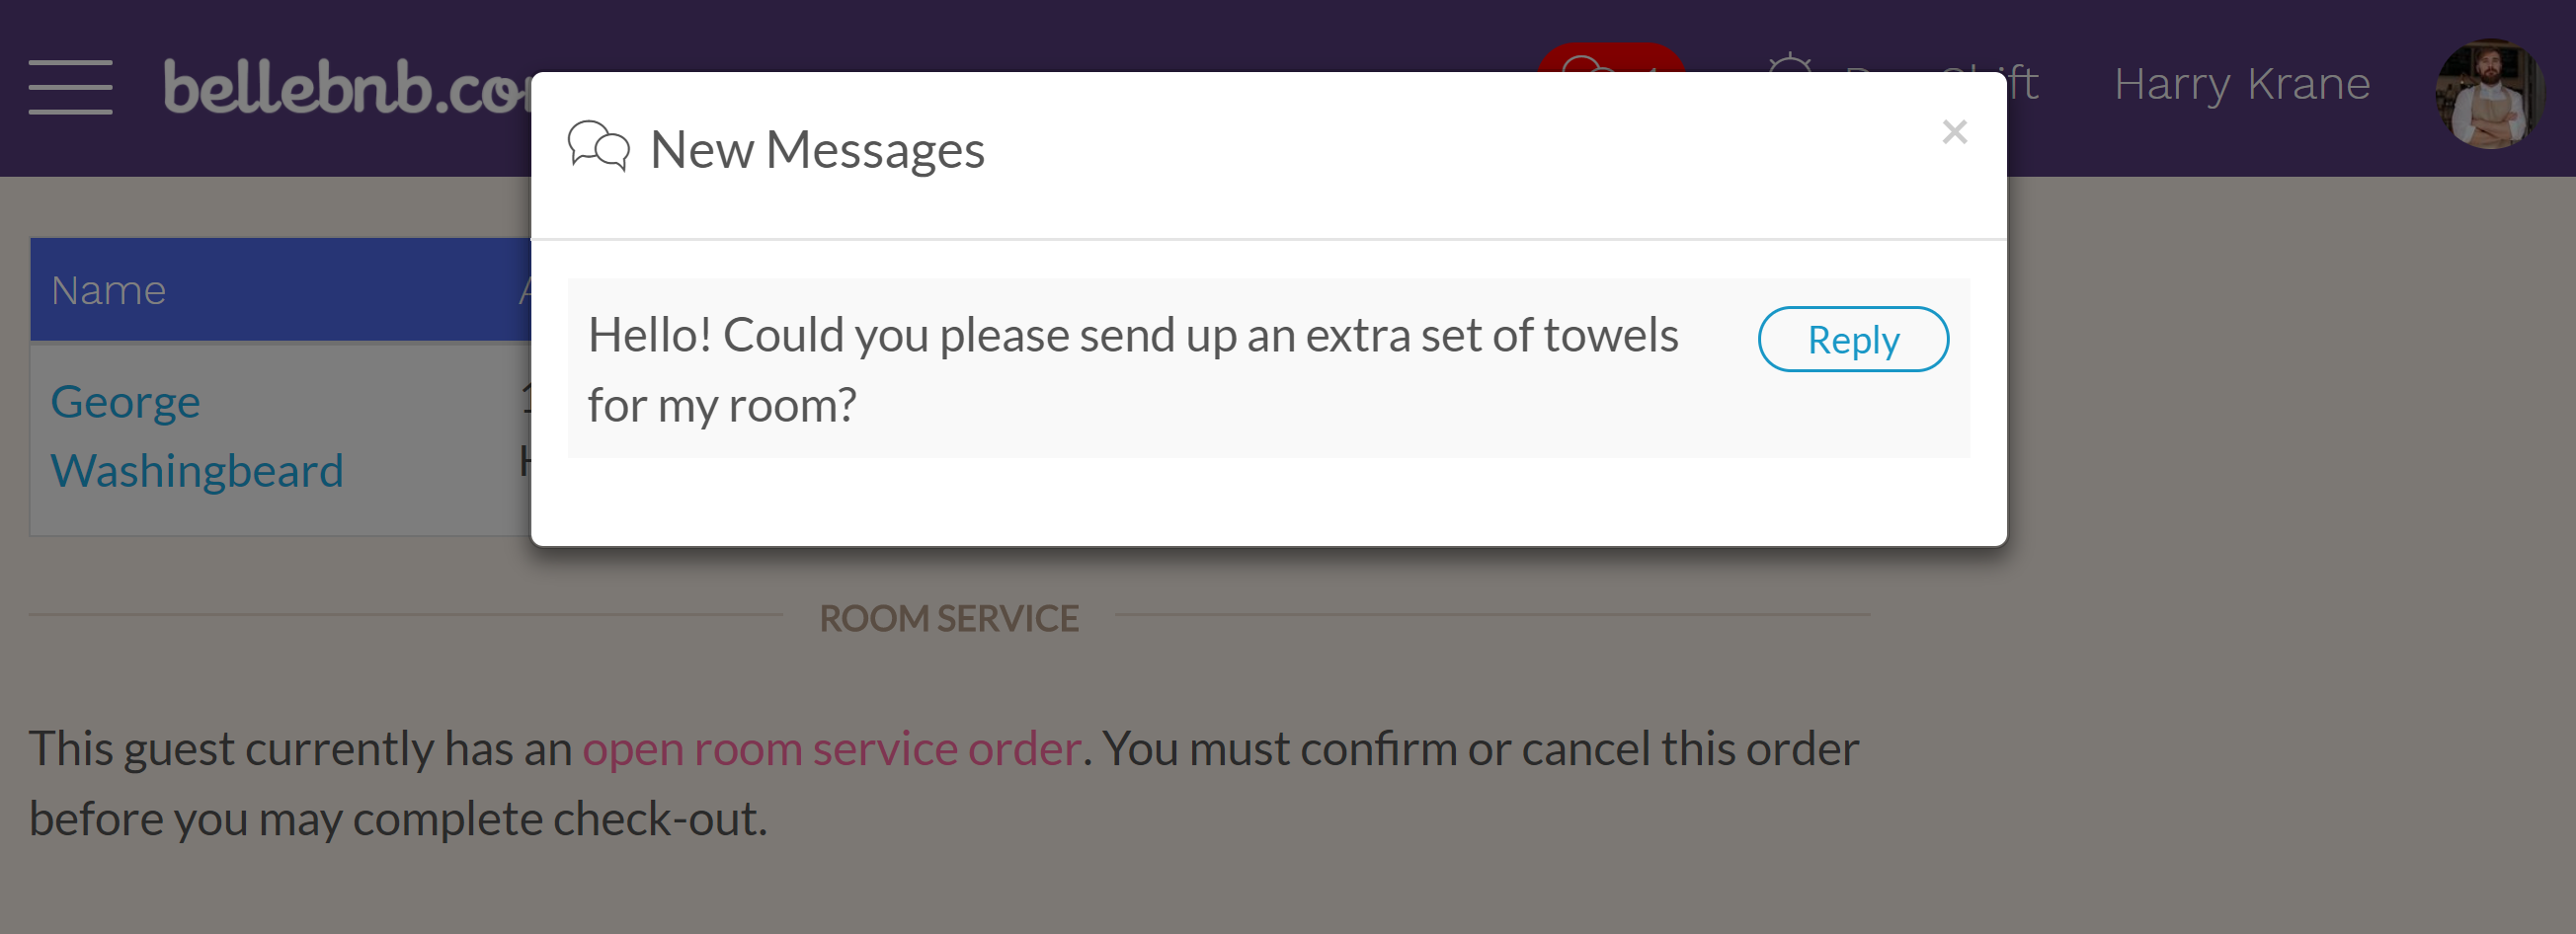
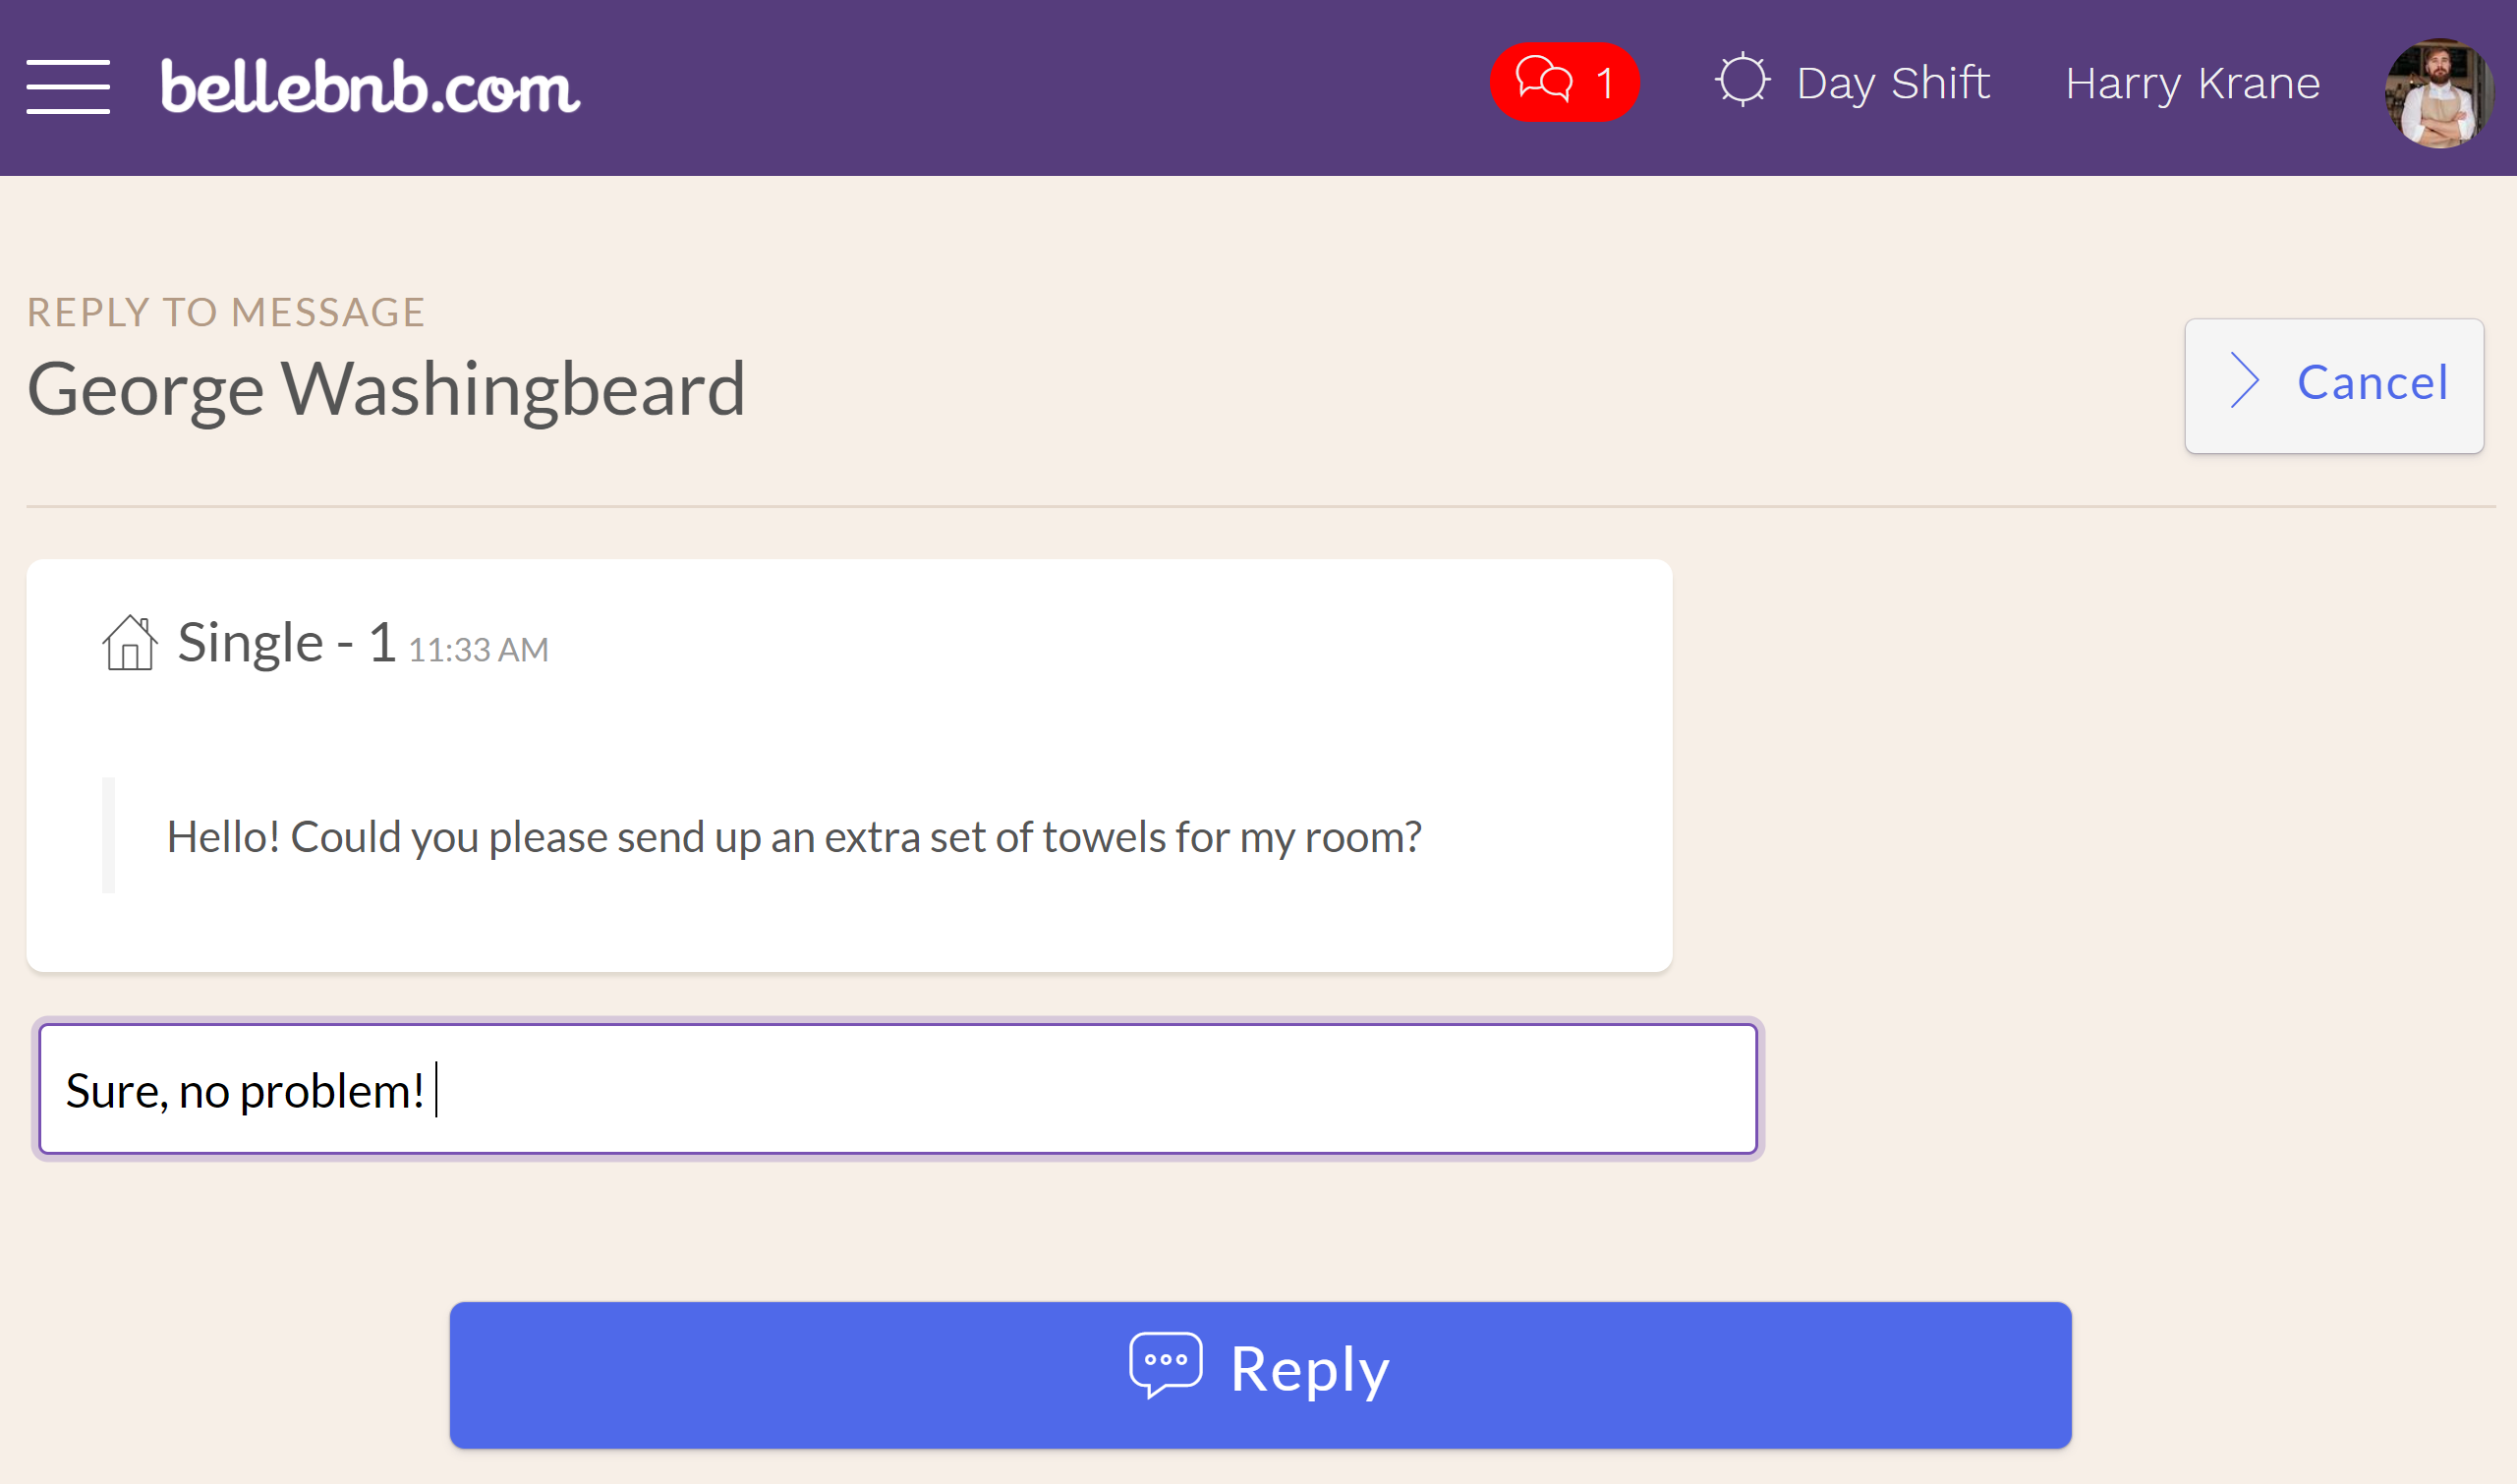
Click ‘Reply’ to send a reply to your guest. Enter a short reply and click to send, then check back in your guest’s messages view. Wait a minute for the reply to come up, or refresh the page.
The last part of the concierge, the Staff and Hotel Reviews, can be viewed once you complete check-out for a booking. When you can complete check-out for a booking, click to view in your booking engine, then go through and complete check-out.
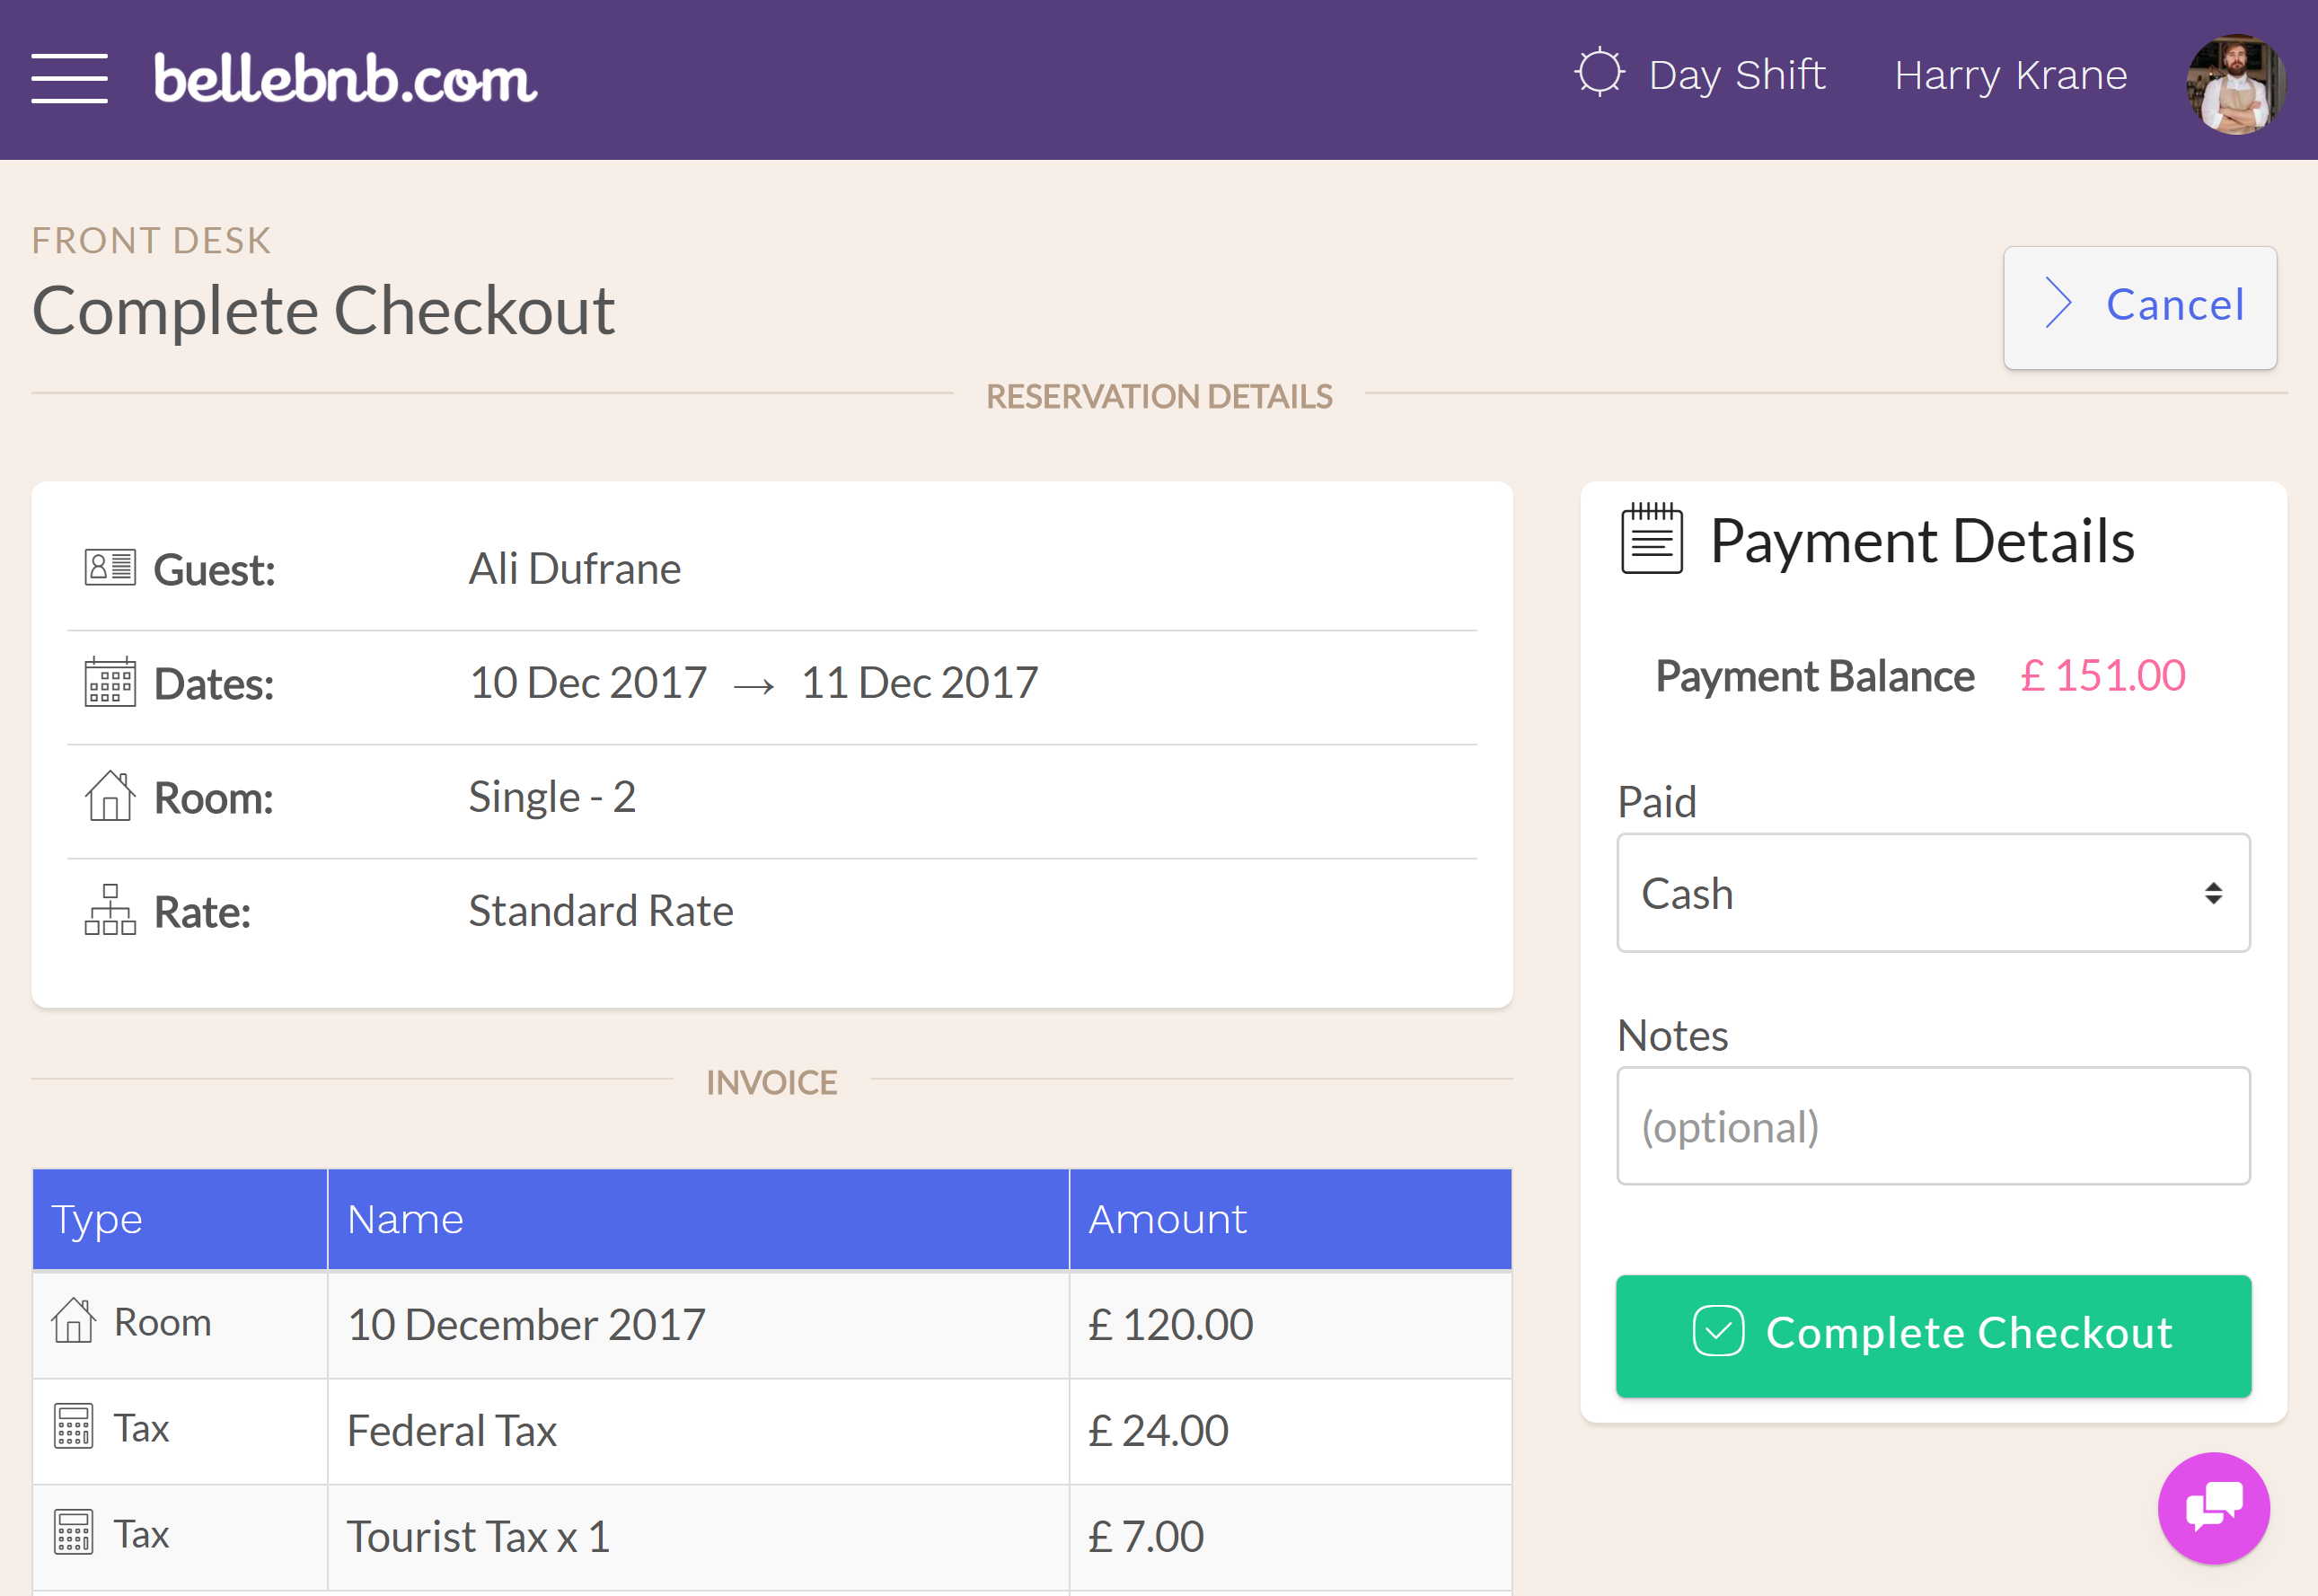
Once you have completed check-out, go back to the window to view this reservation in your booking engine and click ‘Leave a Review’.
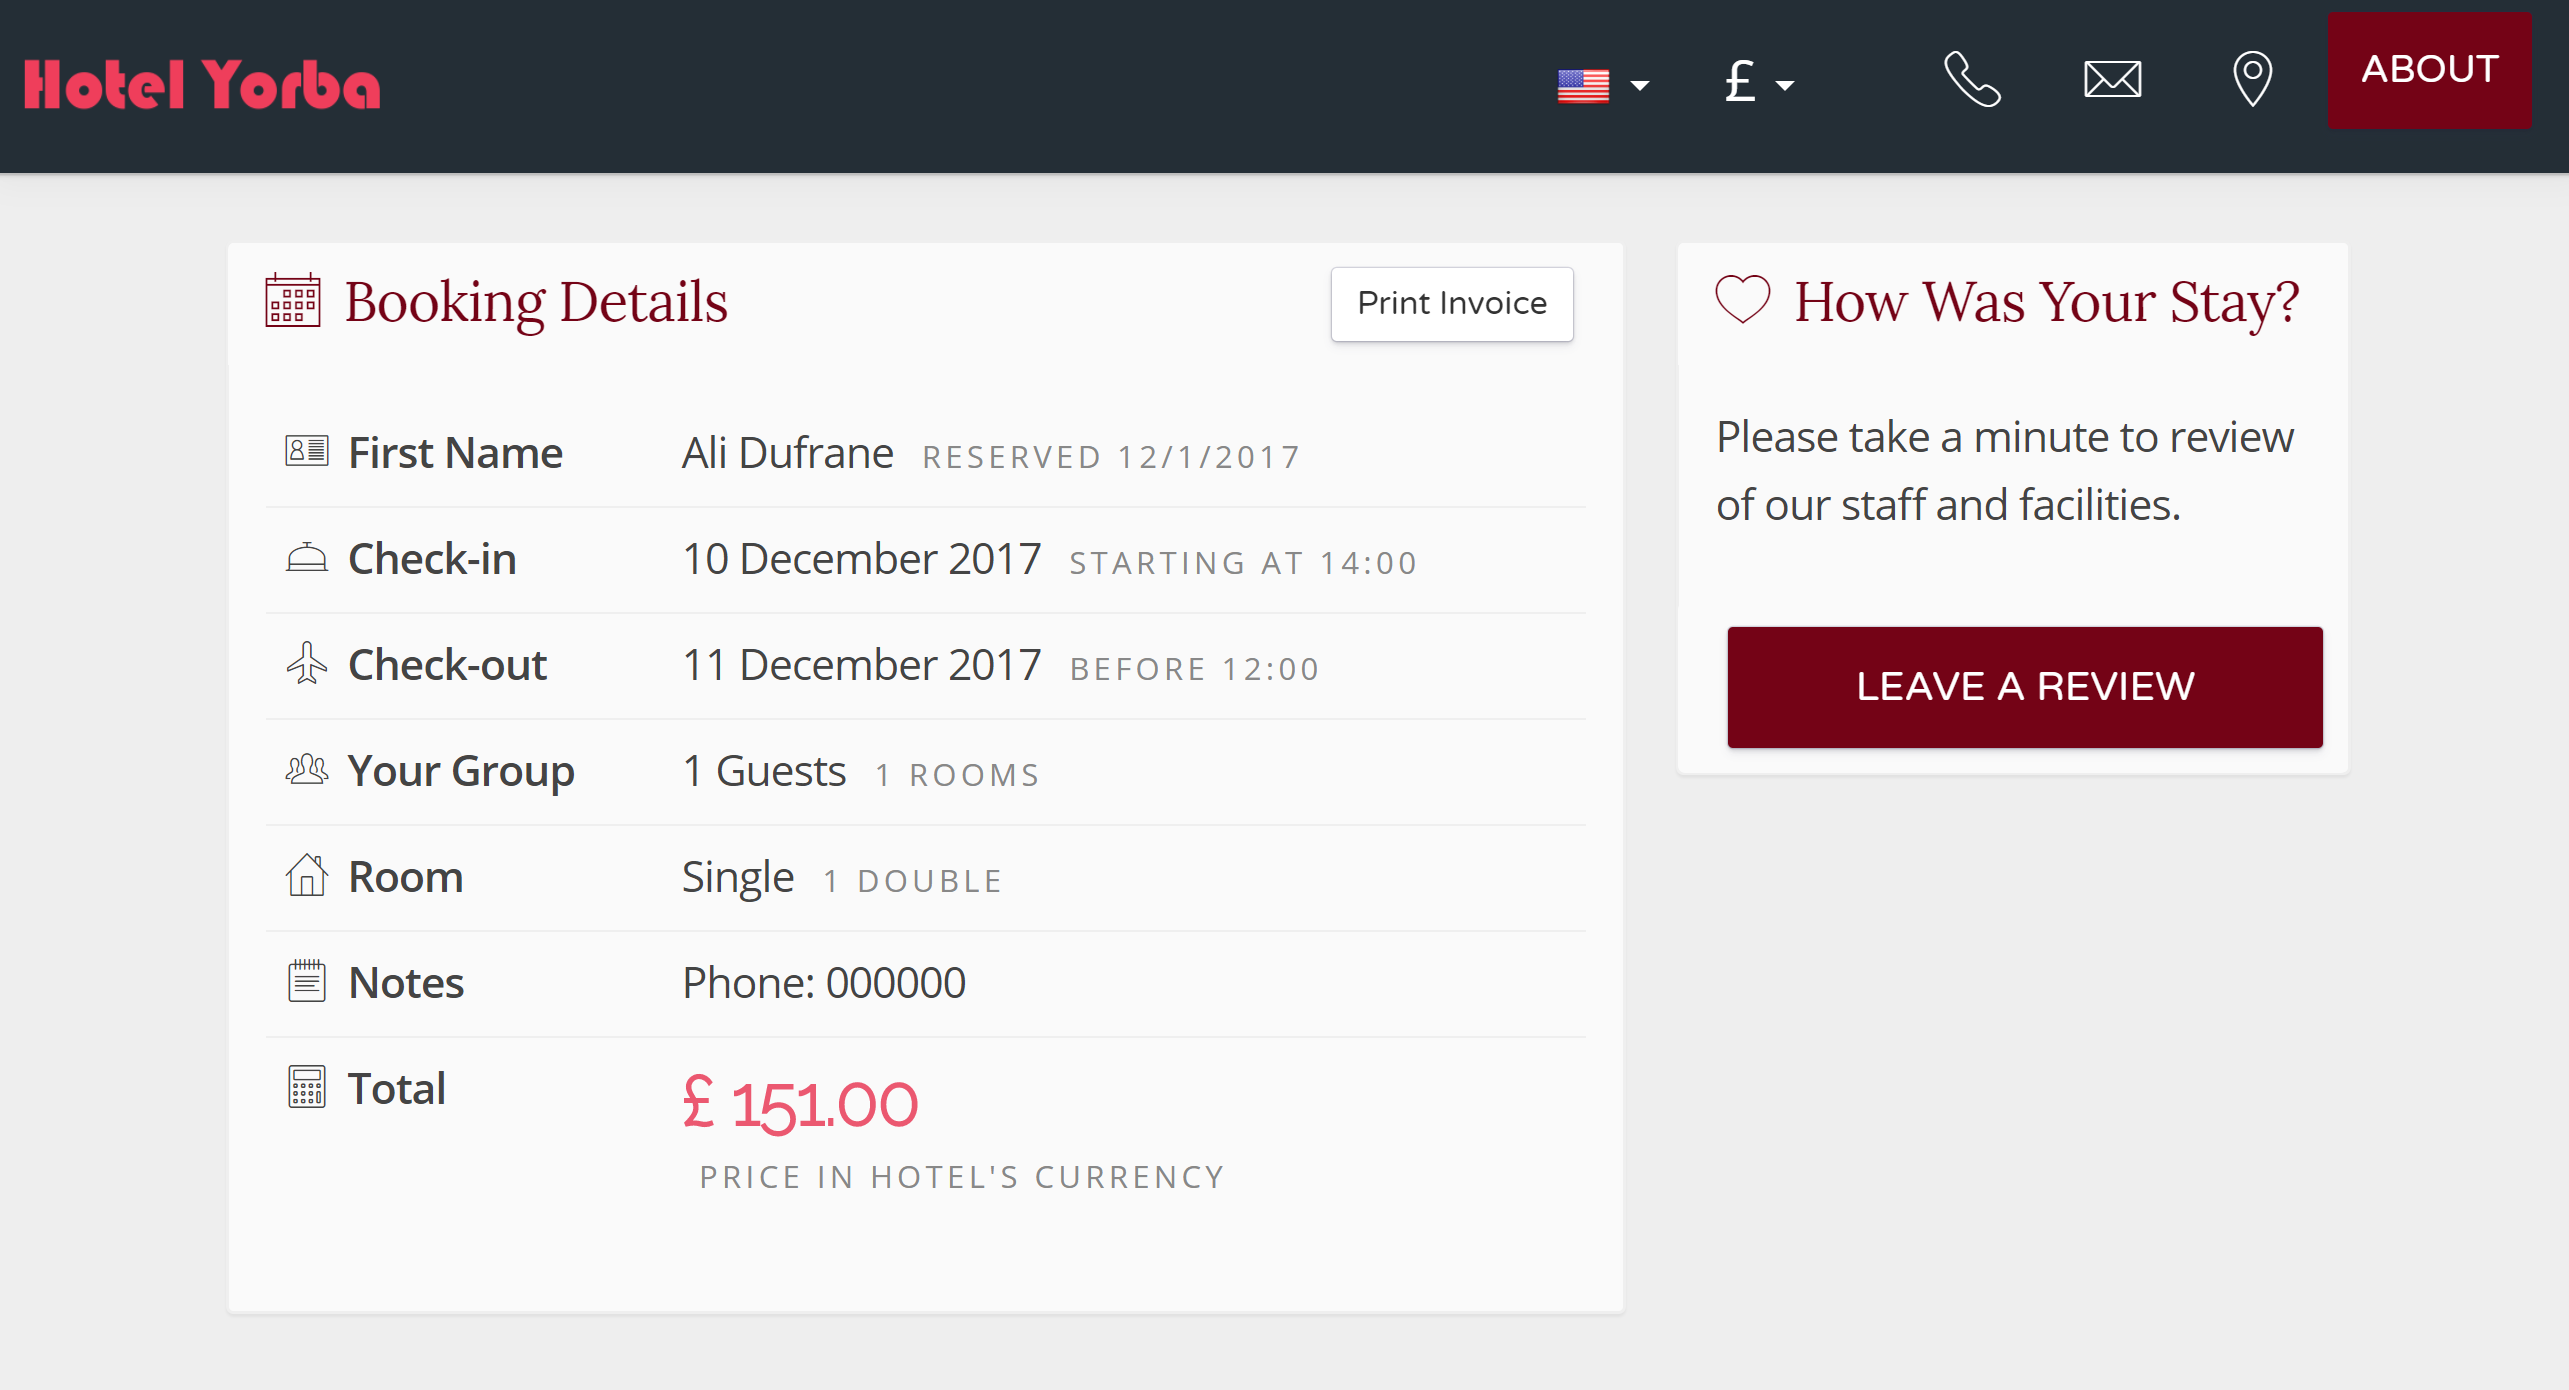
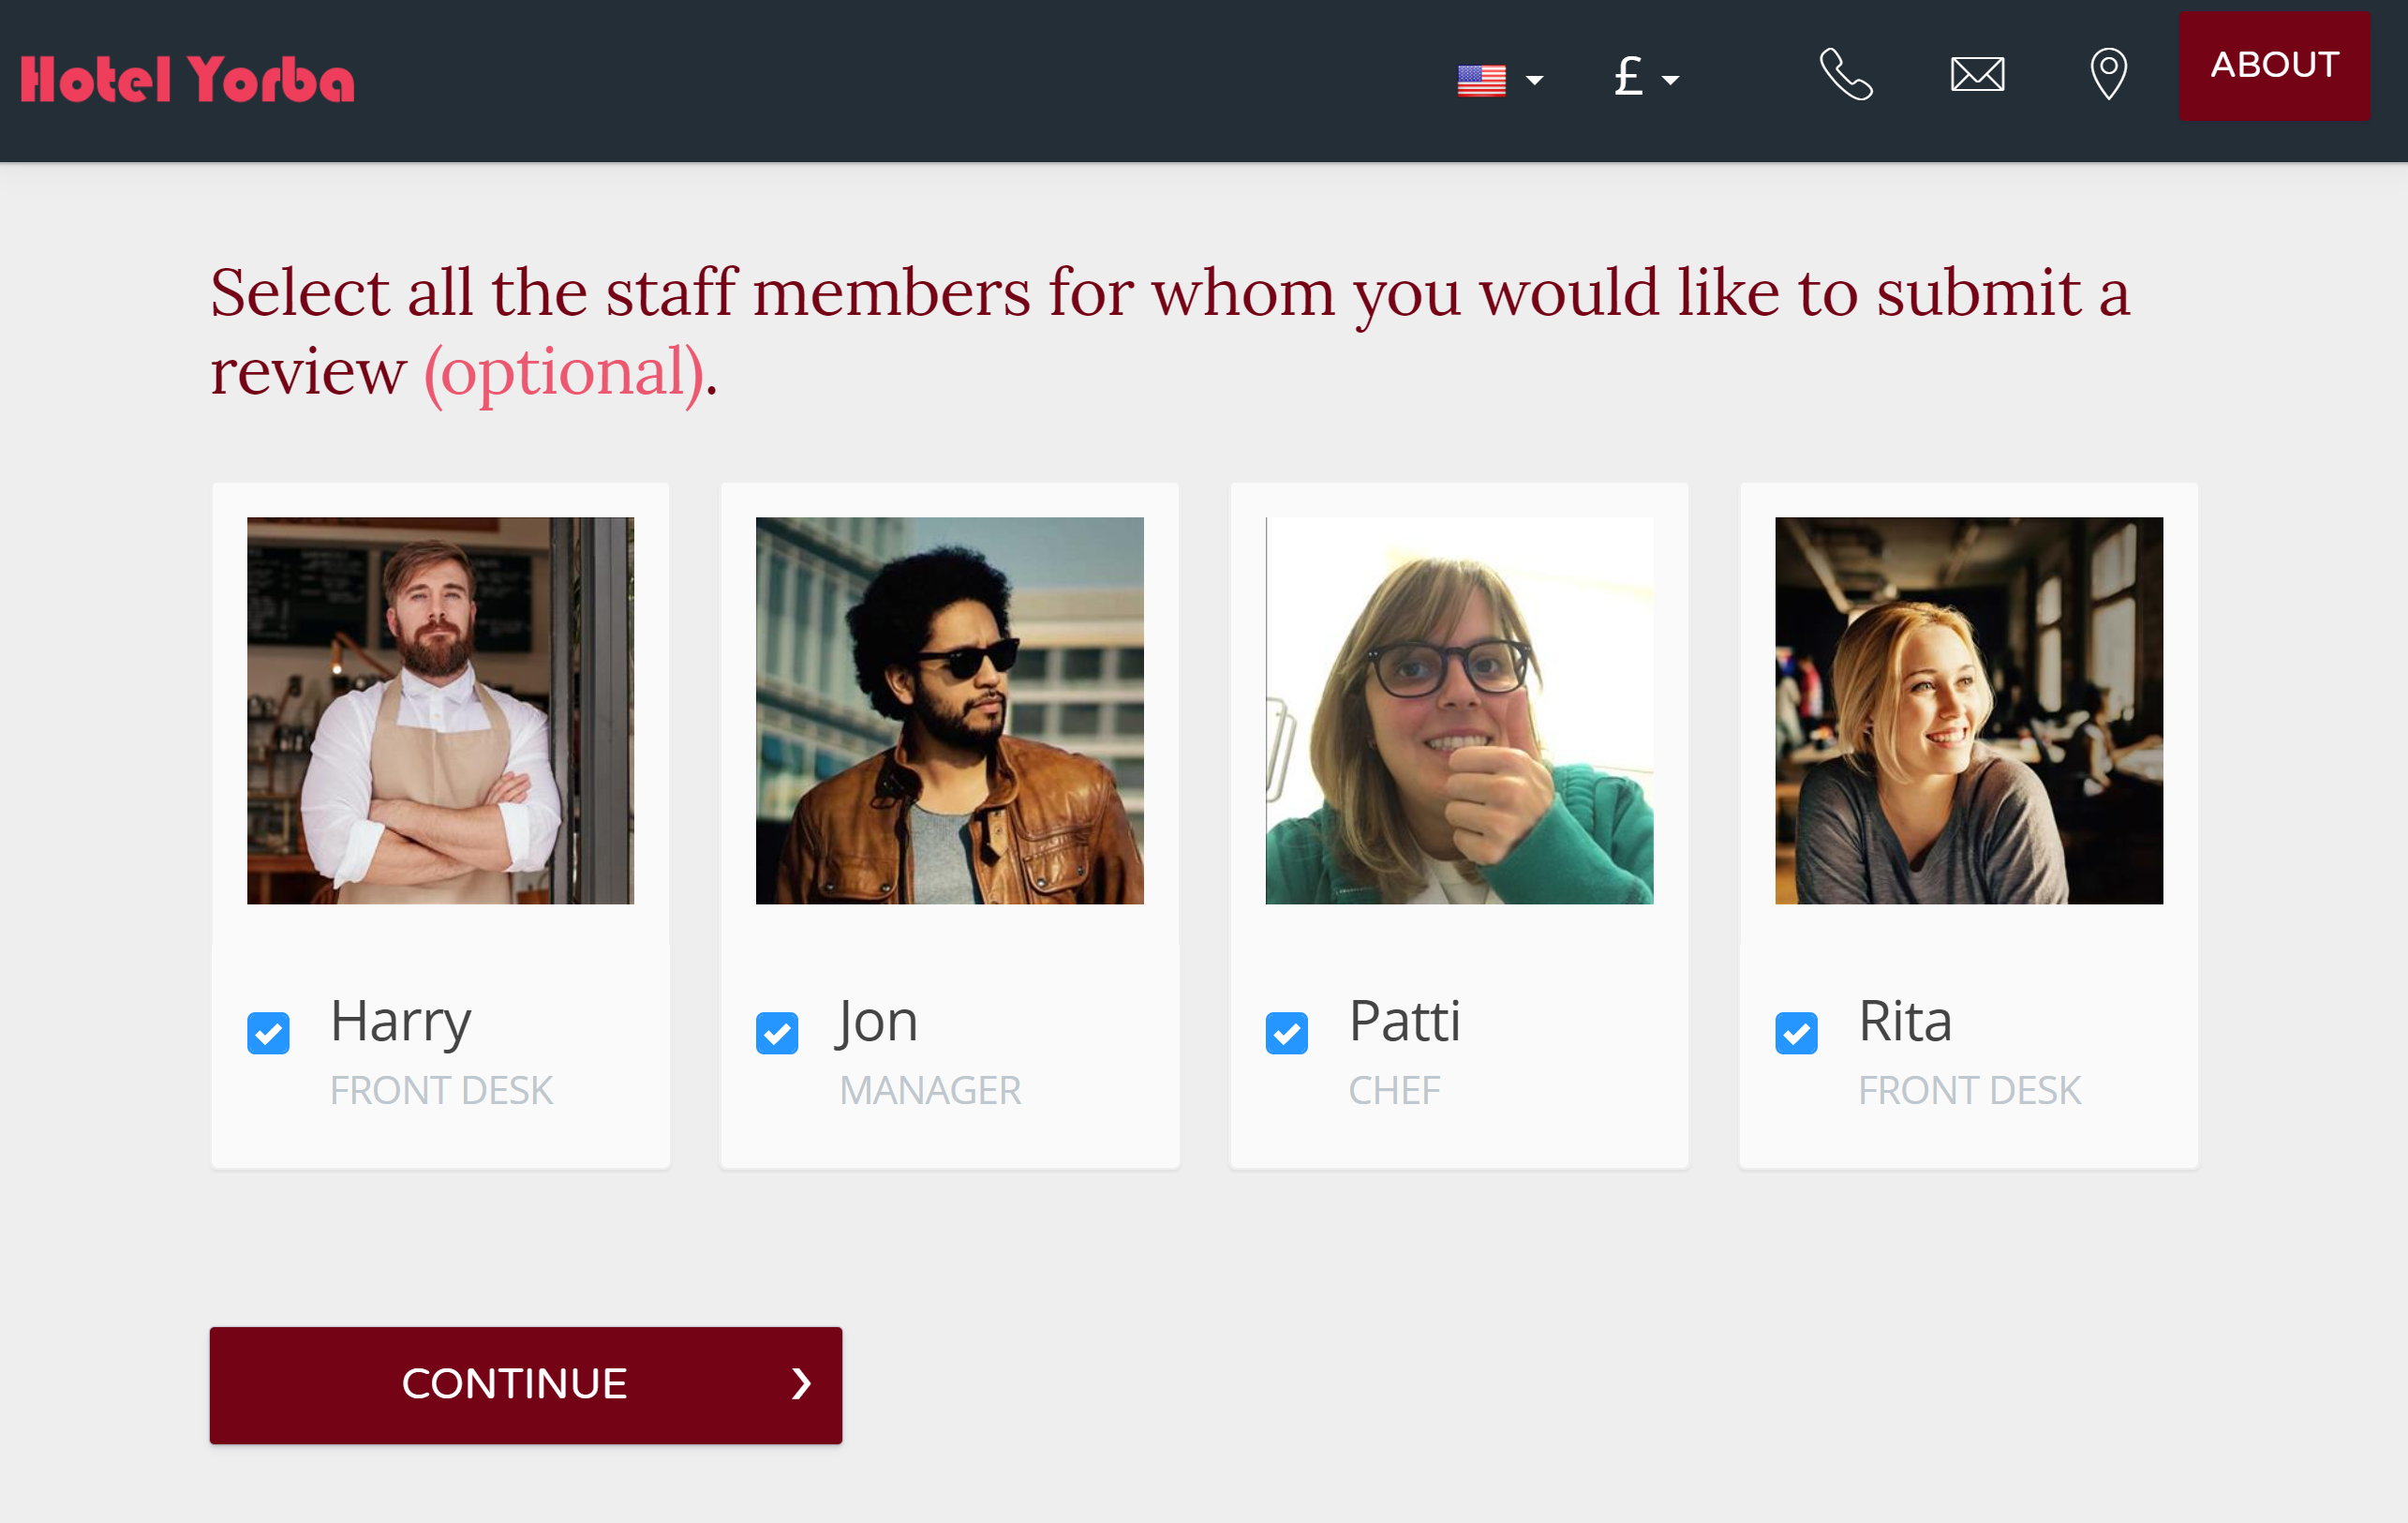
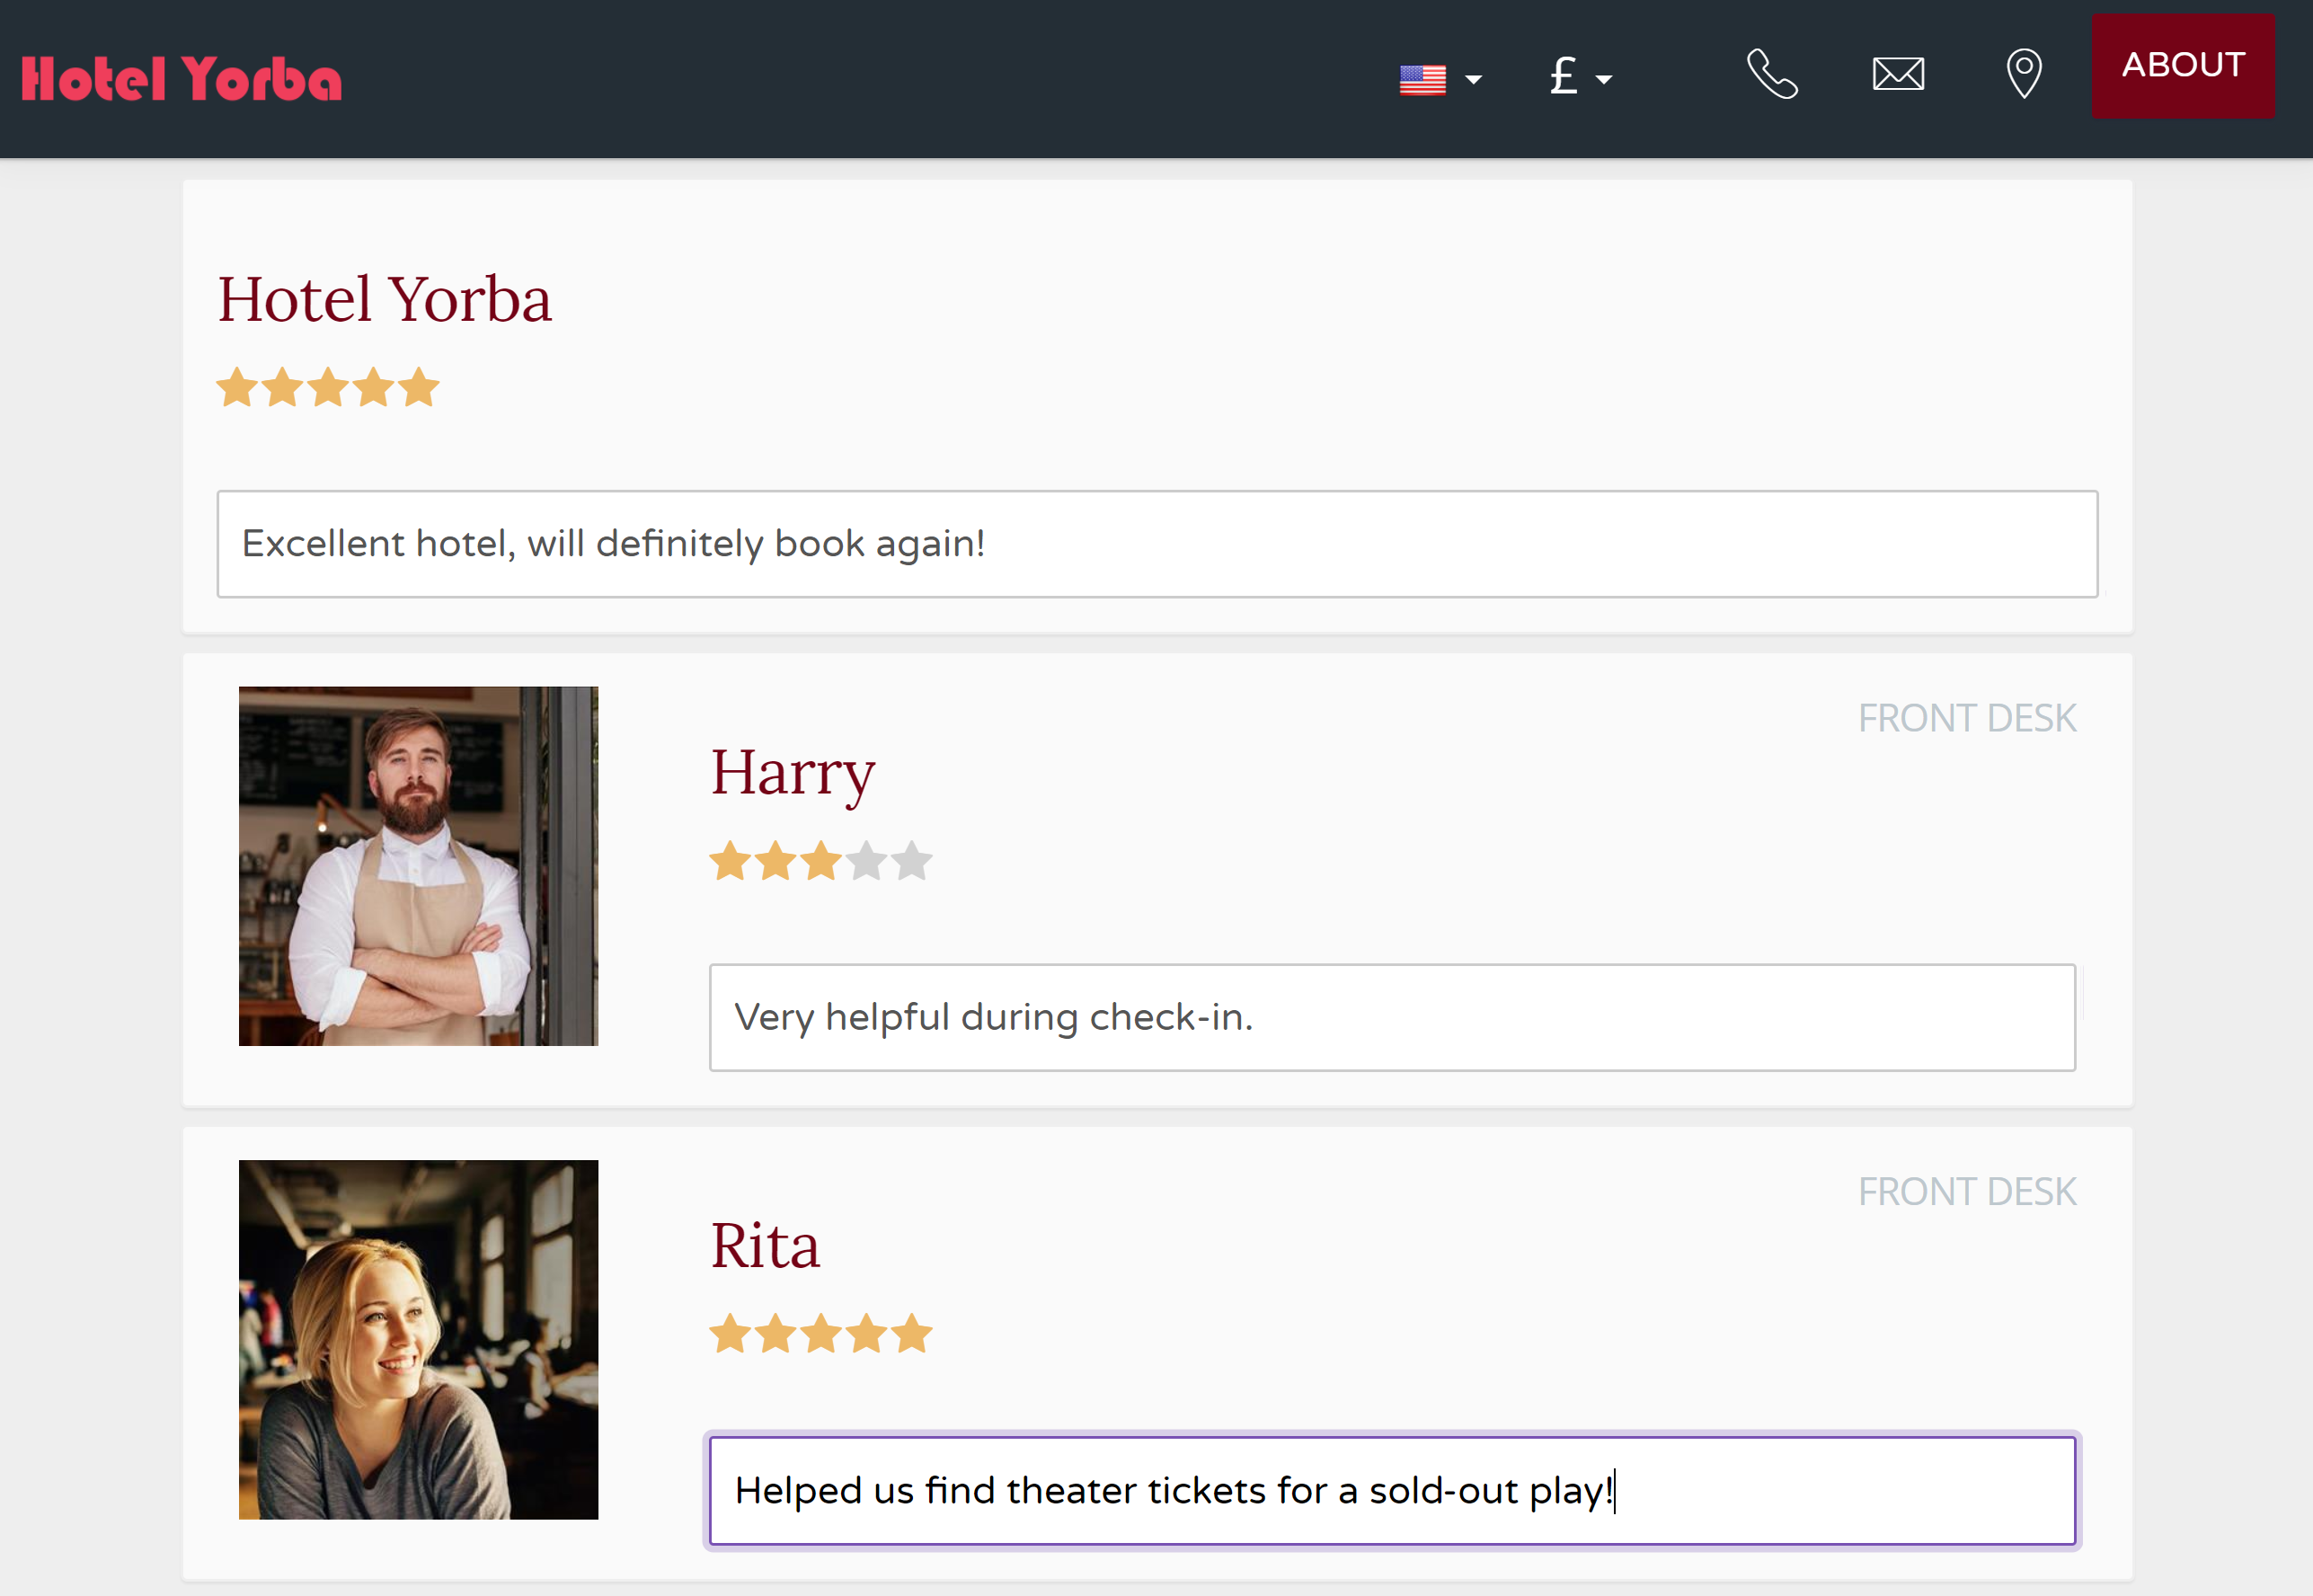
Select staff members to review, then leave a star rating and short comment for each one. You can view the results under ‘Reports > Reviews’ in the main menu in your Front Desk manager.
V. Generate Reports
You can generate reports in your Front Desk for reservations, guests, revenue, and reviews. You can export the data and dump into your spreadsheet of choice, or enjoy the charts we generate directly in your Front Desk manager.
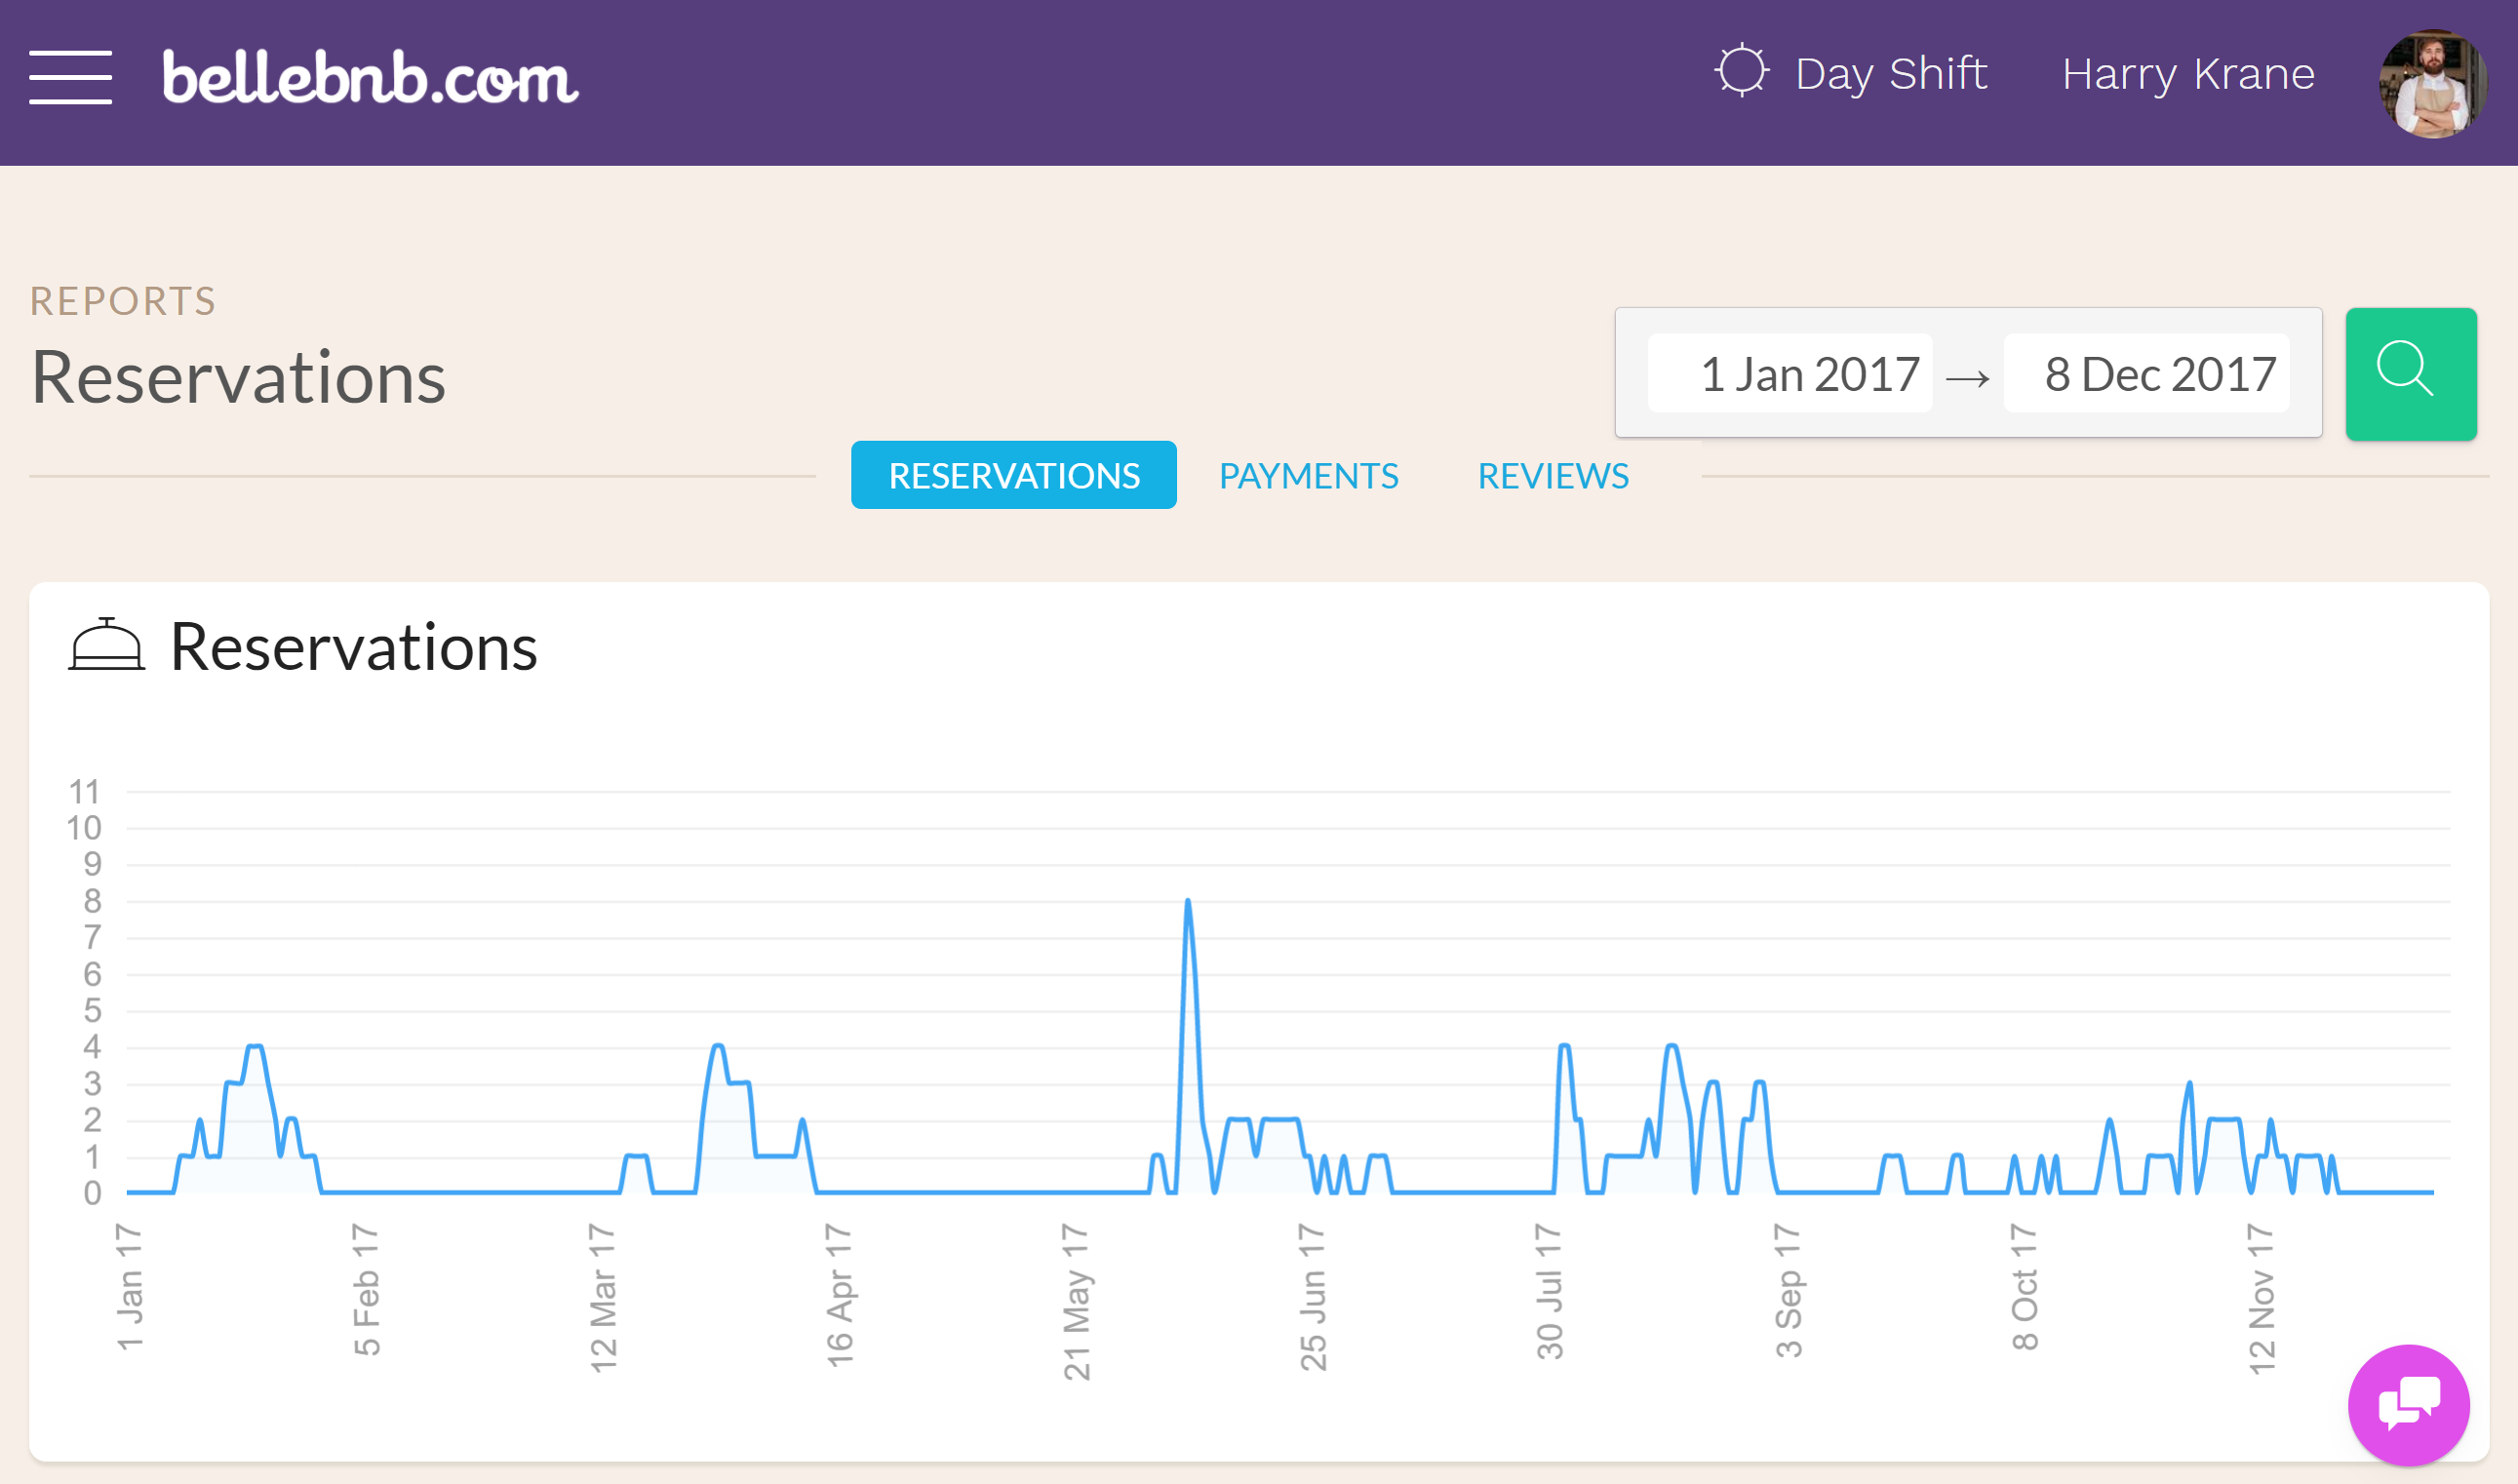
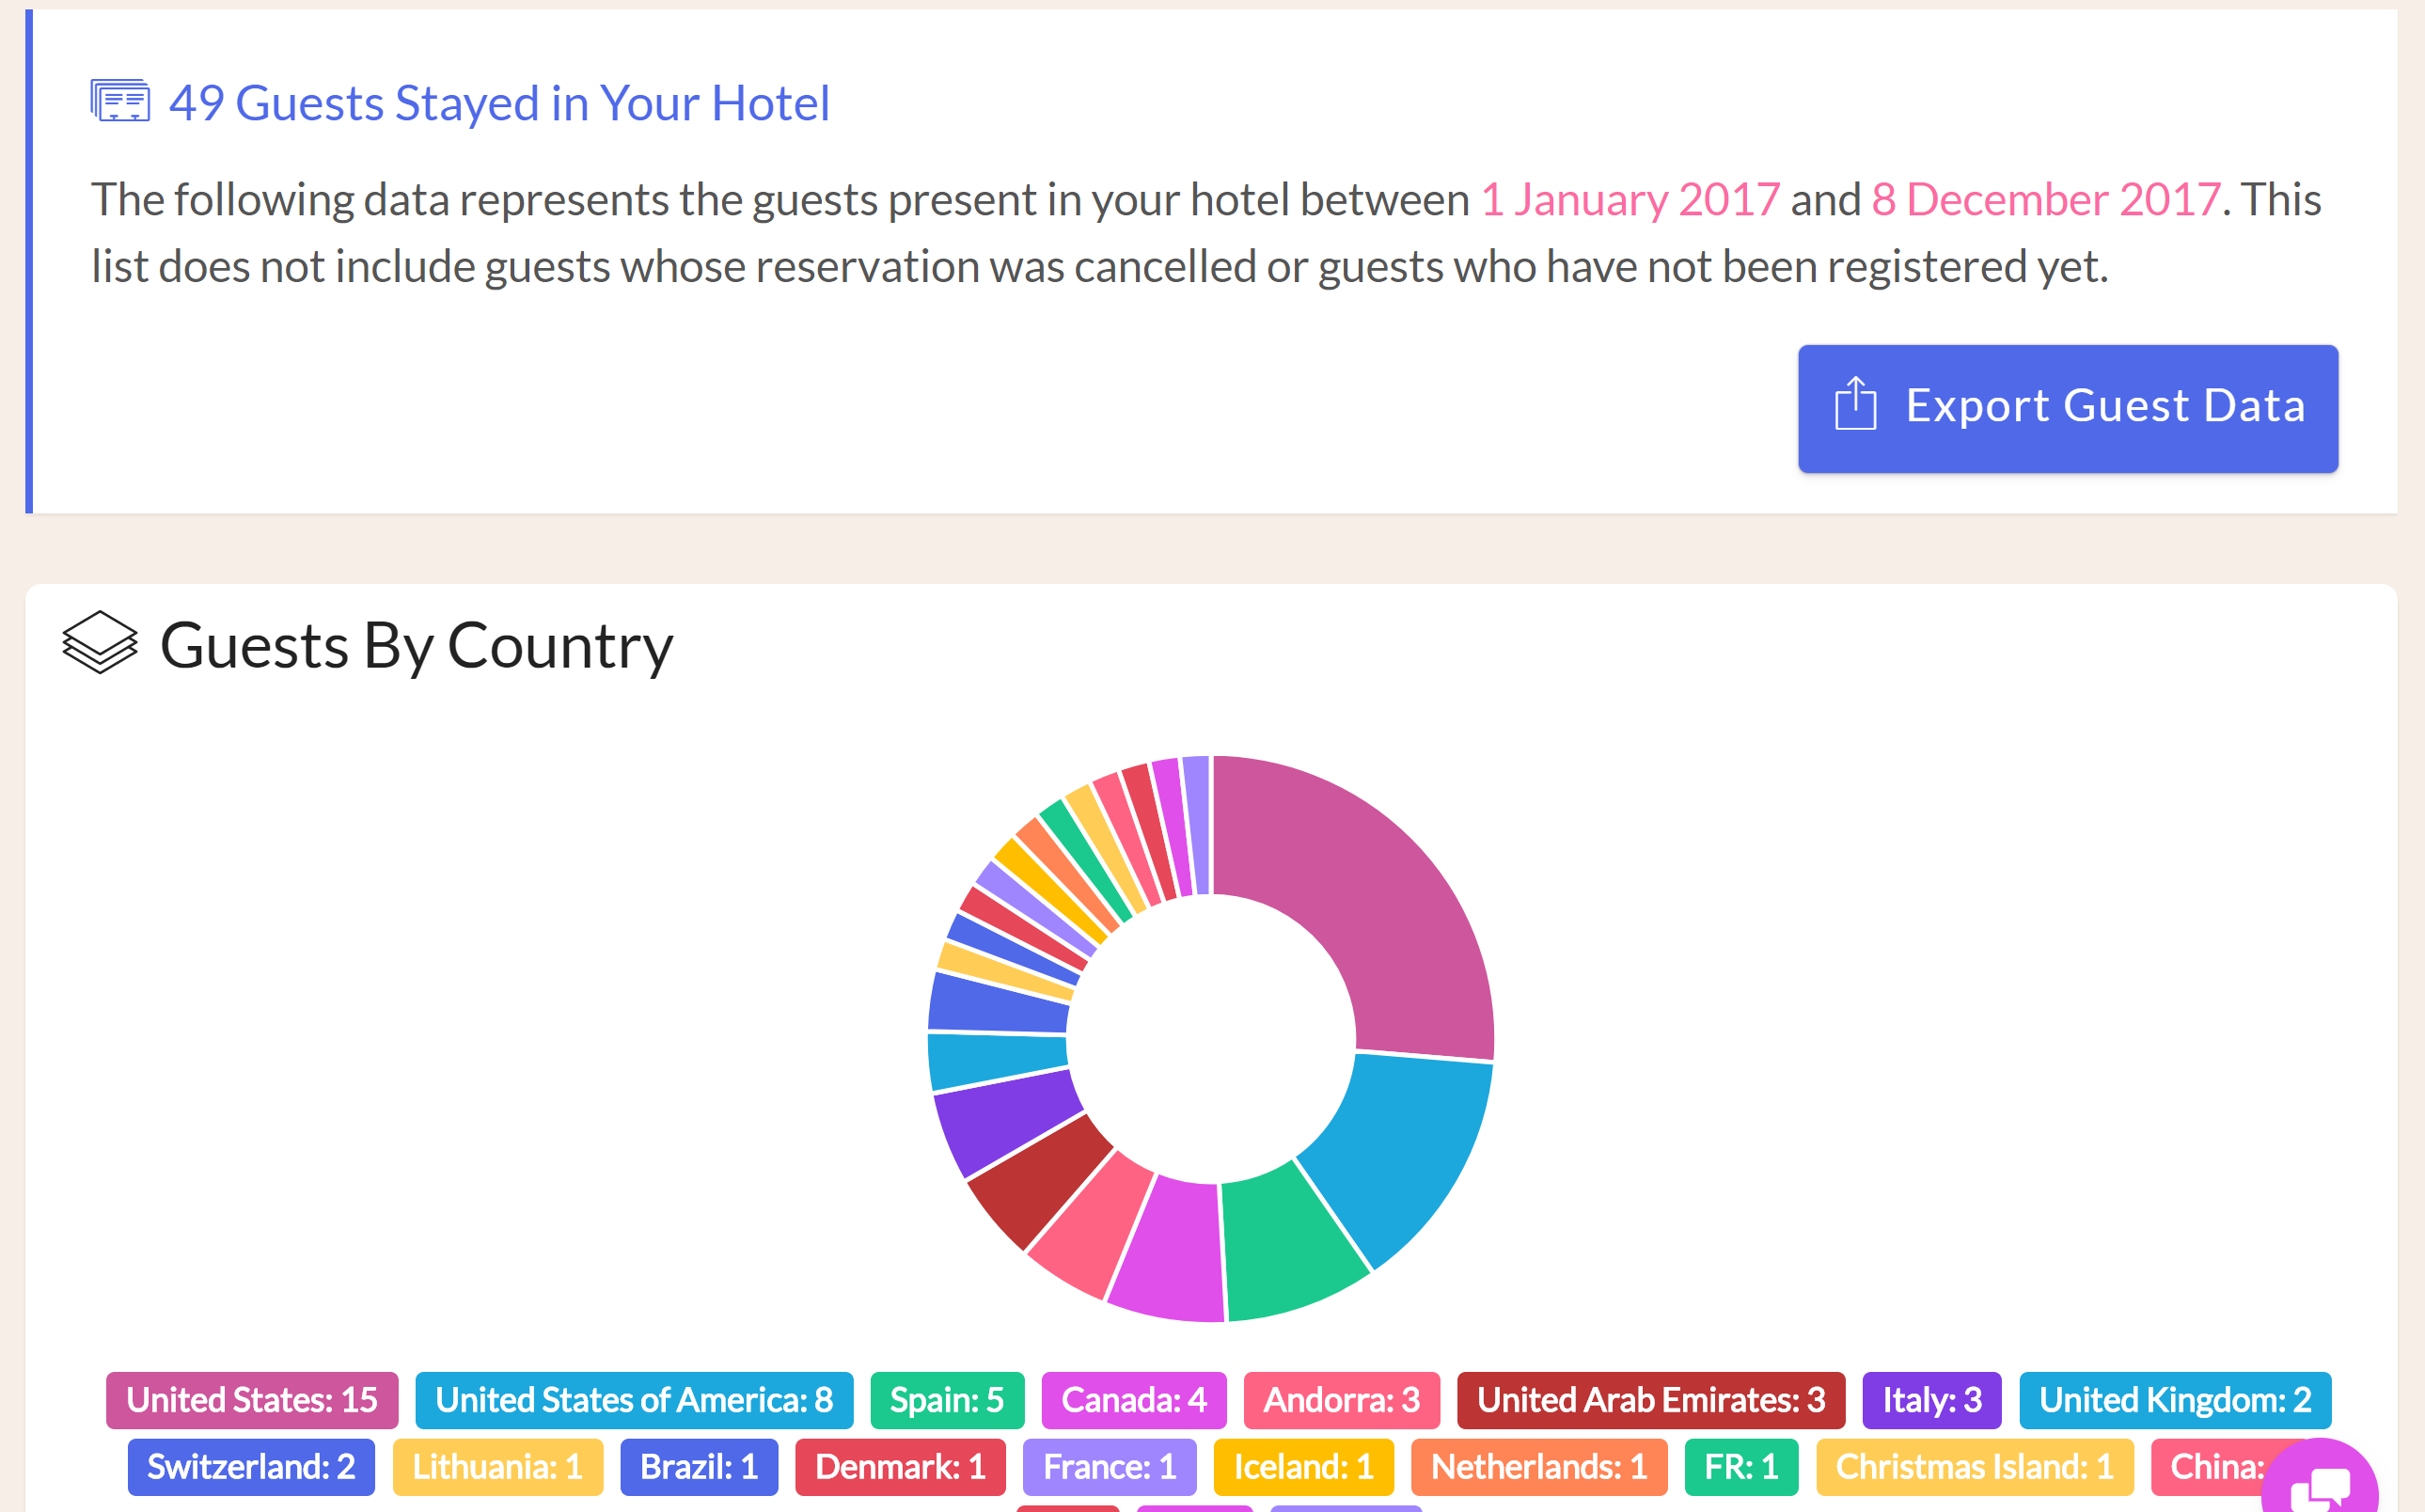
For a quick overview of what reports you can generate, check out this short blog post.
Summary
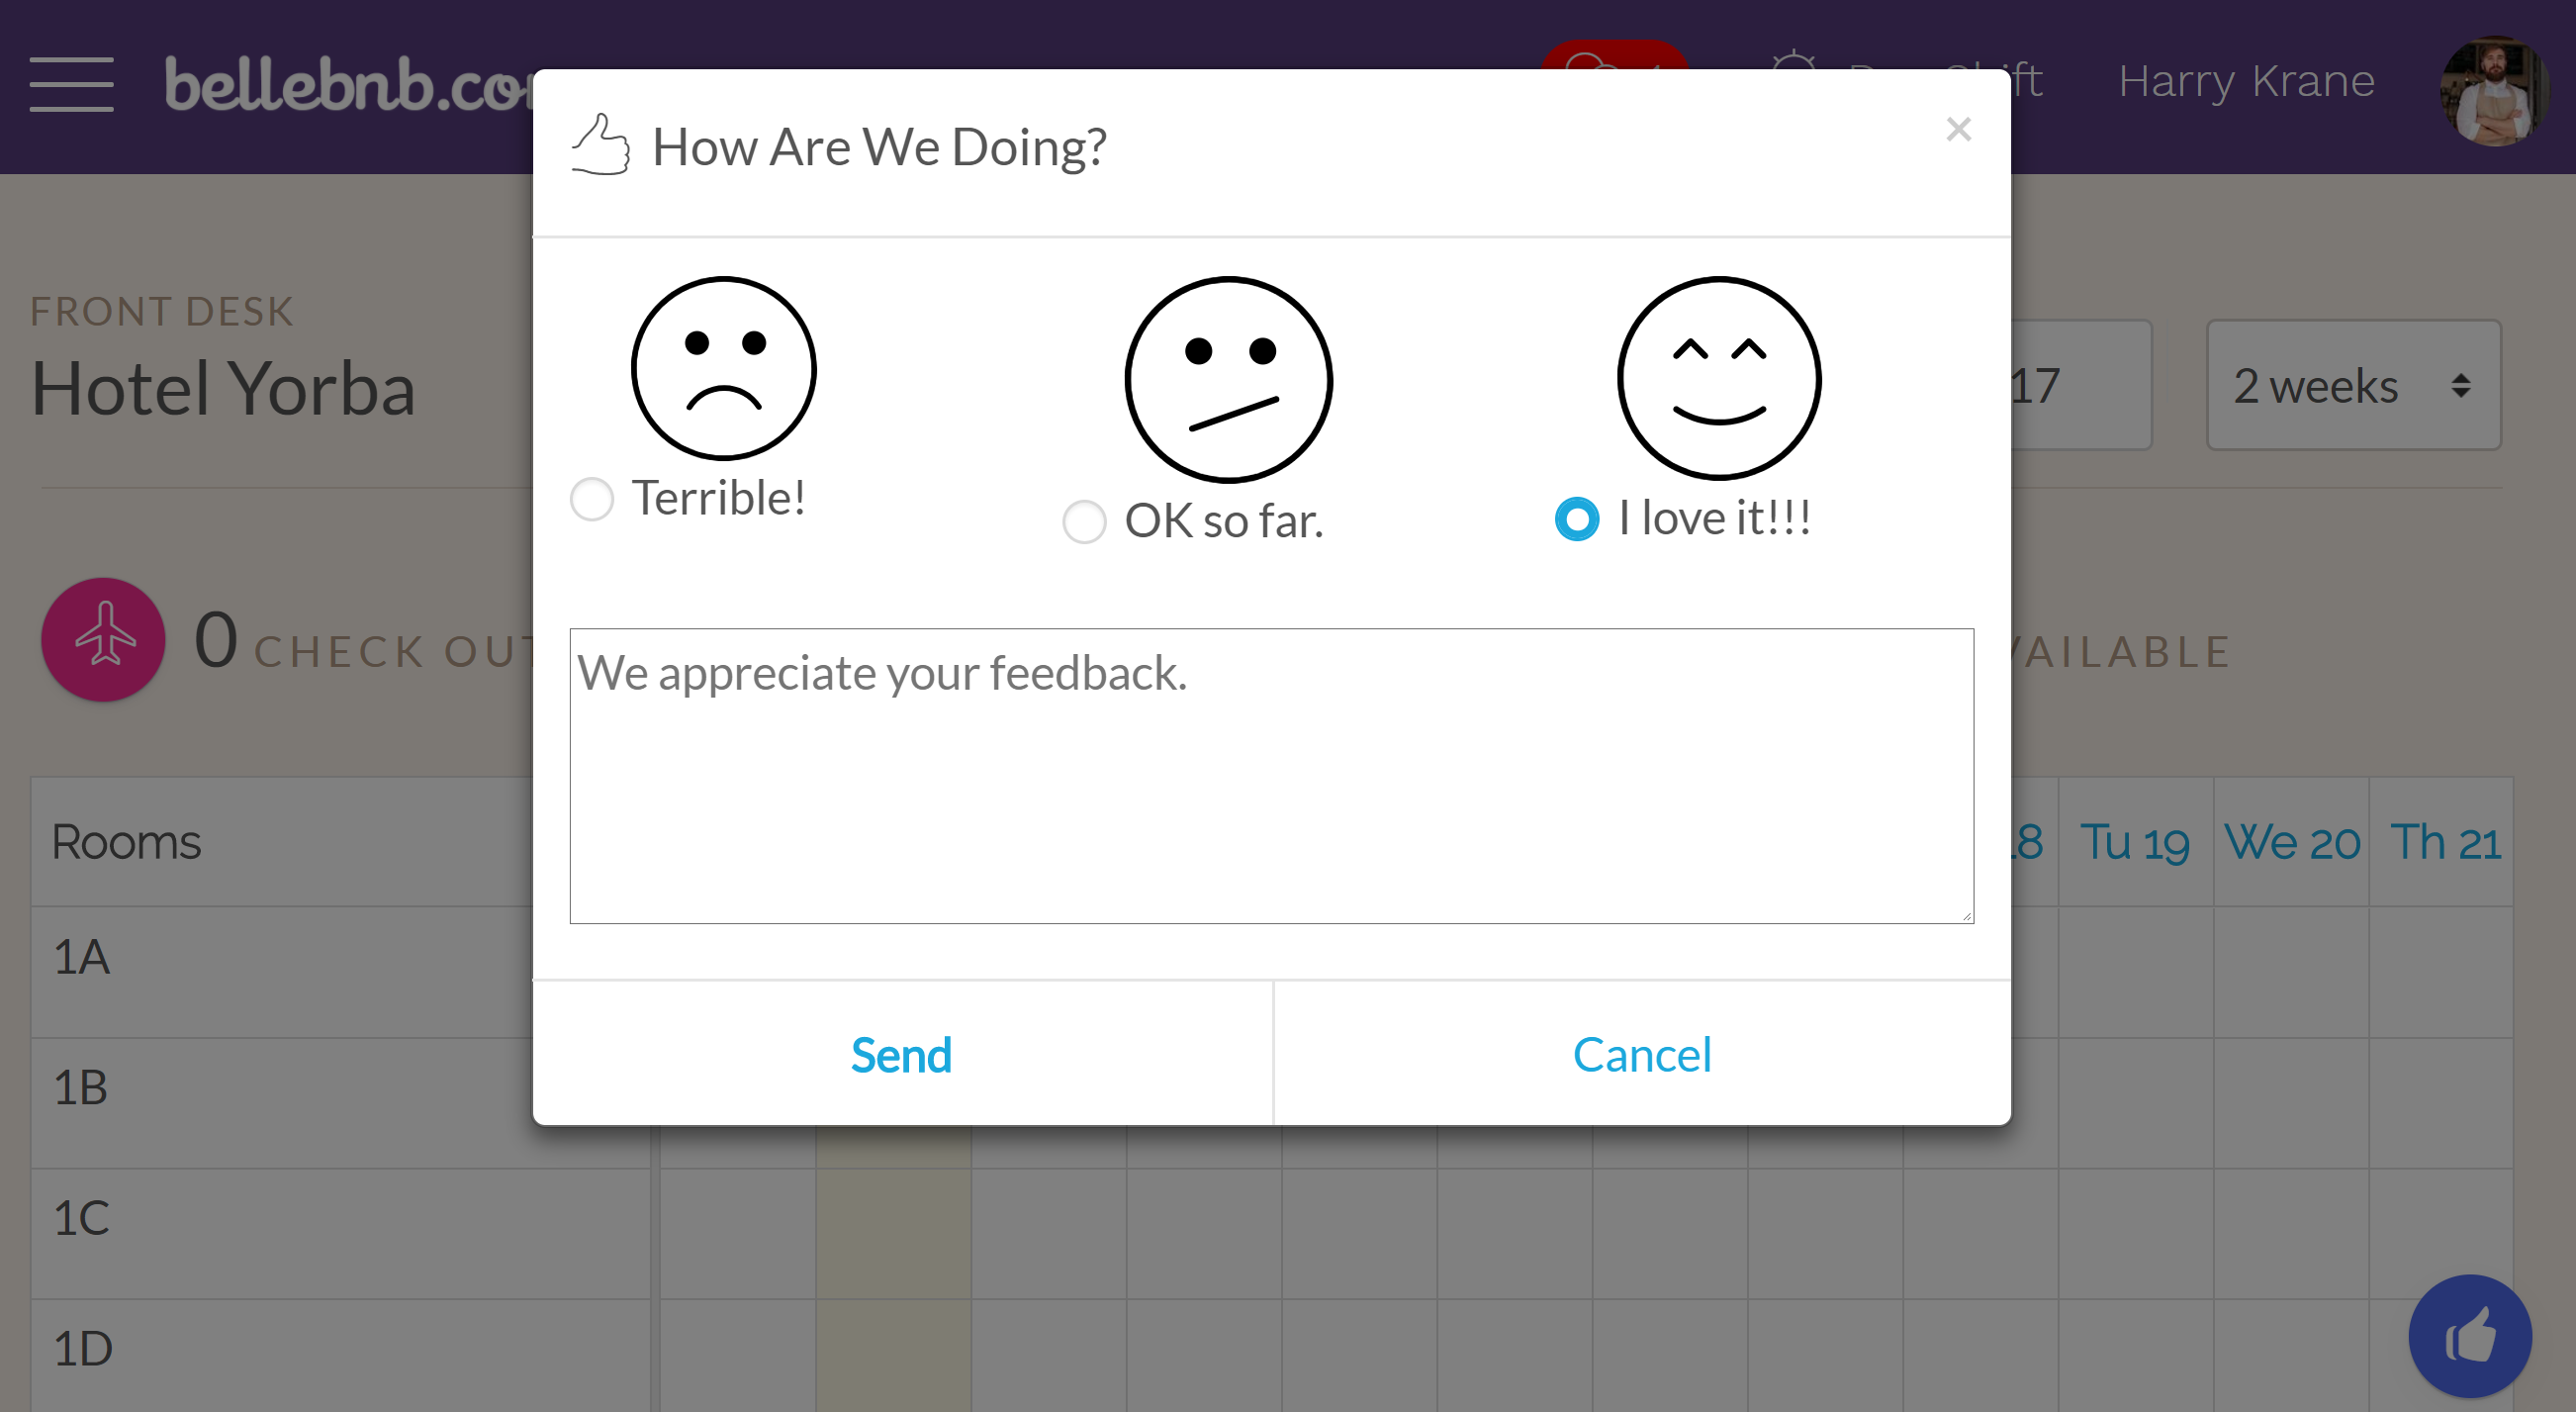
Don’t forget to click the ‘Thumbs Up’ button on the bottom right of your screen to give us a review of your experience.
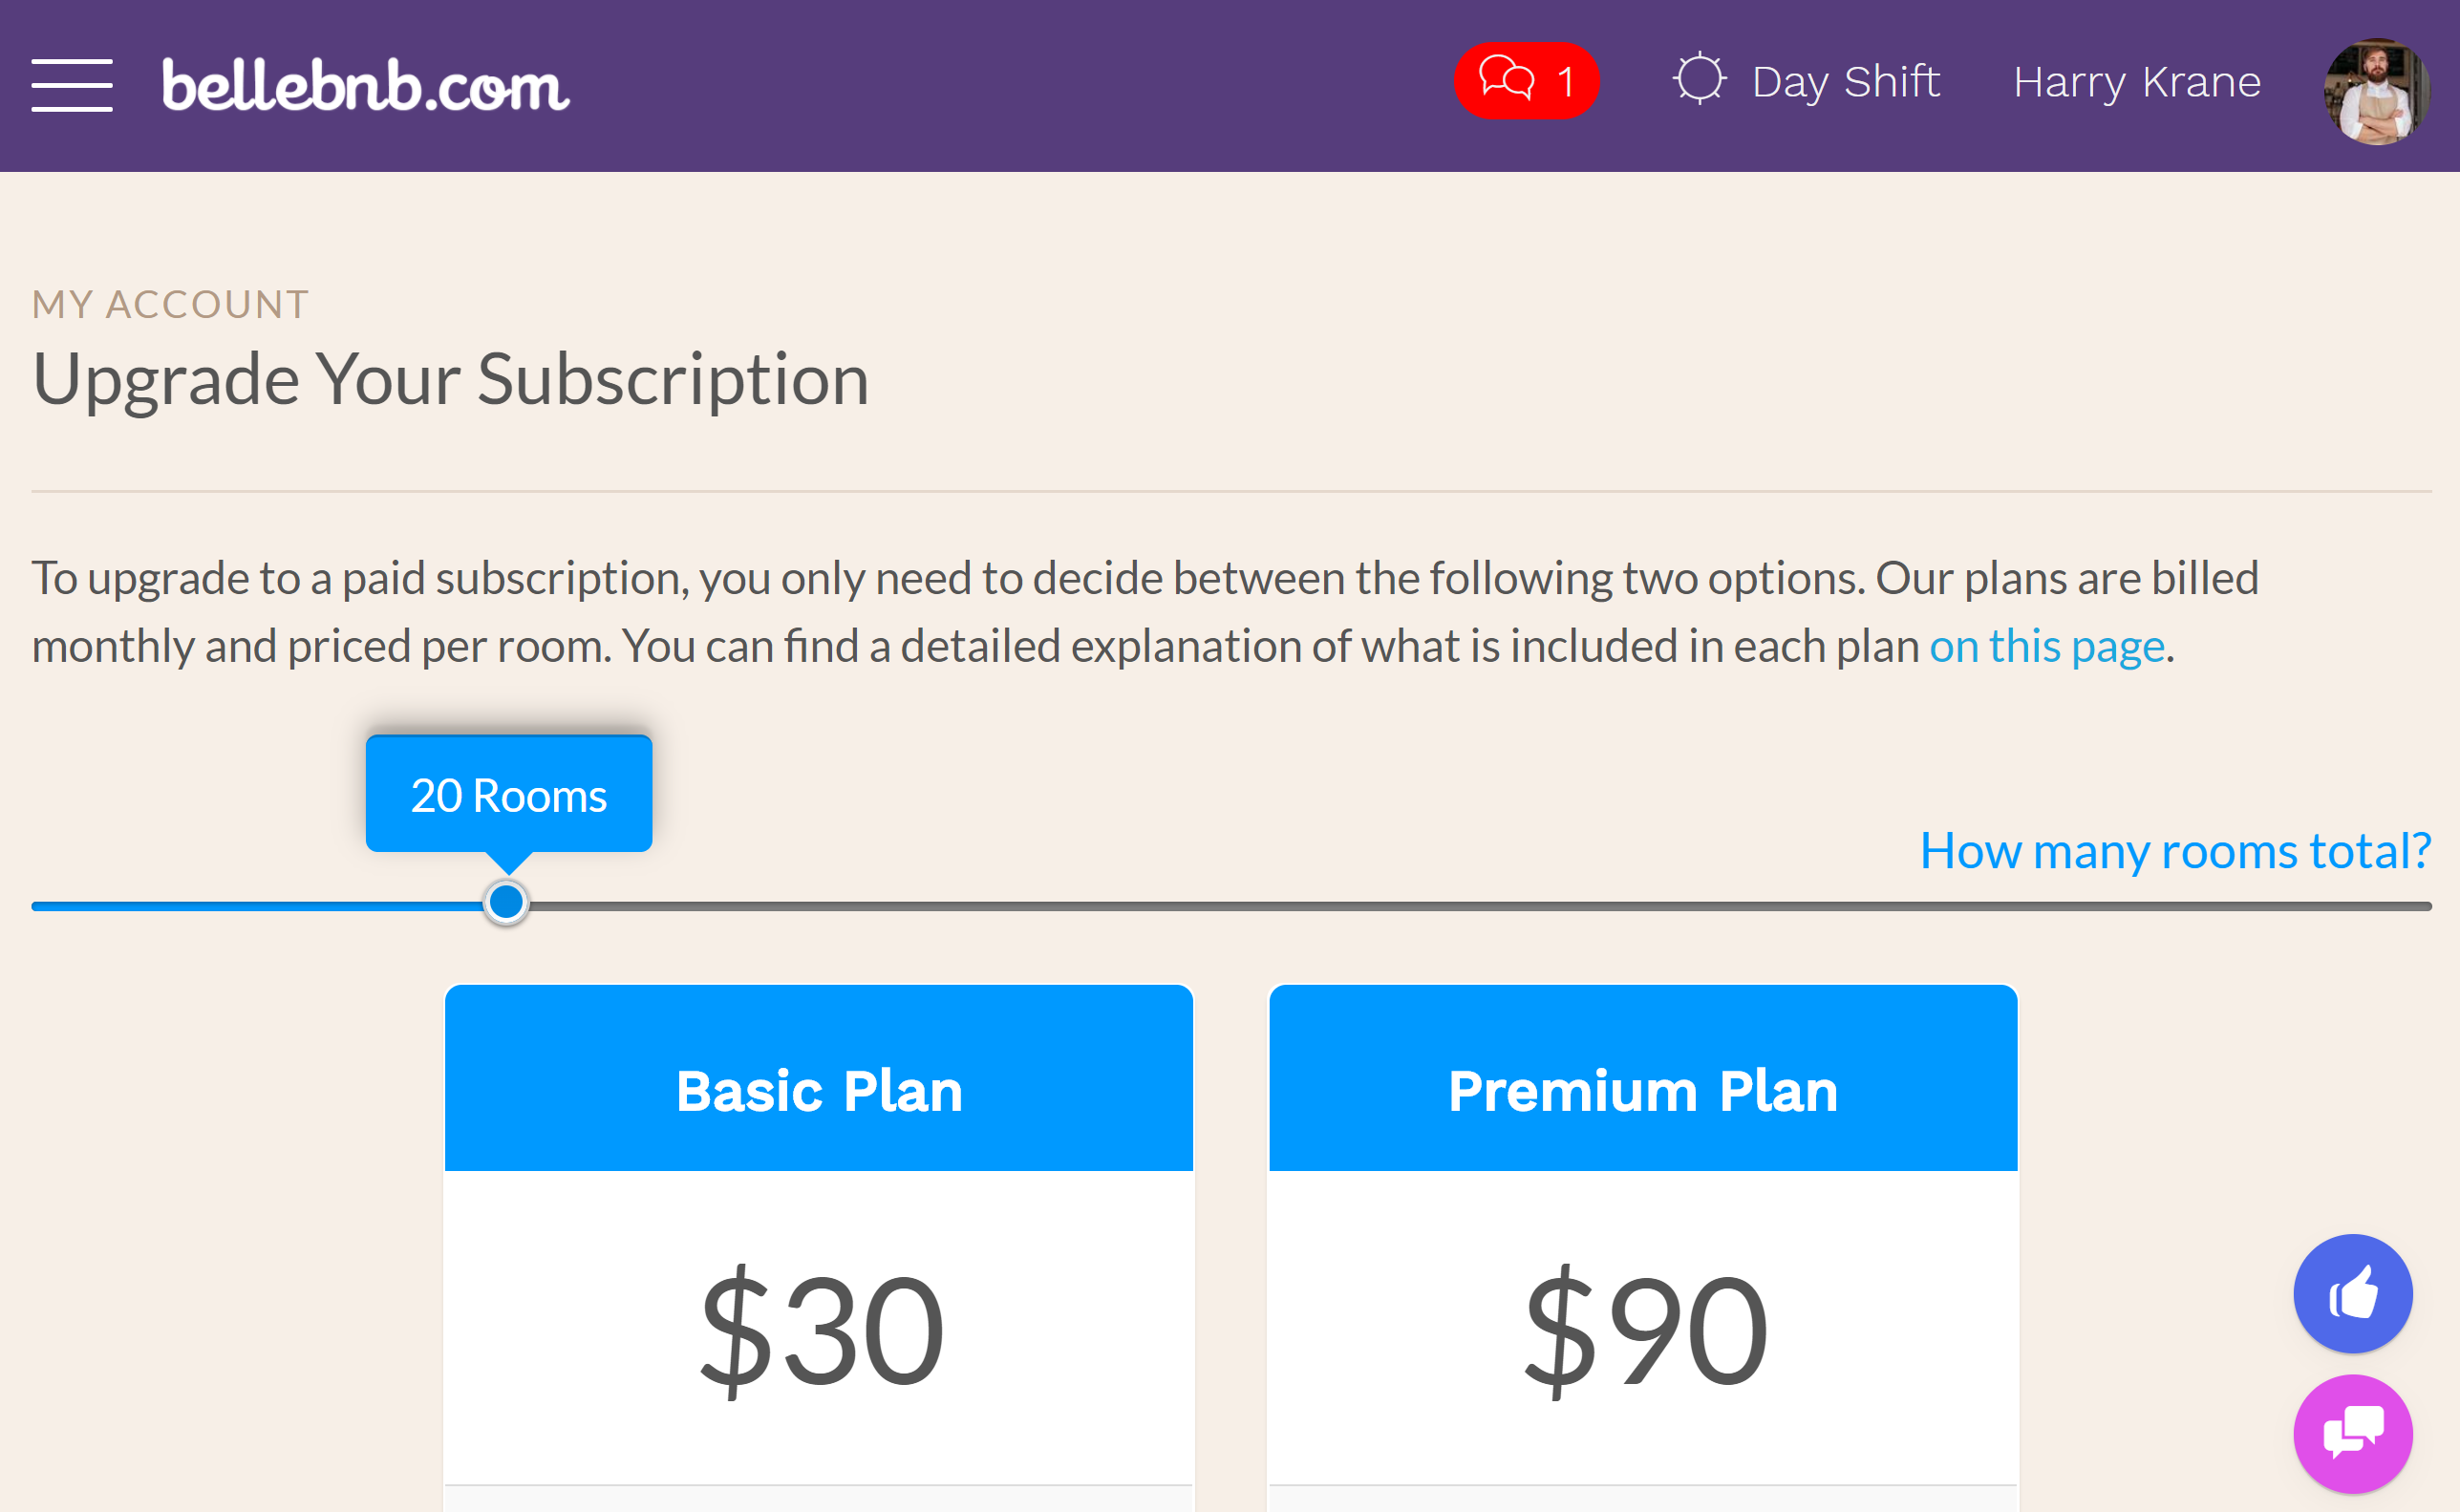
Or even better, click ‘Upgrade Now!’ in the main menu to upgrade to a full subscription.

To learn more about our system, read through the rest of the blog and the User Guide. Better yet, just use it!


