Your Authorize.net Customer Vault
In this blog post we cover how to make the most of your Payment Gateway using the Authorize.net Customer Information Manager (CIM). The CIM is used to securely store payment details for your guests that book through your Booking Engine and for bookings created by hand in your Front Desk.
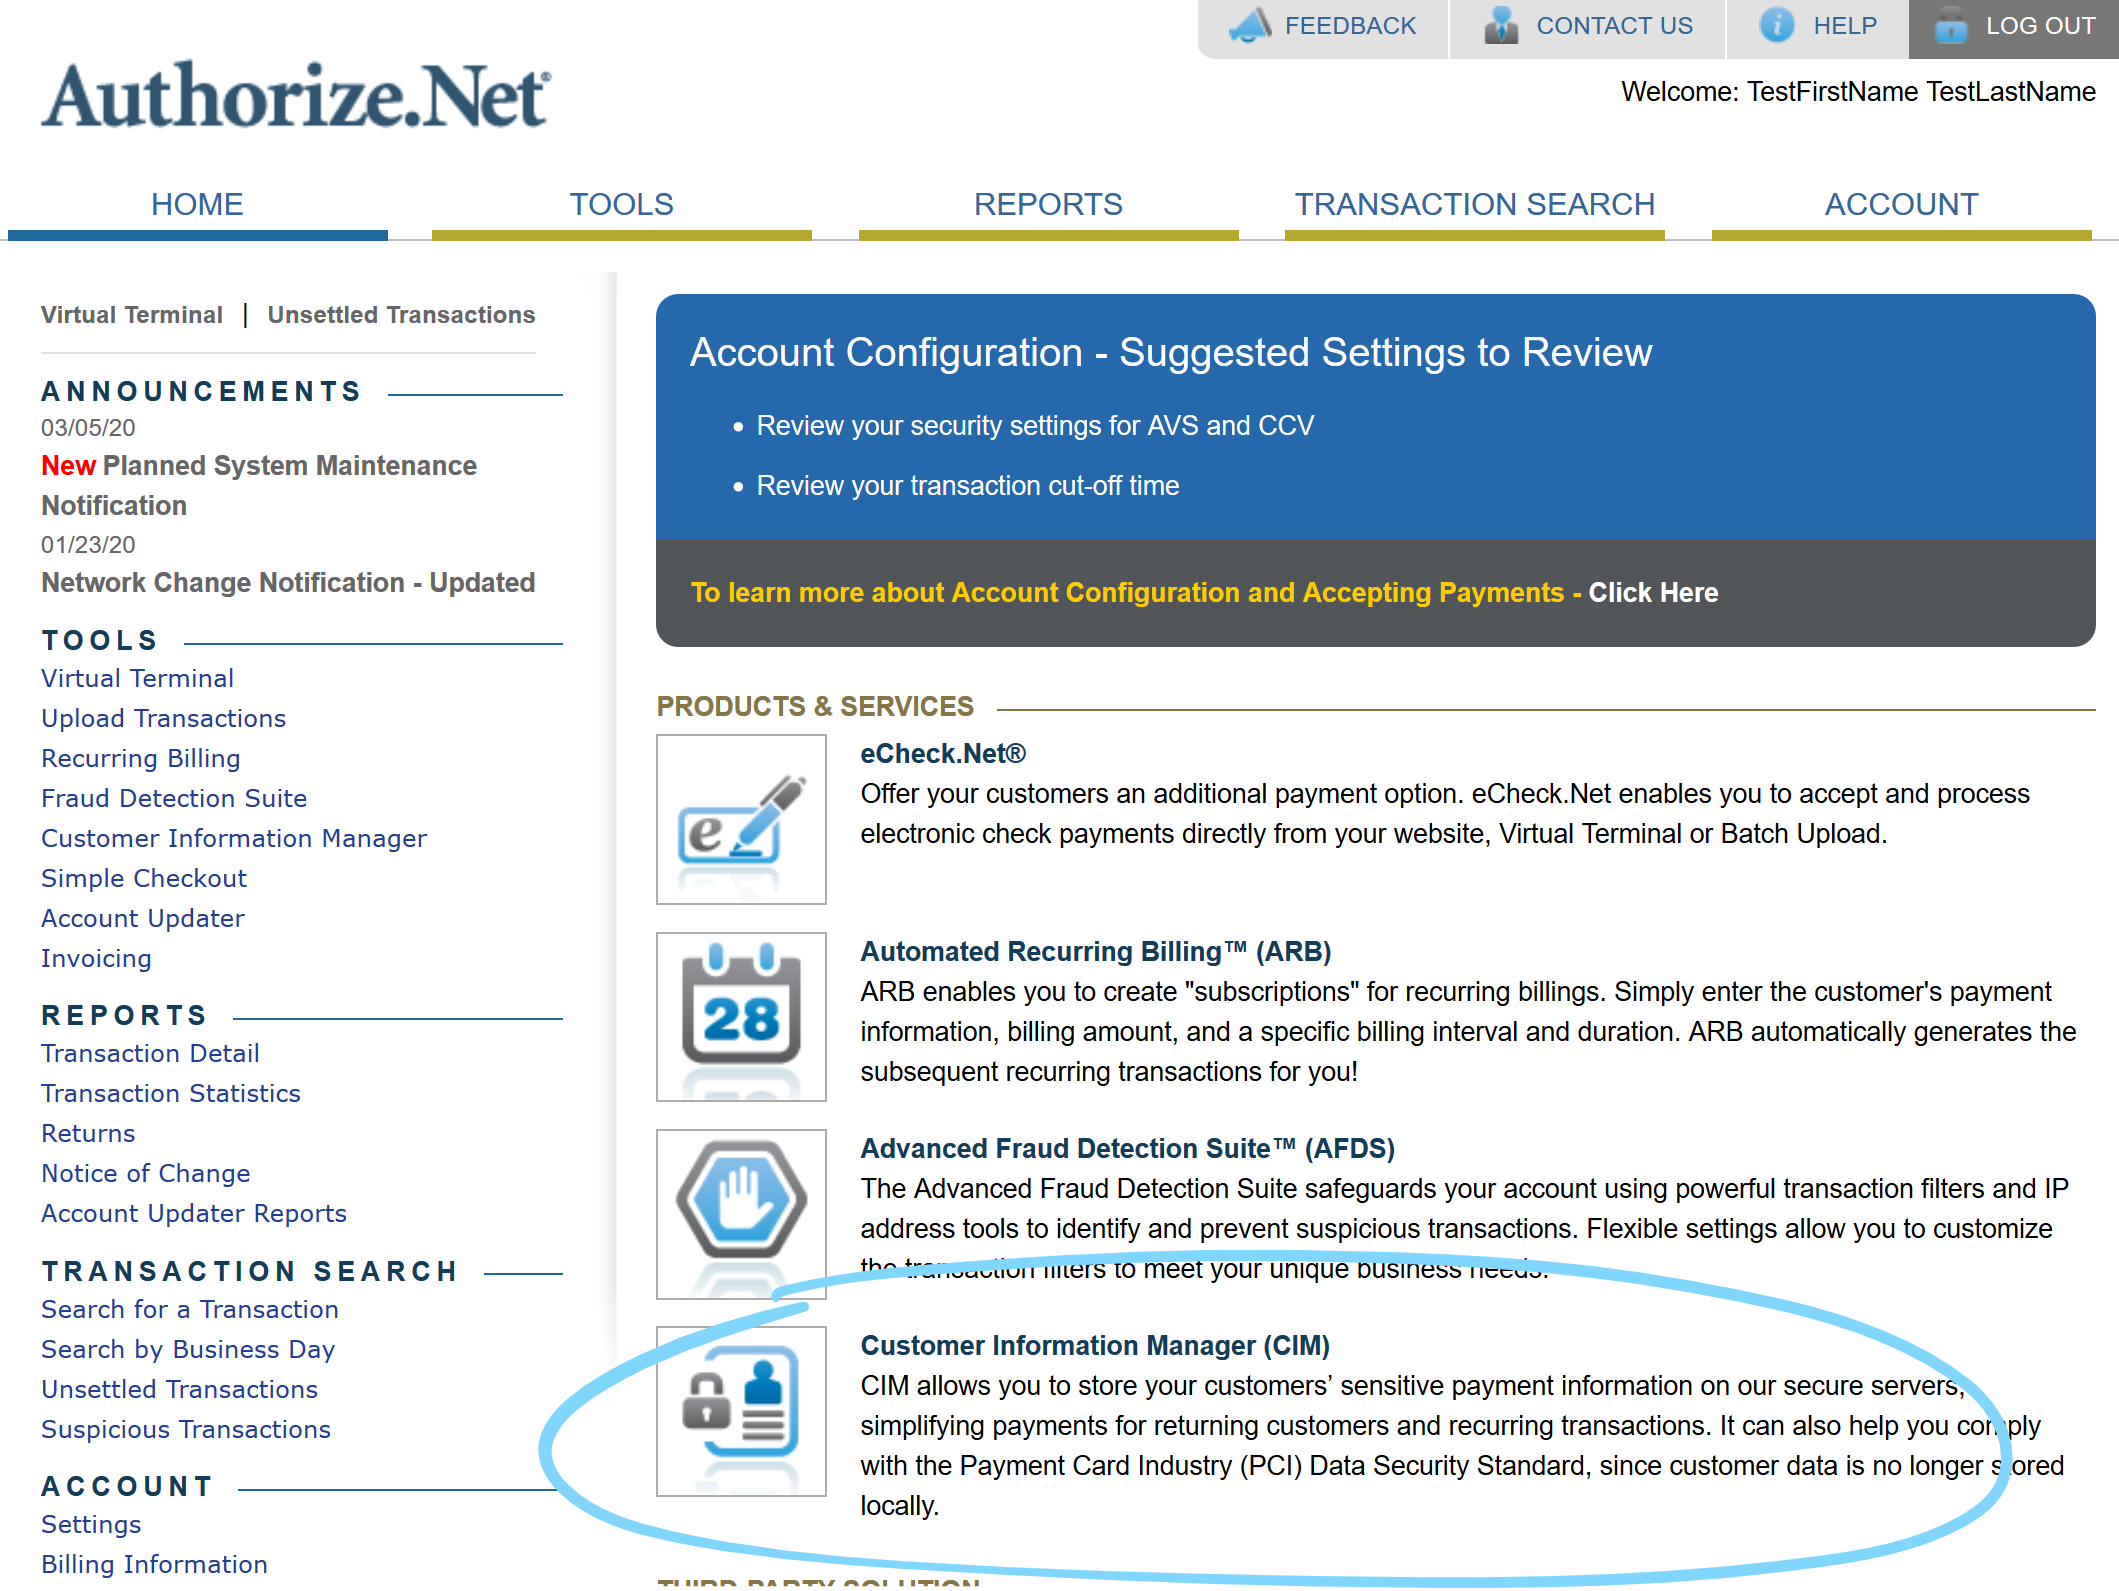
The CIM and You
Your payment processor collects payments on your behalf, but they also provide a vital service in that they take the responsibility of storing your customers’ payment data securely until you are ready to collect a payment.
This process is called tokenizing payment information. Sensitive data (i.e., credit card numbers) is stored by Authorize.net, and your Bellebnb Front Desk uses the customer token generated by your processor when you need to collect a payment. This way, you avoid the responsibility of having to deal with payment data directly.
Do Not Store Payment Information Yourself
You should never store your guests’ payment details yourself, whether in paper format or in a computer file when you take a reservation over the phone or in person.
Also, you should never store payment details in the notes for a booking. Payment details should always be managed by your Payment Processor.
Using Your Authorize.net CIM In Your Booking Engine
You use your Authorize.net Customer Information Manager (CIM) automatically when you enable Authorize.net (or any other of the payment processors we integrate with) in your Payment Gateway.
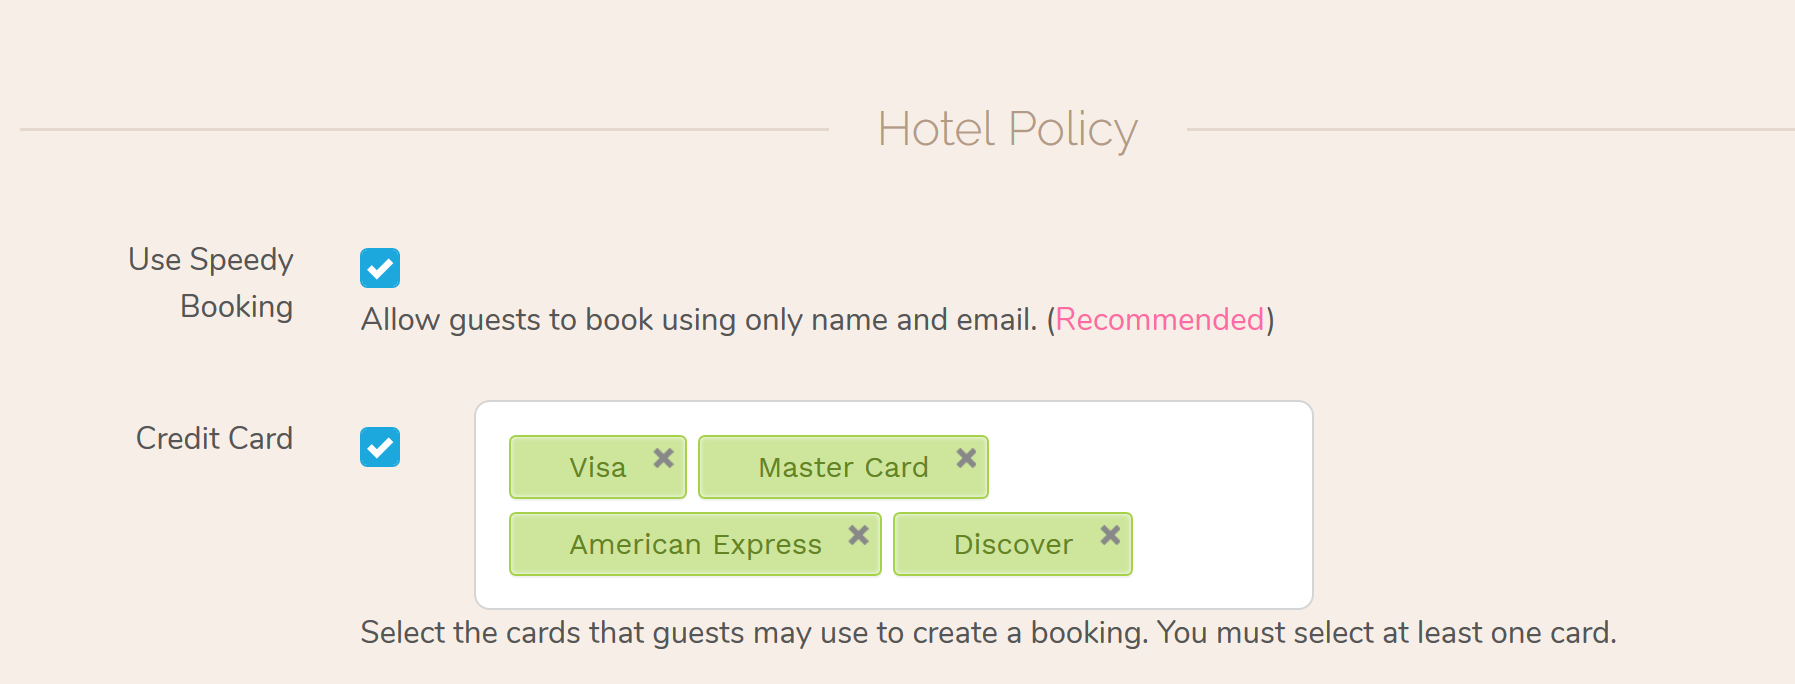
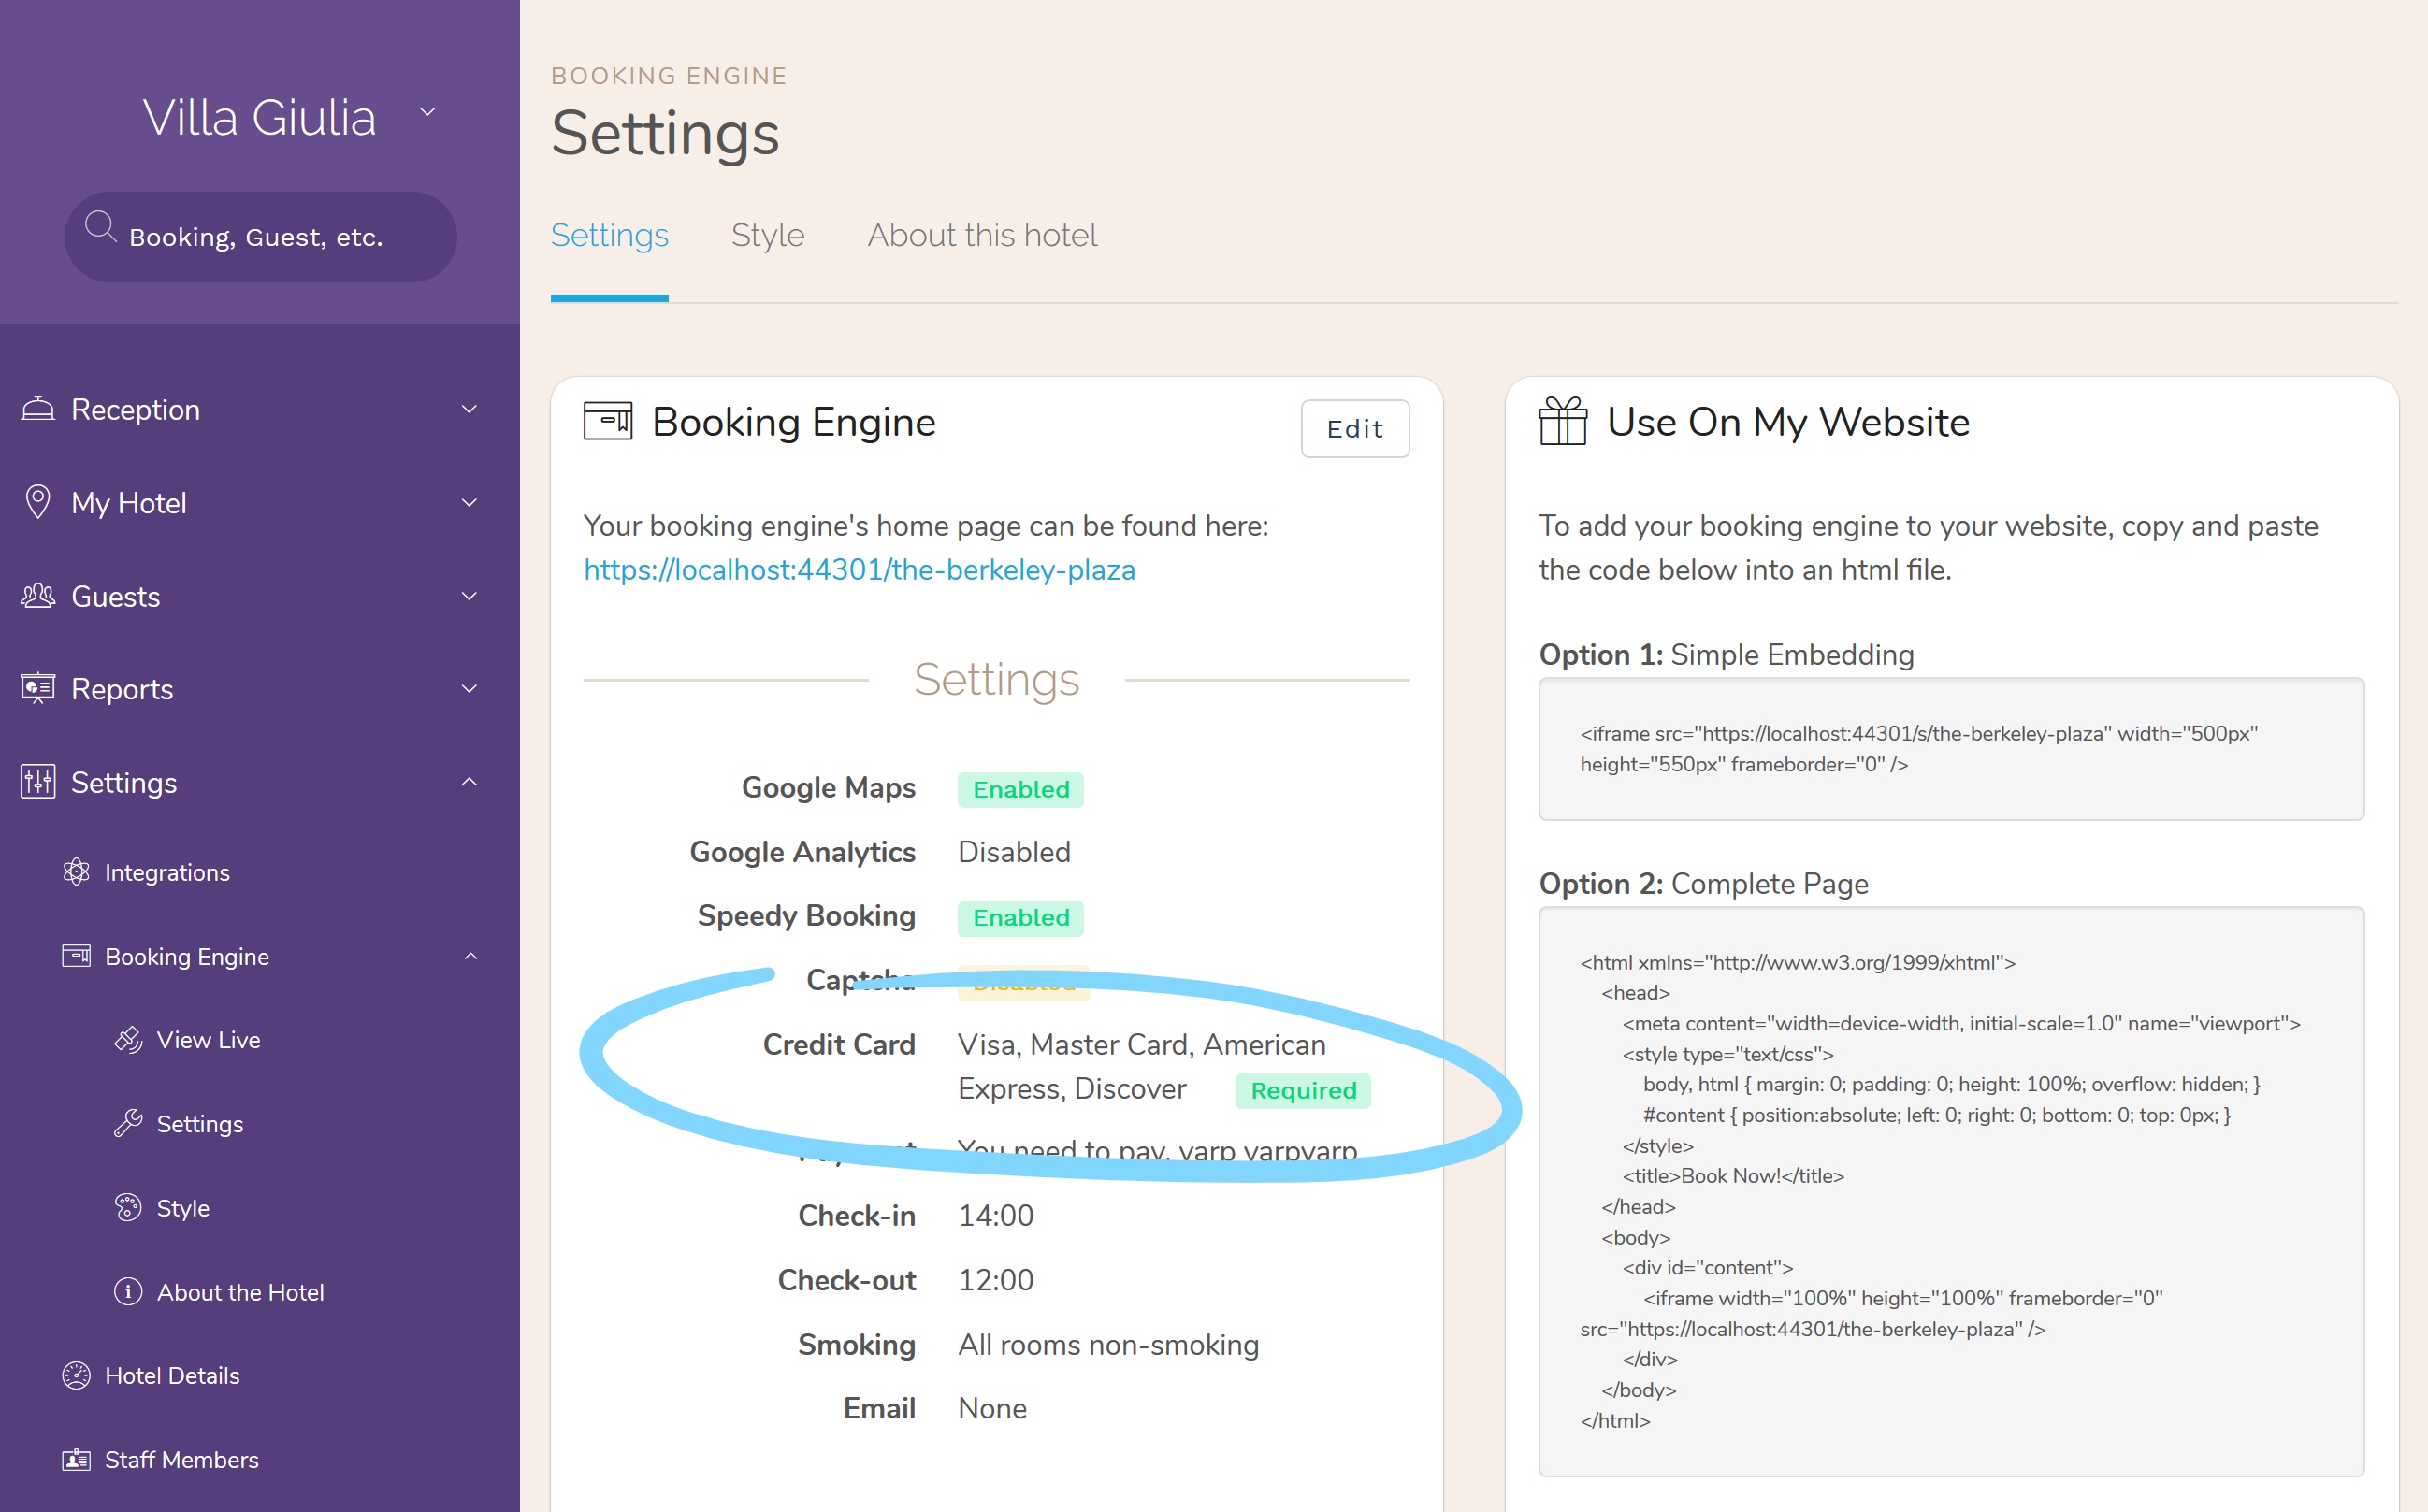
To collect payment details when your guests reserve via your Booking Engine, go to ‘Settings > Booking Engine > Settings’ in the main menu, then click ‘Edit.’ Under ‘Hotel Policy’ check the box for ‘Credit Cards.’ Select any of the standard cards and click ‘Save.’
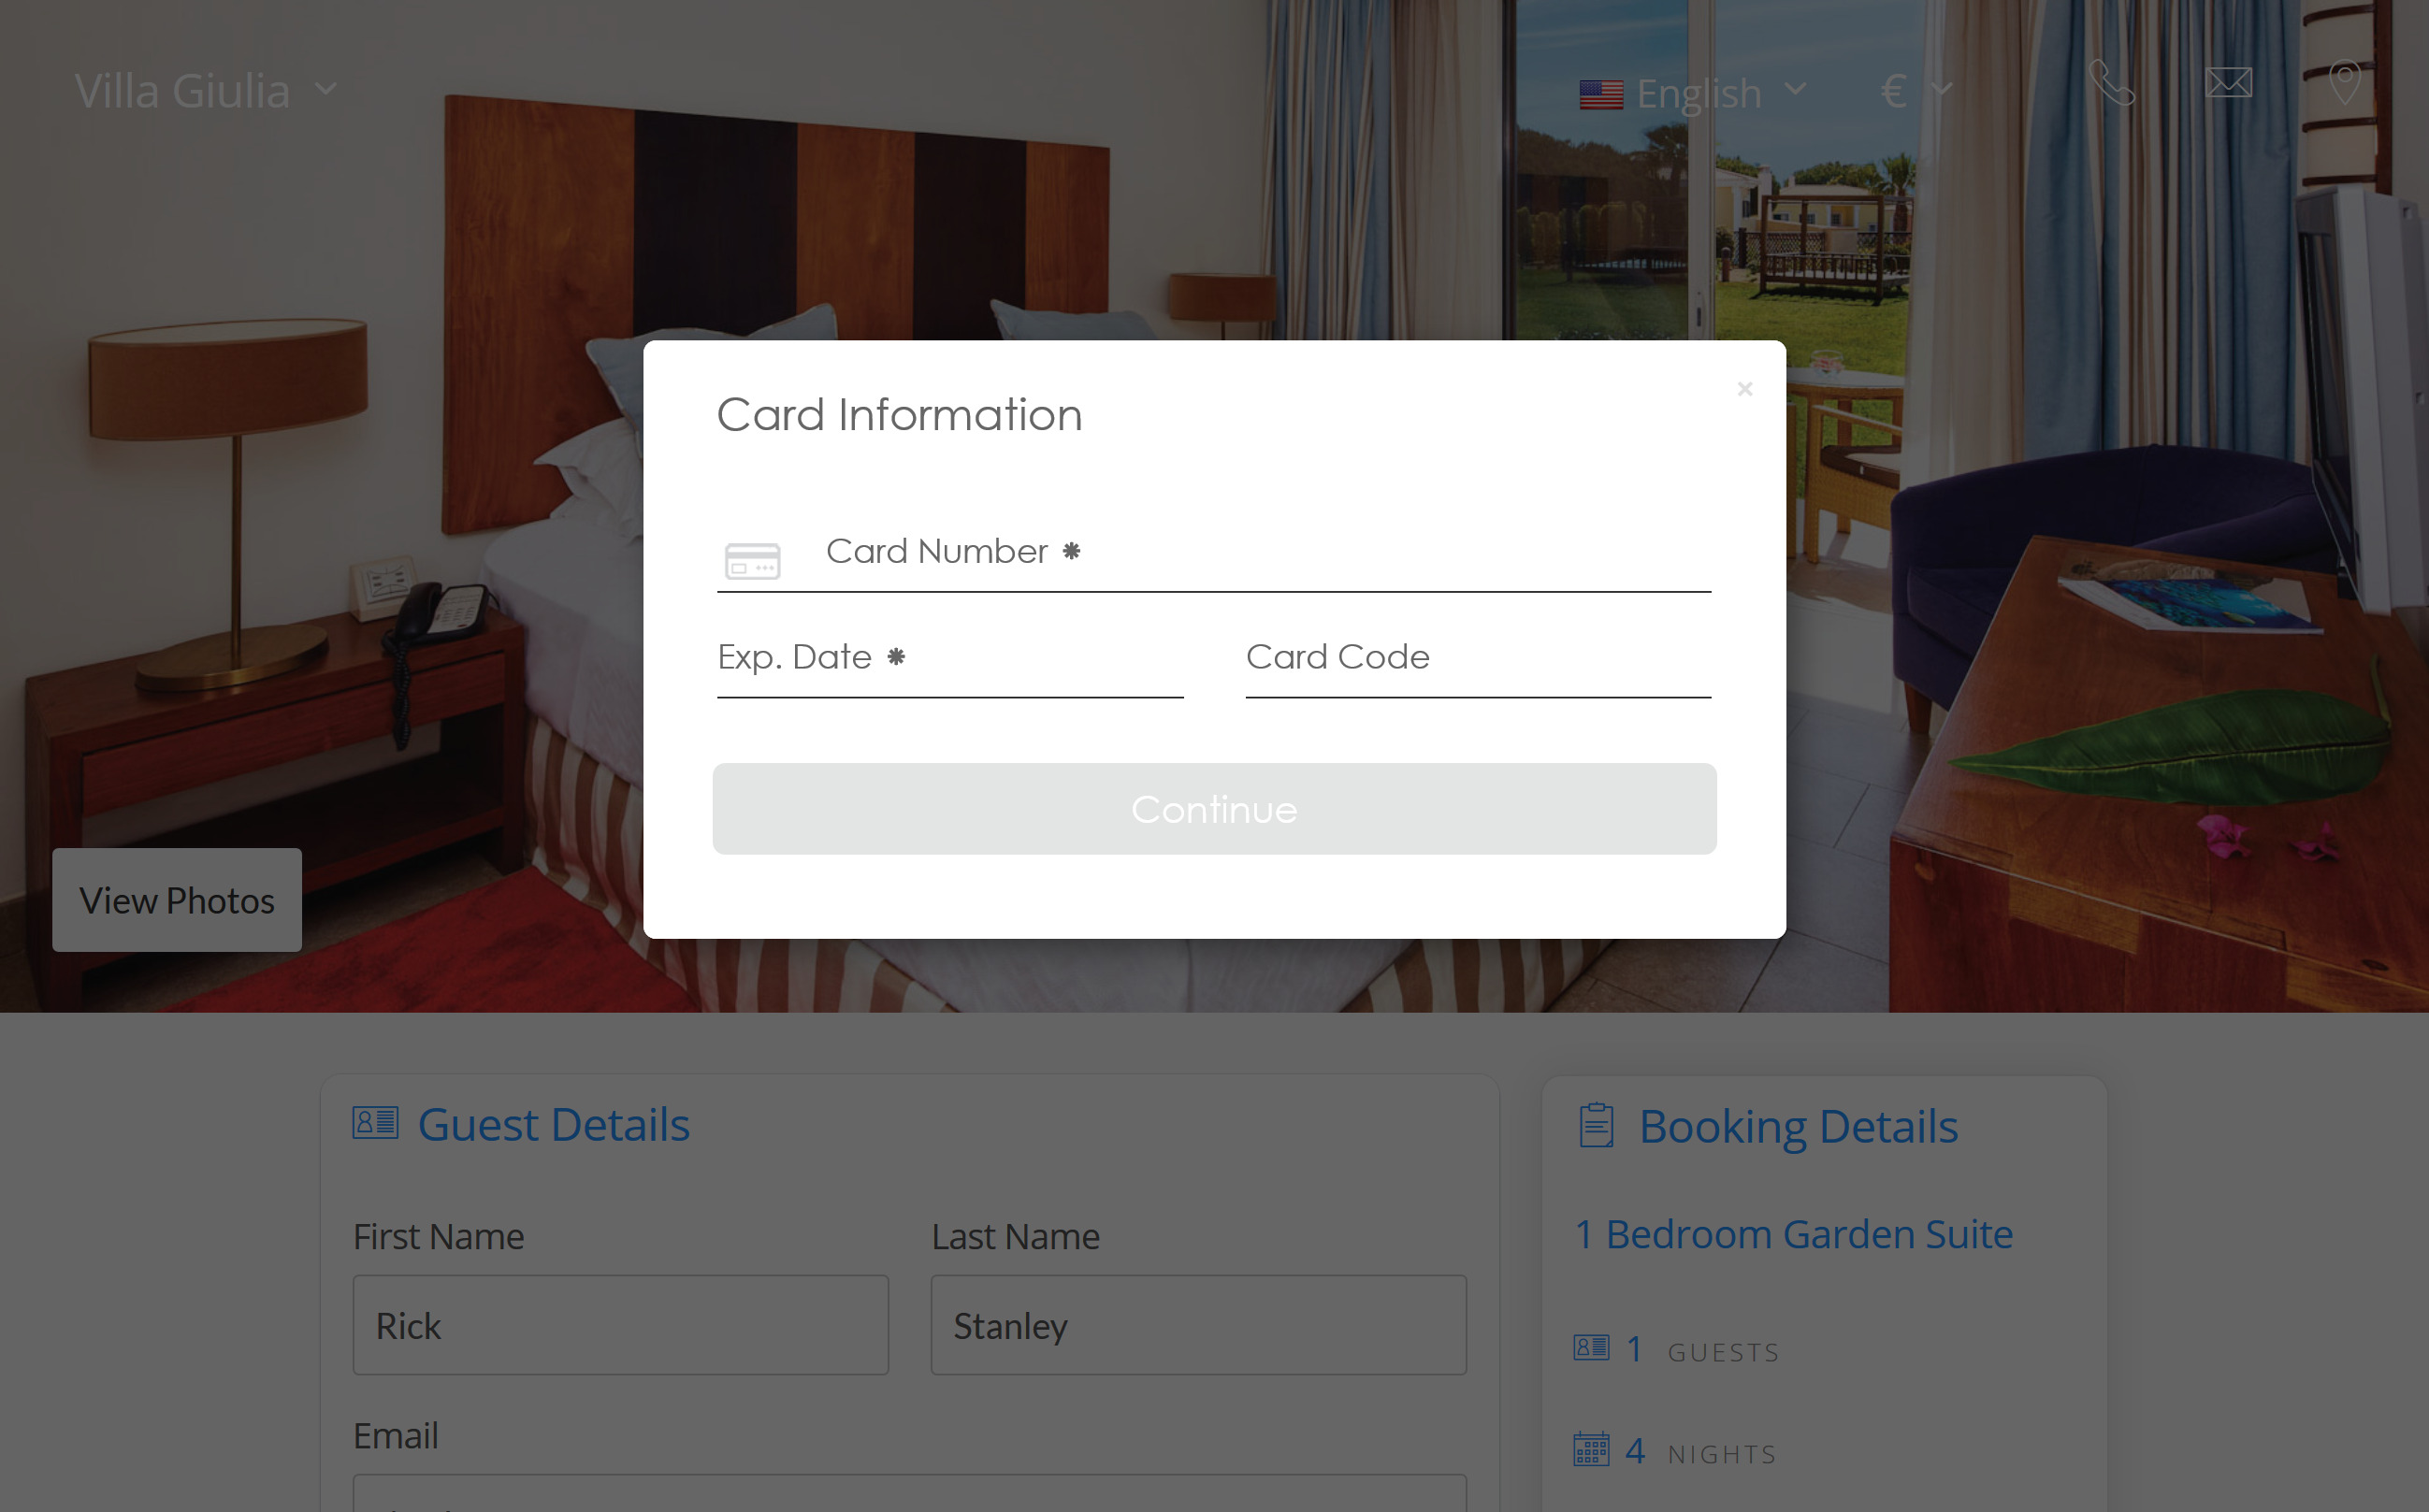
When your guests reach the final step in your Booking Engine, they will be asked to enter their payment details. Here is where the magic happens: your guest circumvents both your booking engine and our entire platform and talks directly to Authorize.net to tokenize their payment data. When Authorize.net signs off on the card details, the booking can be completed.
To view the resulting customer in your CIM, first open the booking in your Front Desk. The Booking Id will have the form BBNB***.
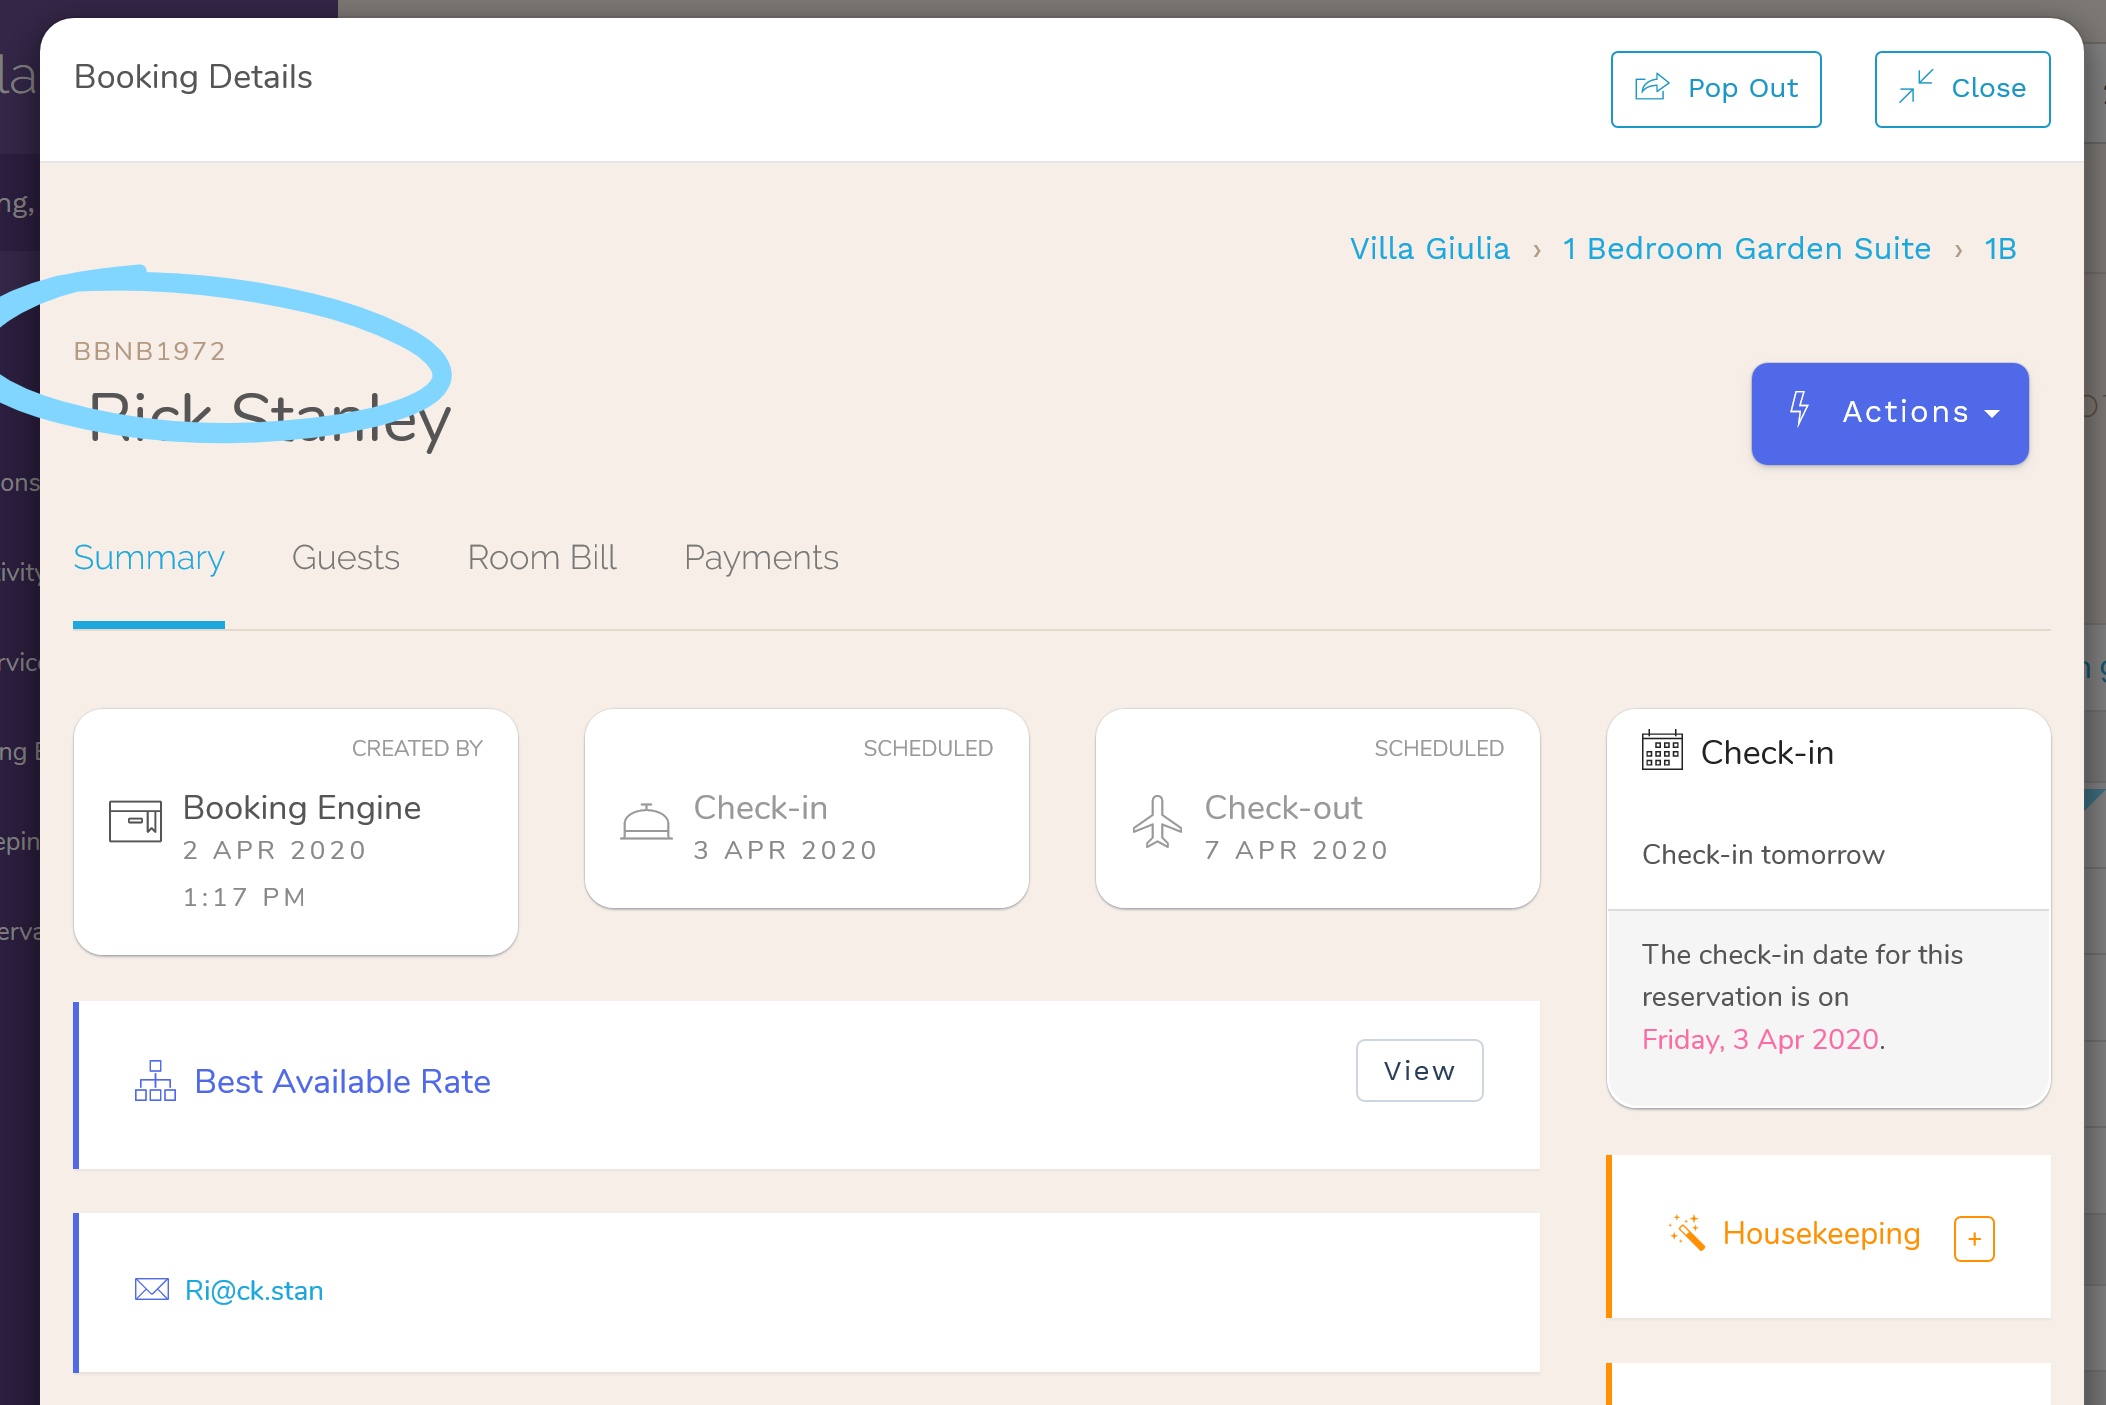
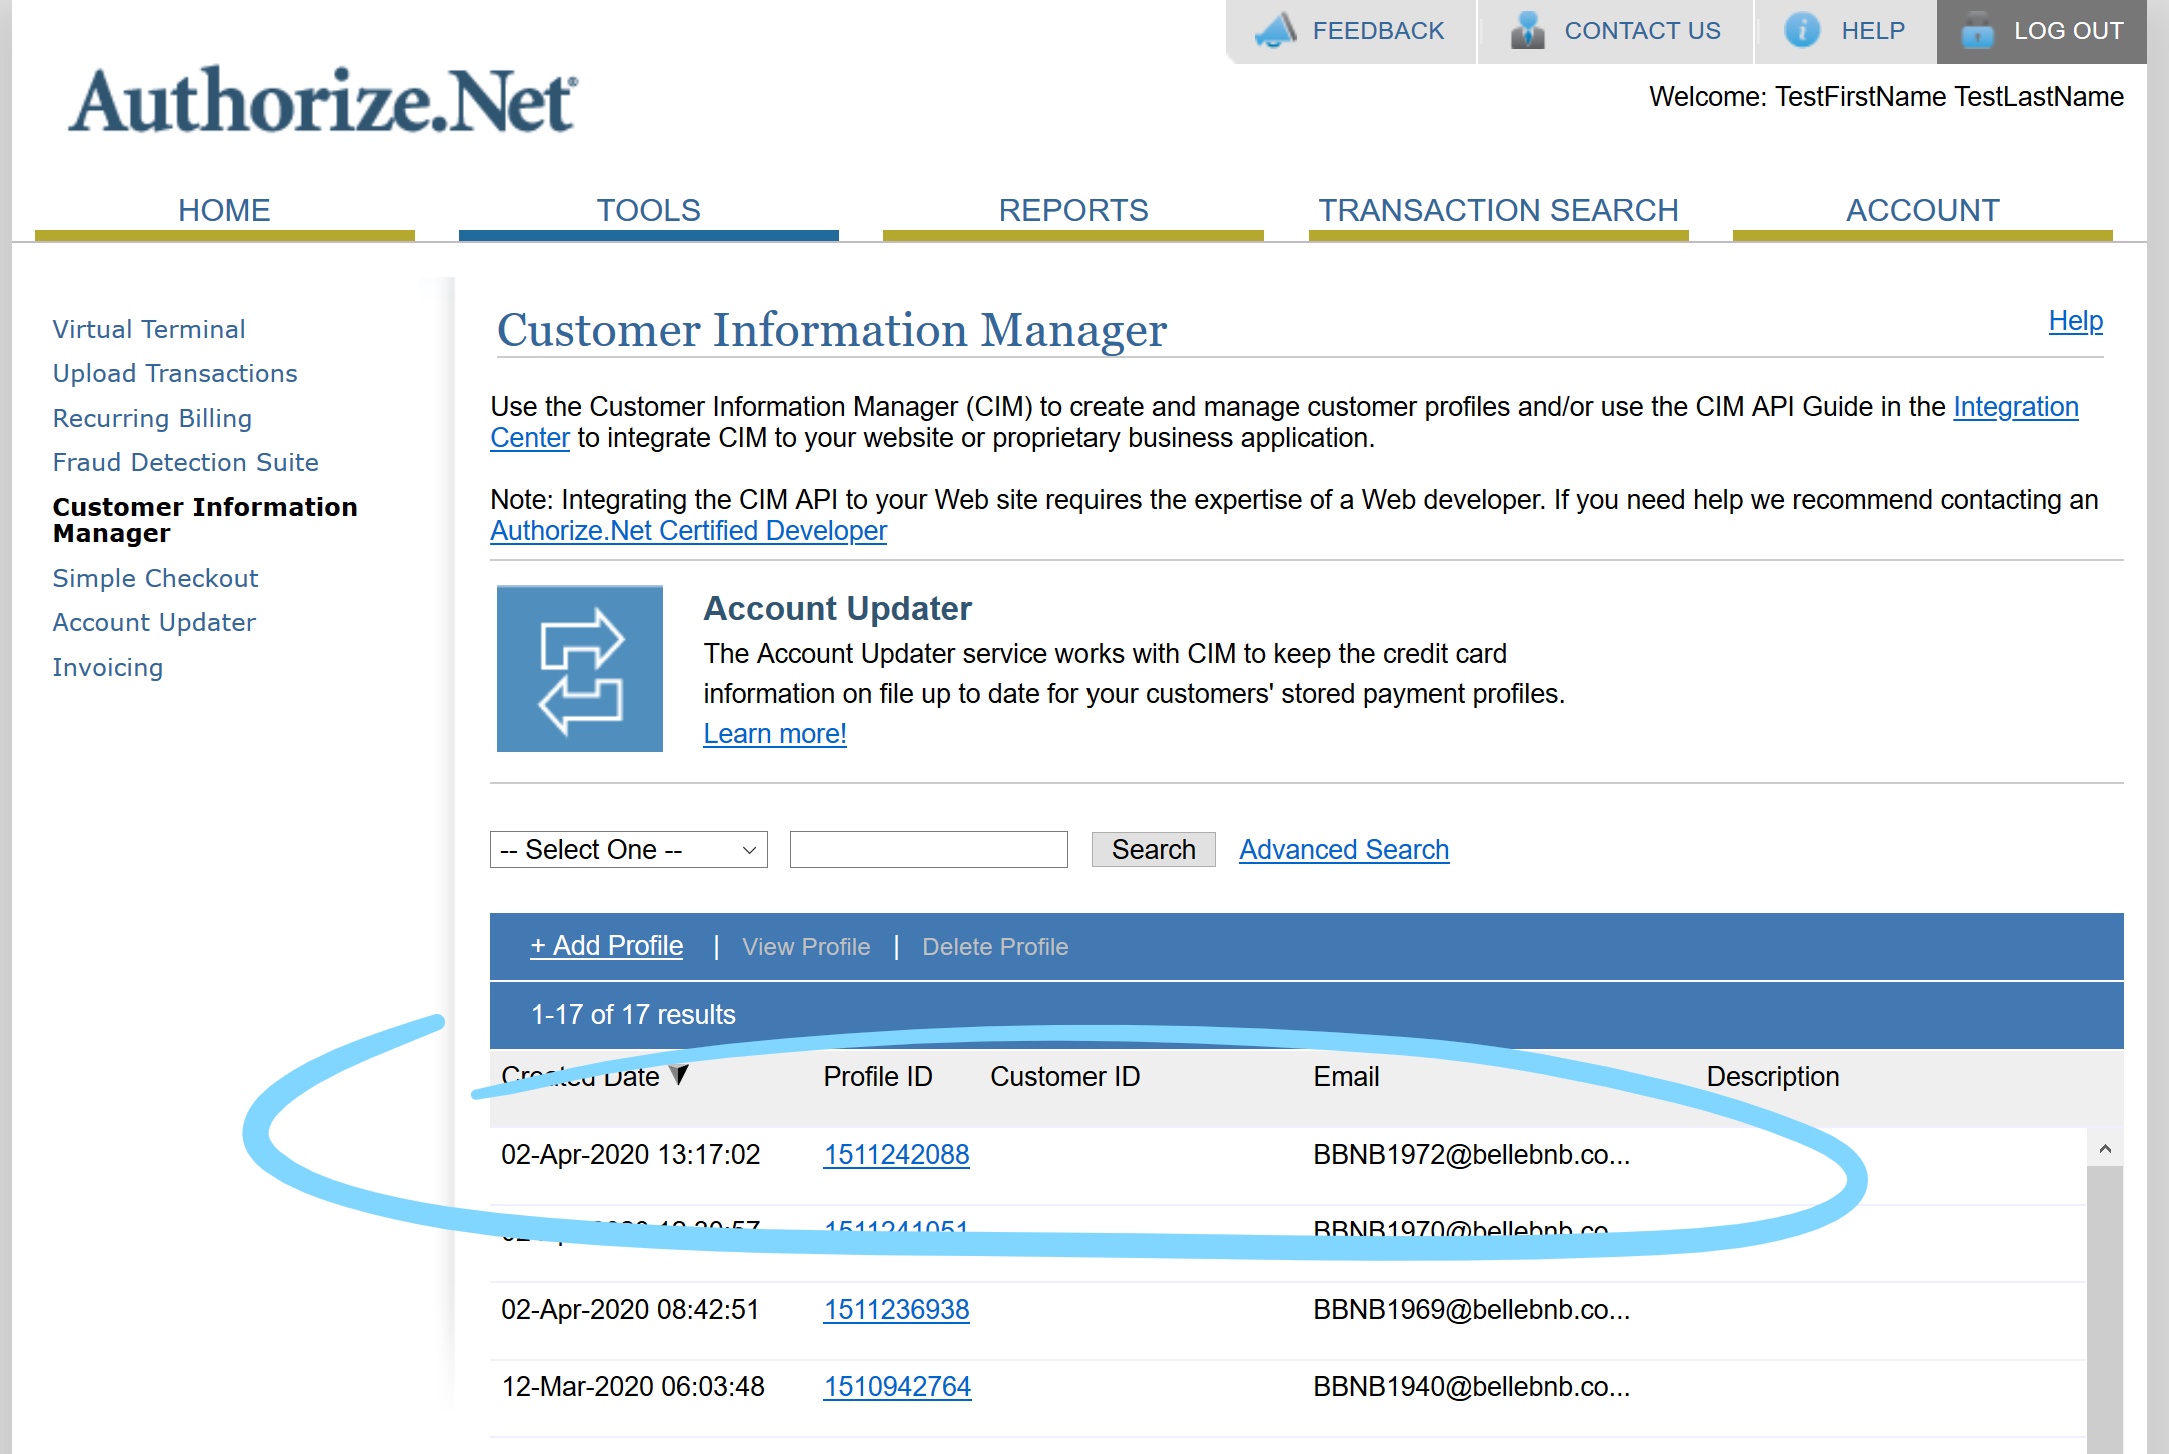
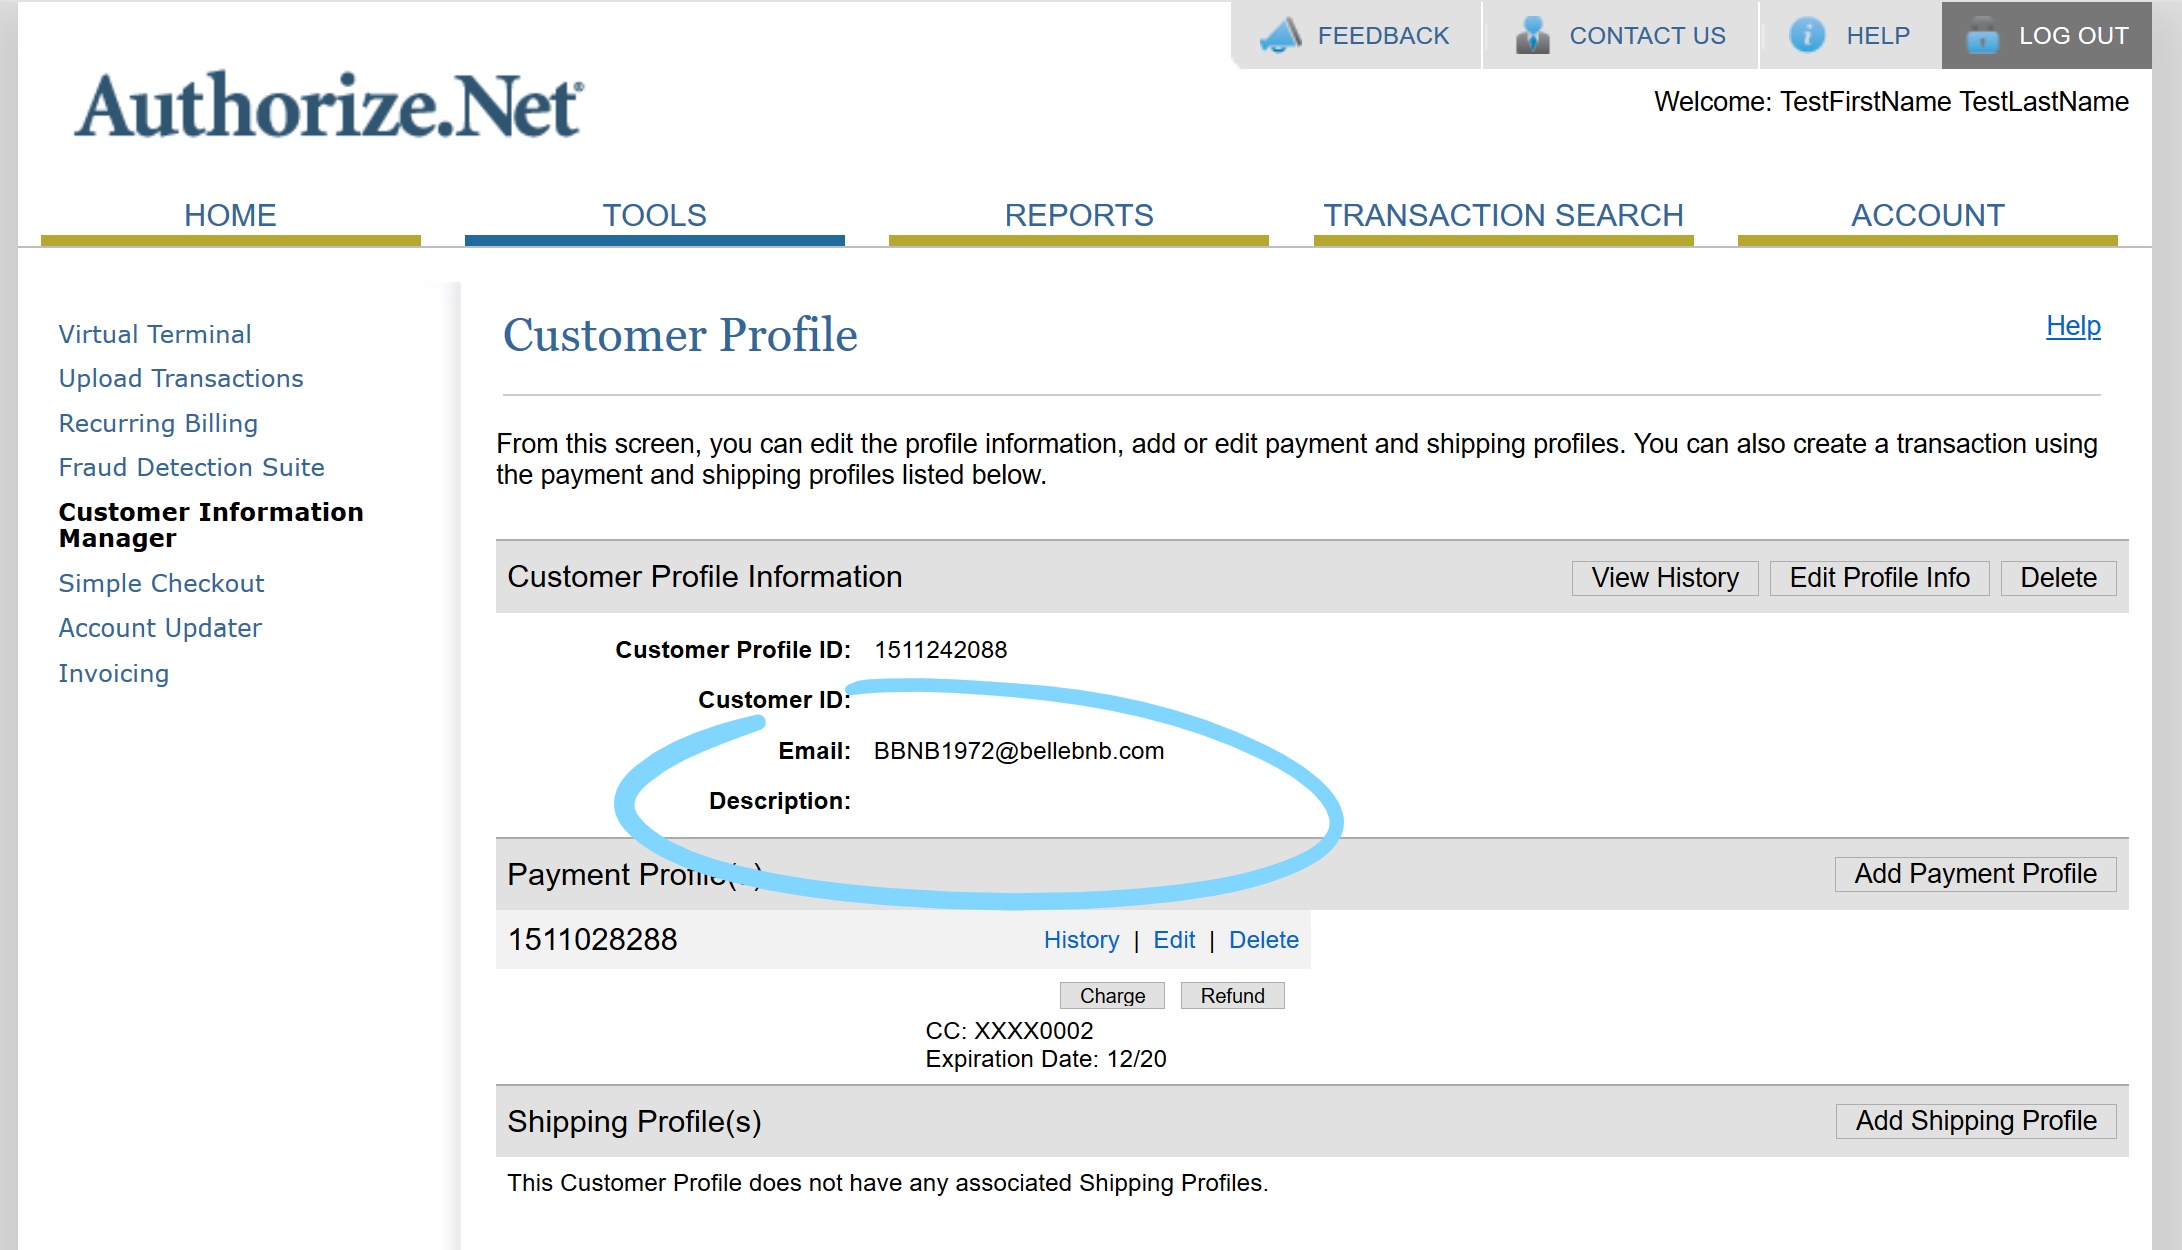
Log in to your Authorize.net portal and click ‘Customer Information Manager (CIM).’ In the list of customers, you will find one with email BBNB***@bellebnb.com. This is the customer profile stored for this booking.

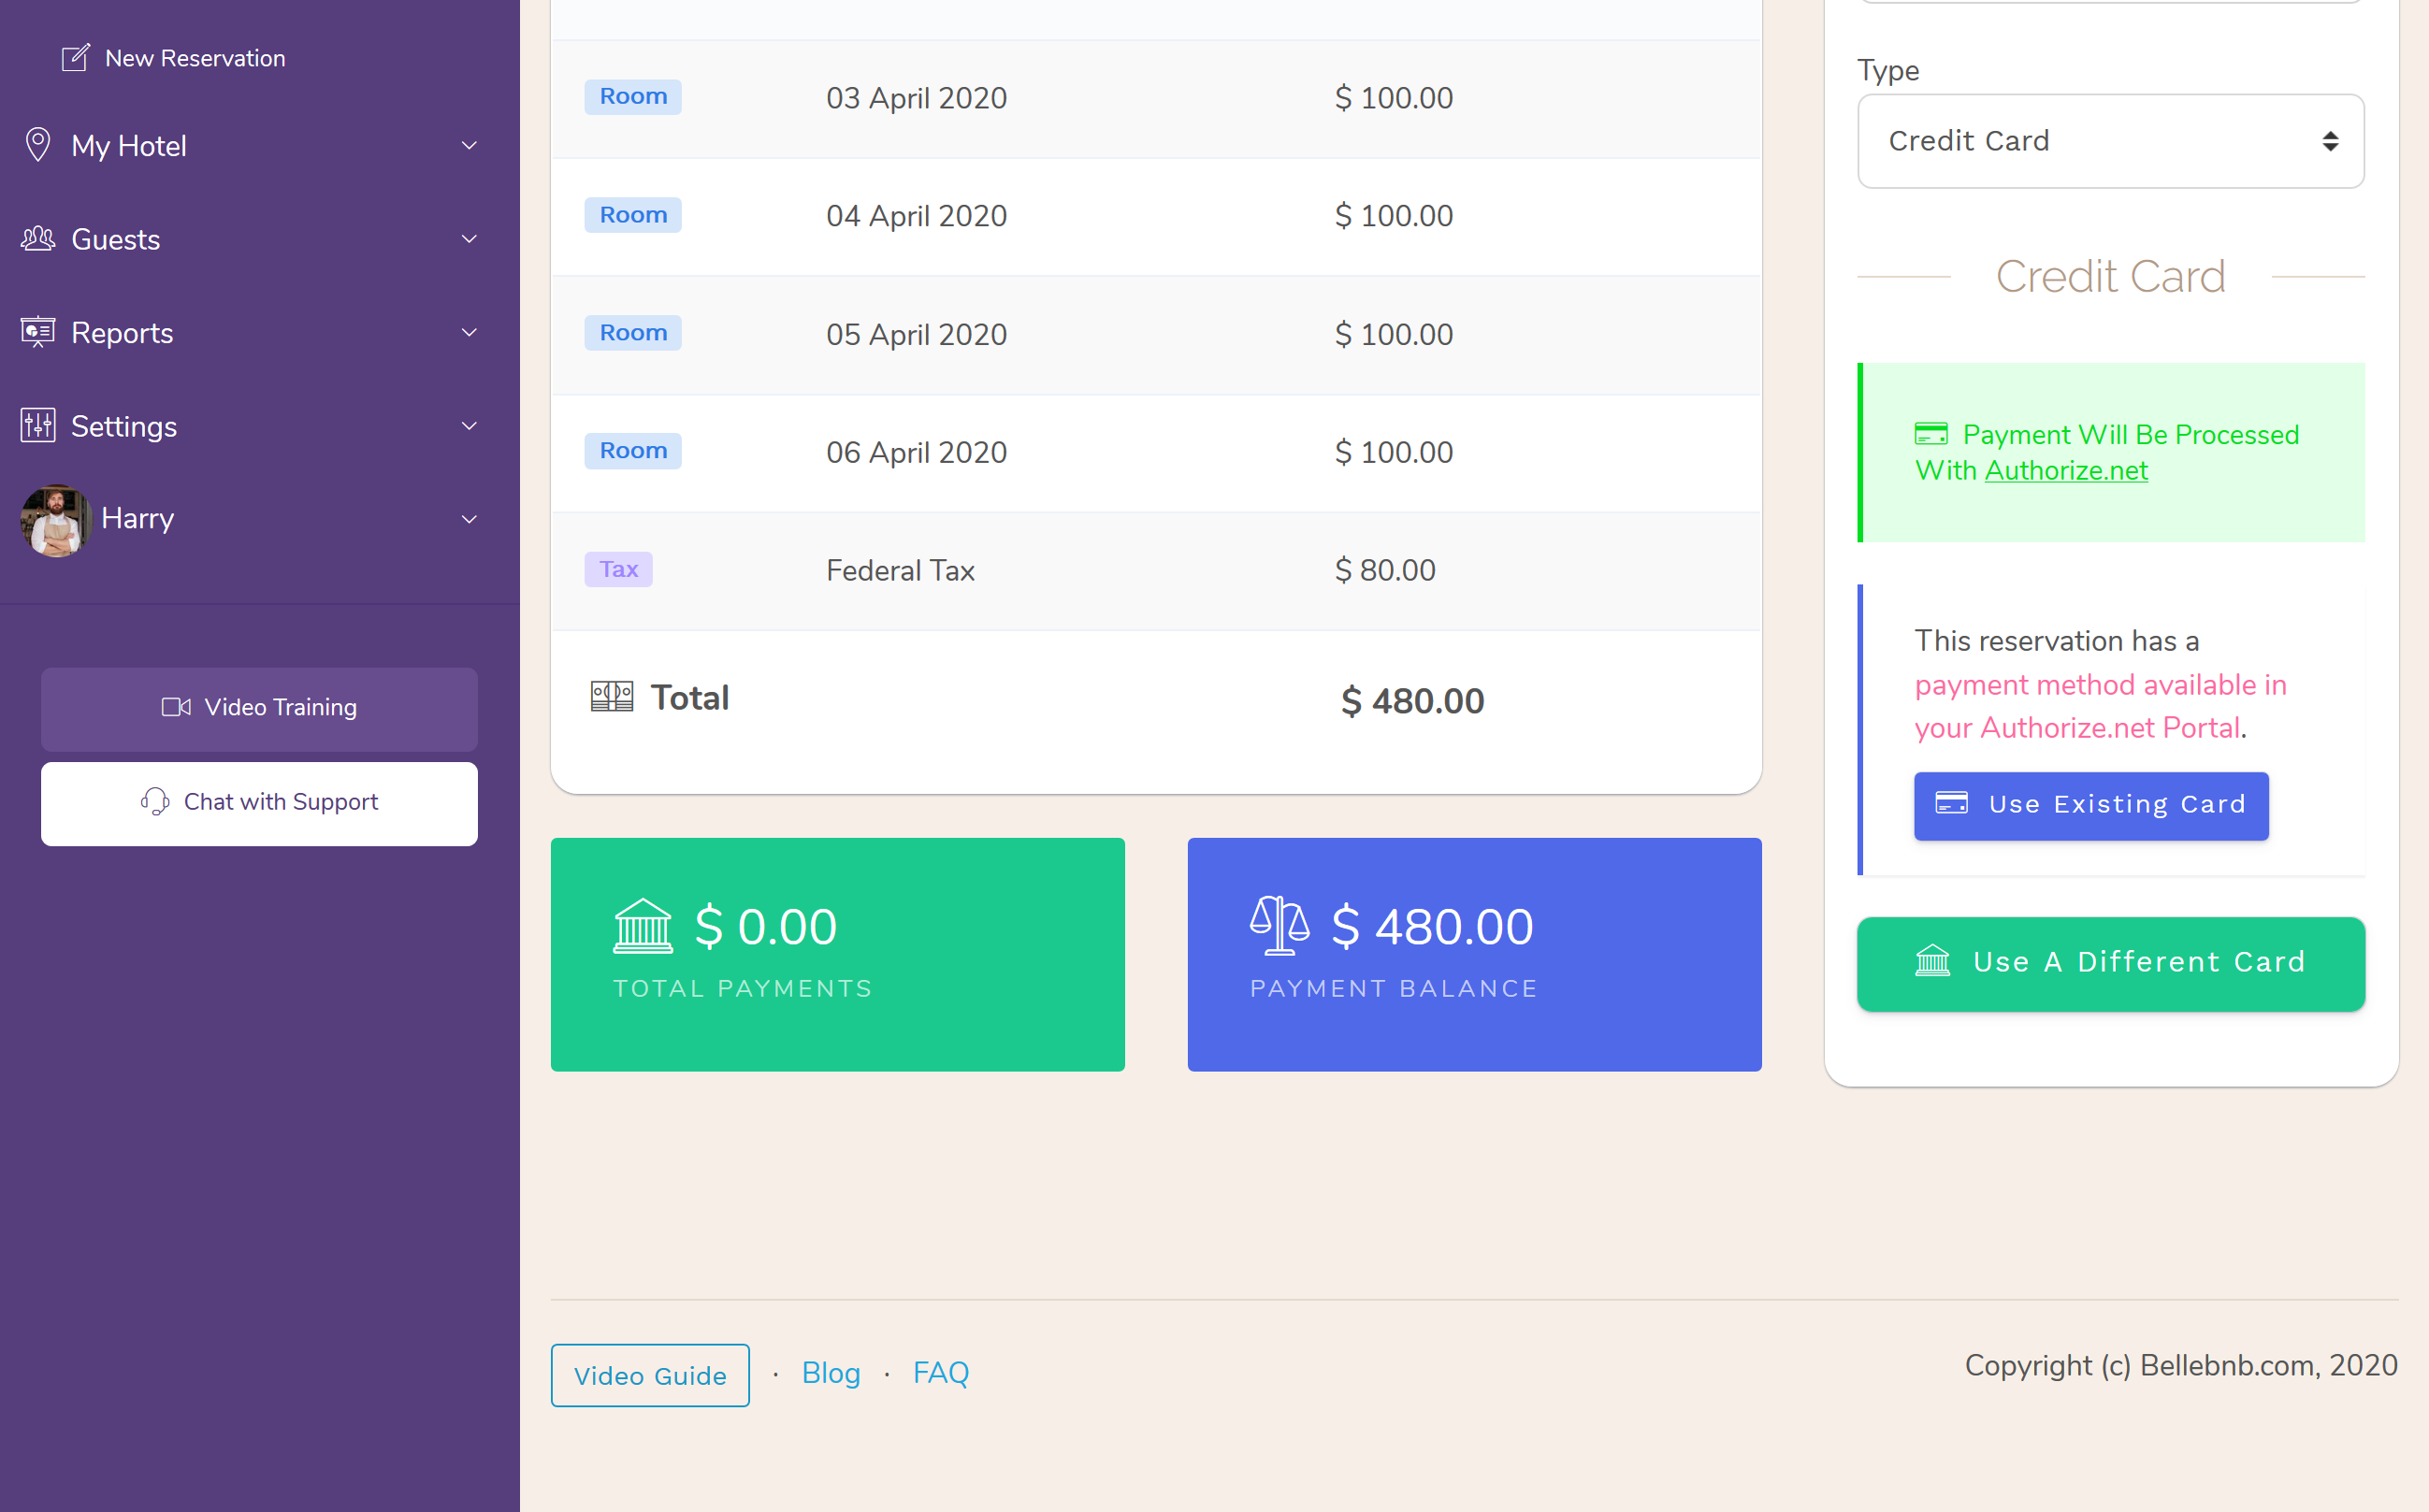
When you process a payment for this booking, you will have the option to use the existing card registered with Authorize.net.
Using Your Authorize.net CIM In Your Front Desk
When you create a reservation in your Front Desk, you will have the chance to add the guest’s payment details to the booking.

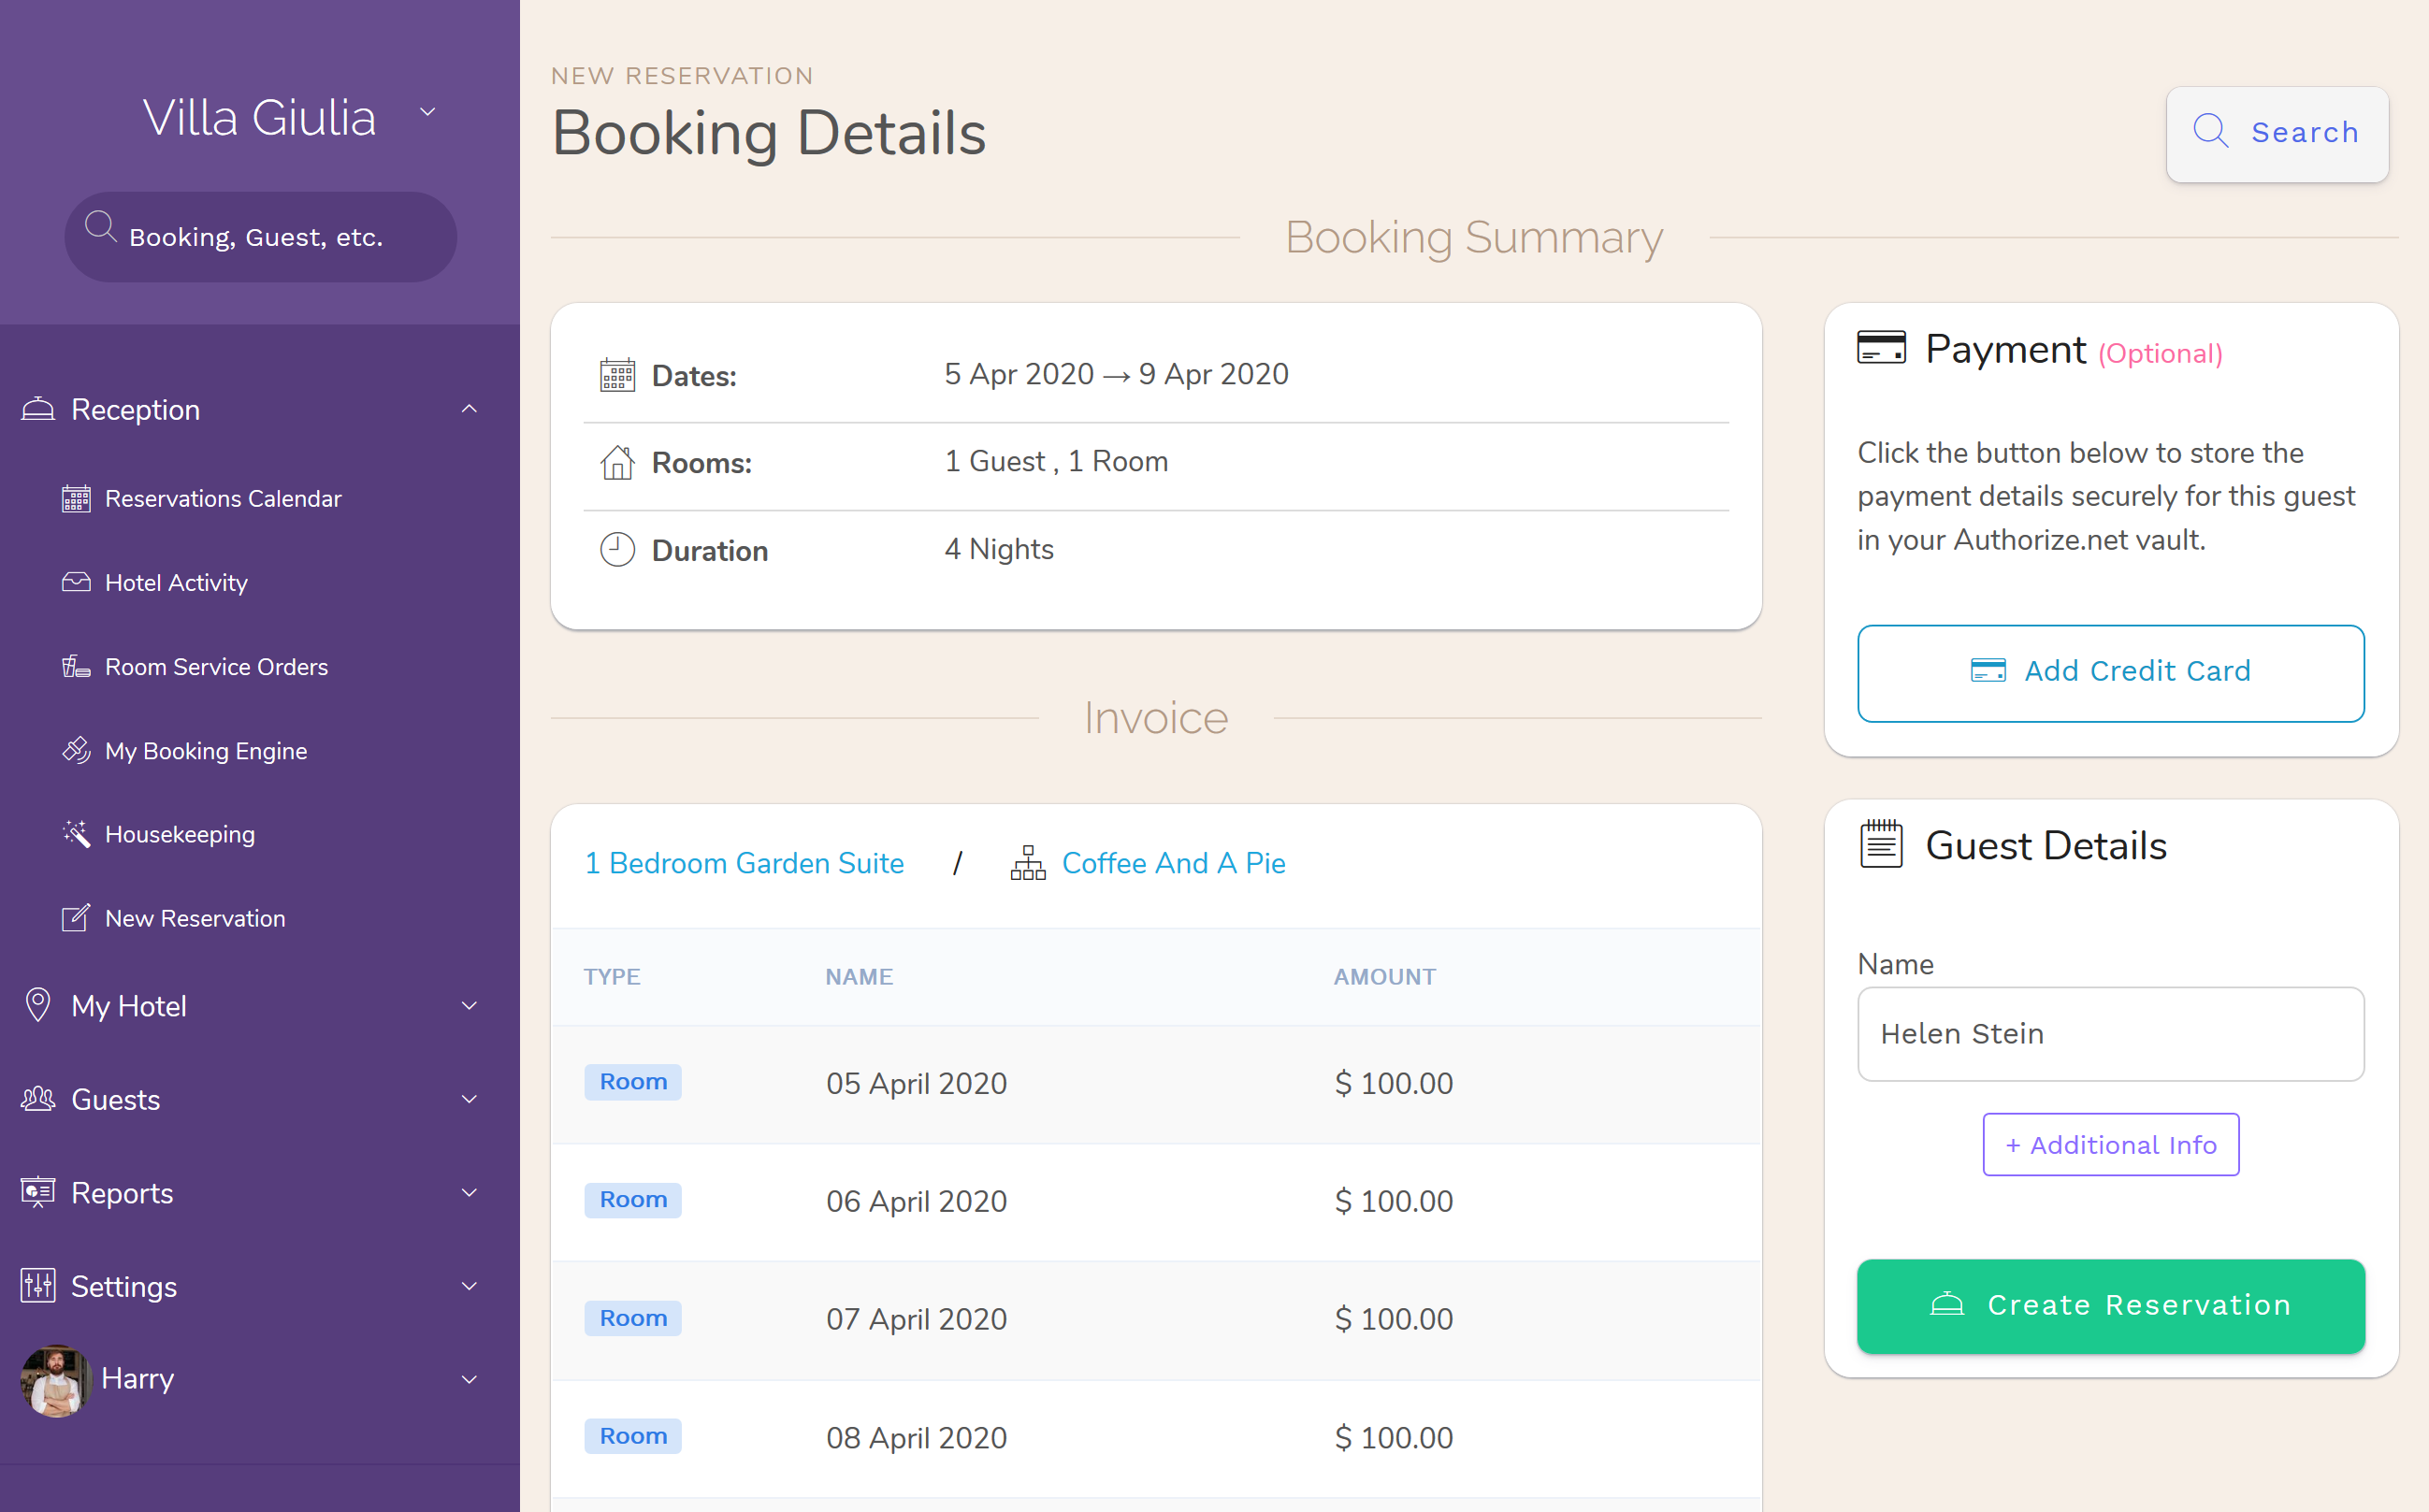
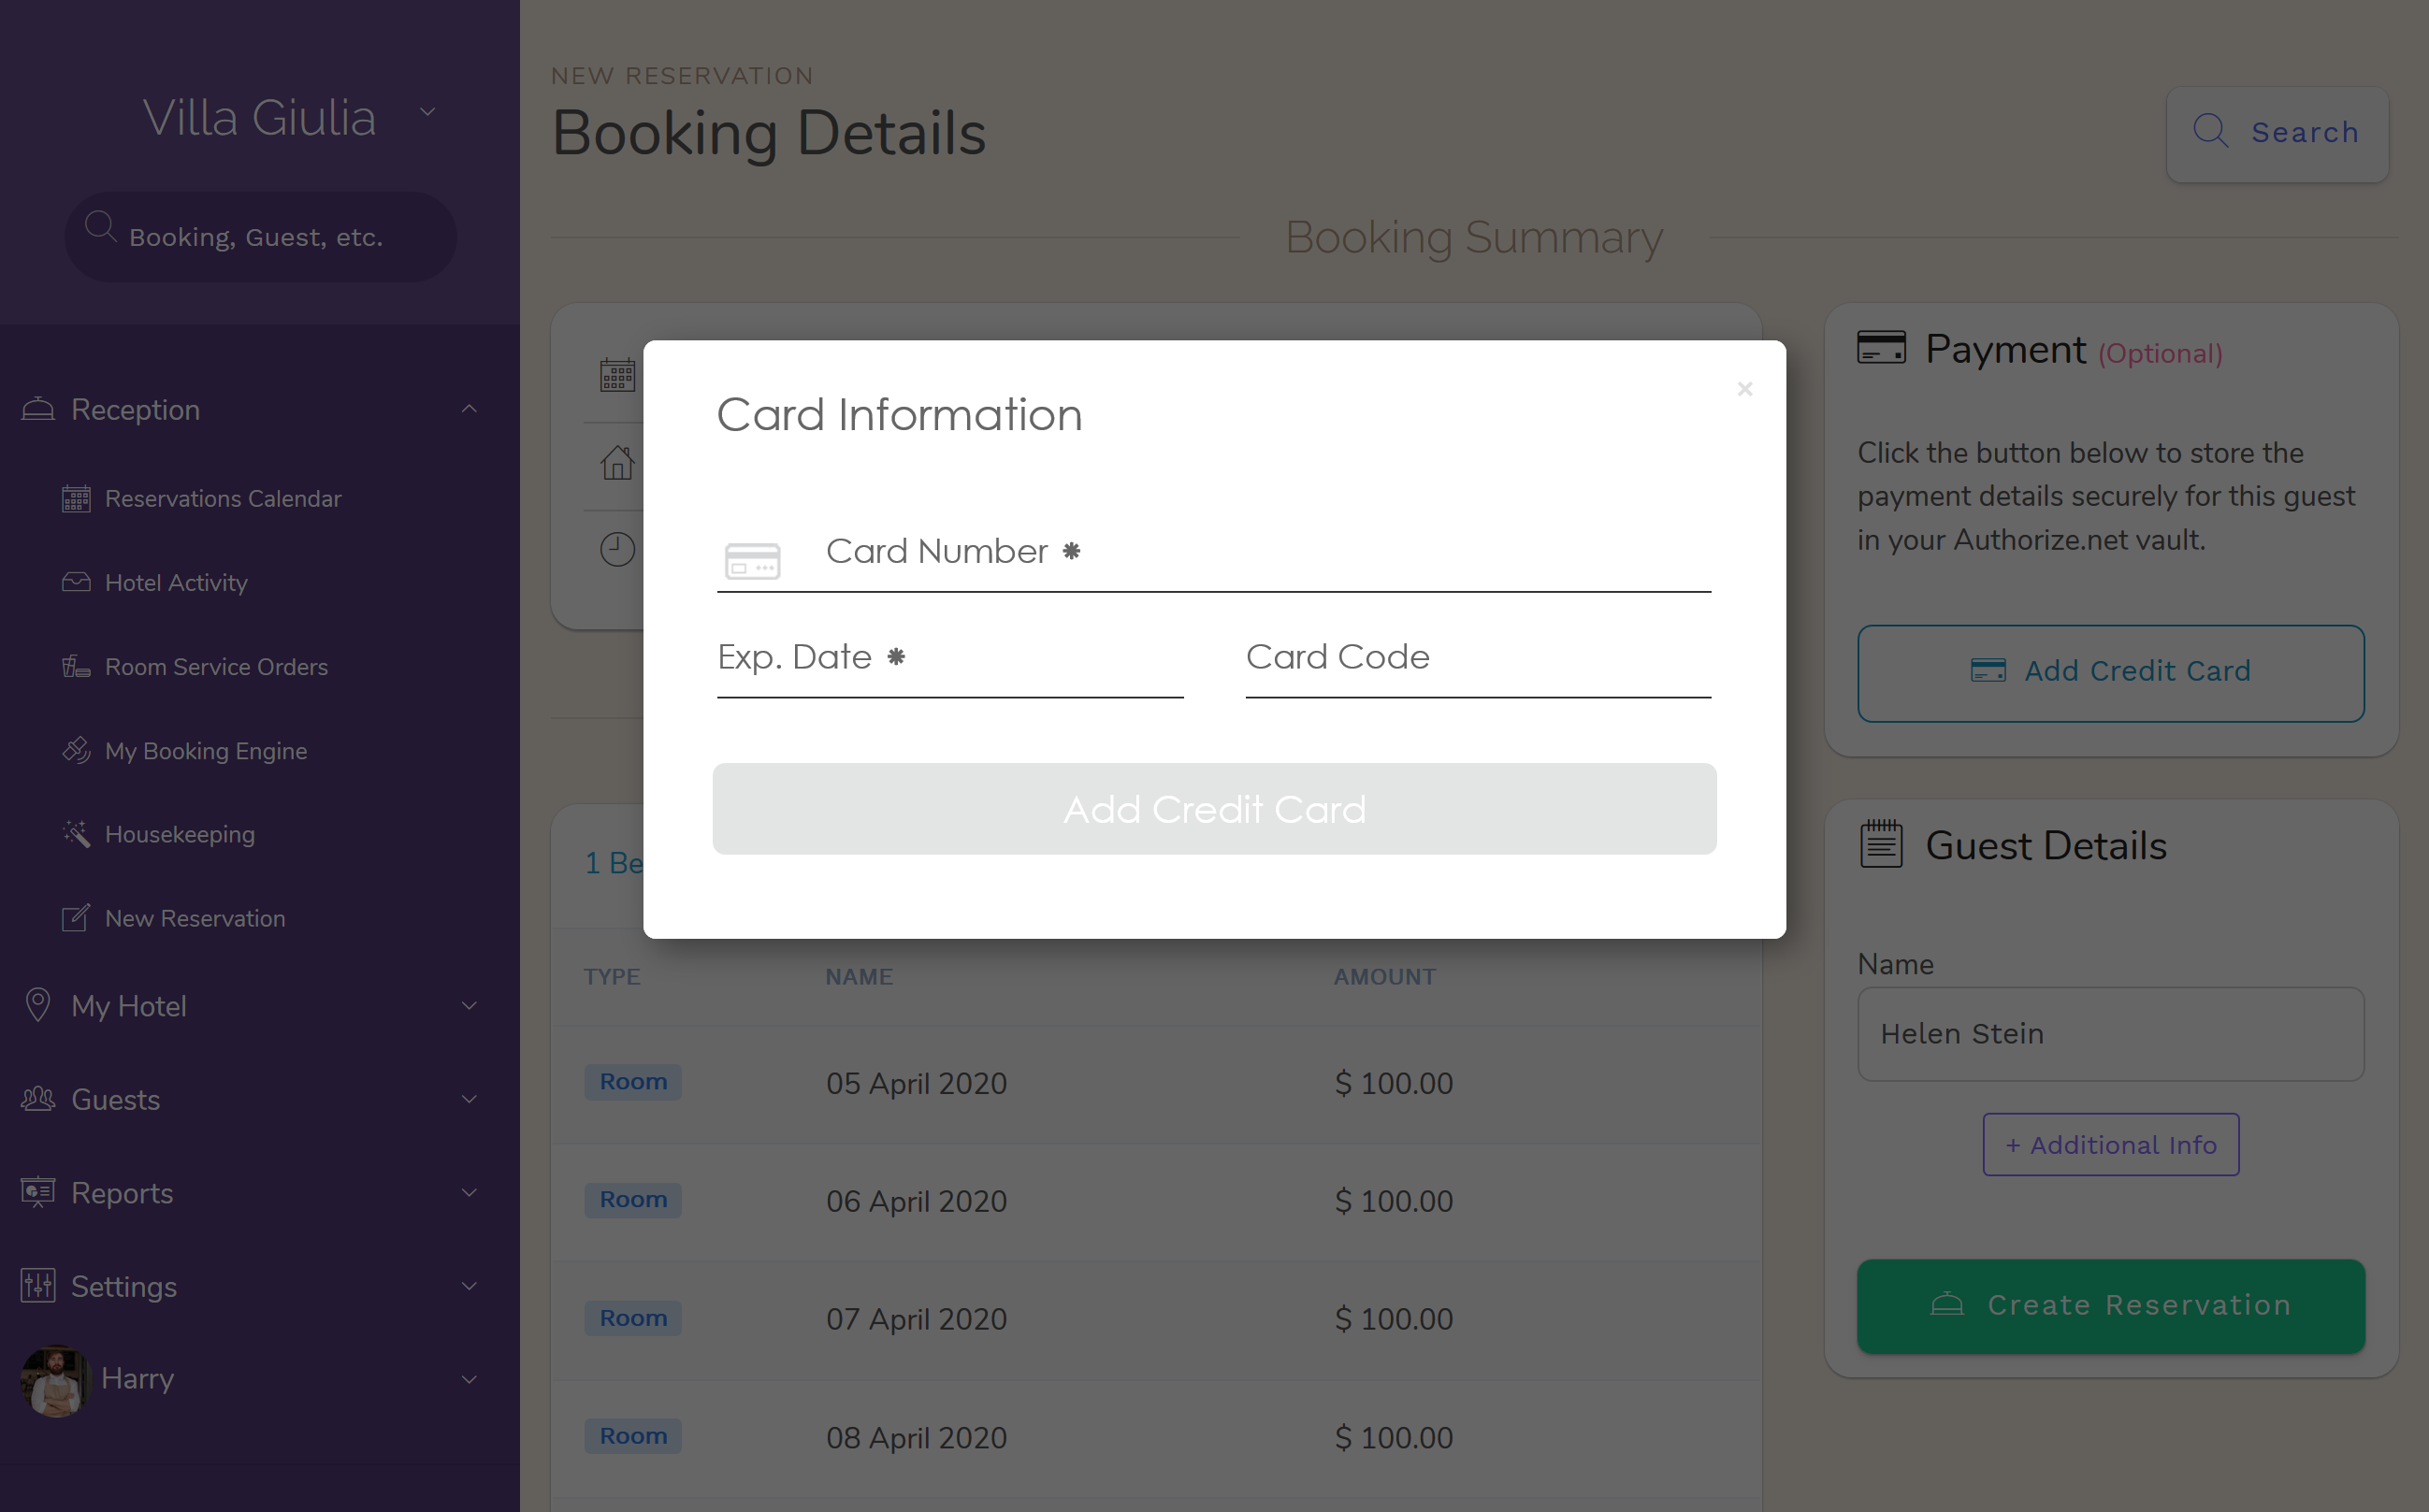
Click the ‘+’ button in the ‘Payment’ panel above ‘Guest Details’ then click ‘Add Credit Card.’ From here, the process is identical to your Booking Engine (above).
Summary
We strongly recommend you enable your payment gateway to use in your Front Desk and Booking Engine. Not only does it help you secure your bookings and collect payments, but it makes the whole payment process easier for you and your staff.
Most importantly, you should never store your guests’ payment details anywhere but with your payment processor, in this case the CIM. The CIM is there to help you.
🎬 Your Authorize.Net Customer Vault. →


